
What is a server?
One might think that servers exist only in big racks inside data centres. That might be the case for complex deployments of critical systems, but is not feasible to deploy at home. Servers don't need to be expensive and powerful though. For your day to day domestic use, you won't have hundreds of clients accessing your server at any given time, which is why simple hardware is enough to host home automation or even cloud storage.
What are we going to deploy?
We're going to deploy Home Assistant for home automation. This will allow us to connect to Sensors and E-Ink displays in future Workshops. Of course, we can support you if you have other specific ideas of what you want to deploy, or need any recommendation on what to use for a specific use case. The possibilities are endless, so feel free to share your ideas or even already existing deployments with the community!
So, let's get started!
First, we have to decide on an operating system based on available hardware. If you are ever confused about terminology or specific notation, jump to Glossary and Notation. It is recommended you glance over the notations before reading the guides.
Choosing an OS
Dedicated Hardware
Do you have an old Laptop, mini PC or PC tower that is not used? Just use it as your new server!
As most servers use the Linux kernel, so will we. To be more precise, we will install Debian, a Linux distribution which is known for its stability and reliability.
If you have a Raspberry Pi, proceed with: Raspberry Pi OS. If your Hardware falls in one of the following categories, proceed with: Debian.
| Type | Value |
|---|---|
| CPU architecture | ARM |
| CPU cores | < 4 |
| RAM | < 2GB |
| Drive | < 64GB |
If not: Congratulations, your server is above the minimum requirements for Proxmox. Proceed with: Proxmox
Only a laptop
No dedicated hardware? No problem. Just use your laptop! Jump to installing Docker on your laptop: 03 Installing Docker
Connecting via SSH
Creating an SSH config
Then, create an SSH config file, a file named config (no extension) in the <YOUR-USER-PATH>/.ssh folder in your PC's home:
# ~/.ssh/config

# an alias so you can `ssh <NAME>`, e.g. server or raspi
Host <NAME>
   HostName <IP>
   User root
   Port 22
Logging in
Now, try running
ssh <NAME>
You should be able to log in without a password. If not, check the OS installation guide again or ask for help.
Securing the SSH server
Once your SSH key is on the server, we're going to disable password authentication for security reasons. Log into the server as root, then run
nano /etc/ssh/sshd_config
This will open up the SSH server configuration file in the nano text editor, see How to nano. Move around using arrow keys to find the line that says
#PasswordAuthentication yes
and change it to
PasswordAuthentication no
Then, find the line that starts with
#PermitRootLogin
and change it to
PermitRootLogin prohibit-password
Then, hit ctrl/control + x and press y and then enter to save the file. Then, run
sshd -t && systemctl restart sshd
to apply your changes. In a new terminal window, run ssh <NAME>. If that works, then good job: you didn't fuck it up! If not, talk to us and do not close the existing window, to not lock yourself out.
Installing Docker
Docker allows you to install containers that contain an operating system and a service / program. Containers are more secure than installing a service directly on your OS. They also fix the "works on my machine", which you may be familiar with :)
If you are using your laptop, jump to the section for your OS. Otherwise, go to [[#Linux (Debian / Proxmox / Raspberry Pi OS)]].
Installing Docker
Linux (Debian / Proxmox / Raspberry Pi OS)
Unfortunately, Docker is not available on Debian out of the box. Install it by running (as root)
apt update && apt install -yqq curl # install curl to download the script
Then, run the installation script:
curl -sSL https://get.docker.com/ | bash # install docker
Linux (Other)
If you are using another distribution, ensure that curl is already installed. Then, run the same curl-bash-script as on Debian.
macOS
Docker is available via Docker Desktop on macOS, but the performance is quite bad. Instead, you can use OrbStack, which uses a different engine, but is completely compatible otherwise.
Windows
Windows is a horrible choice to use as a server, this guide is only for testing! You should never run it as a home server unless you absolutely know what you're doing.
The easiest way to install Docker on Windows is to install Docker Desktop. Follow the install wizard and restart your PC if required.
Testing the installation
Try running
docker run --rm -it hello-world
You should get this output.
Unable to find image 'hello-world:latest' locally
latest: Pulling from library/hello-world
4f55086f7dd0: Pull complete
Digest: sha256:f9078146db2e05e794366b1bfe584a14ea6317f44027d10ef7dad65279026885
Status: Downloaded newer image for hello-world:latest

Hello from Docker!
This message shows that your installation appears to be working correctly.

To generate this message, Docker took the following steps:
 1. The Docker client contacted the Docker daemon.
 2. The Docker daemon pulled the "hello-world" image from the Docker Hub.
    (amd64)
 3. The Docker daemon created a new container from that image which runs the
    executable that produces the output you are currently reading.
 4. The Docker daemon streamed that output to the Docker client, which sent it
    to your terminal.

To try something more ambitious, you can run an Ubuntu container with:
 $ docker run -it ubuntu bash

Share images, automate workflows, and more with a free Docker ID:
 https://hub.docker.com/

For more examples and ideas, visit:
 https://docs.docker.com/get-started/
Also check Compose is installed by running
docker compose version
It should output
Docker Compose version <VERSION>
Setting up your workspace
When using Compose, each service gets it's own folder containing a compose.yaml and optionally, the service data or configuration. We will put all of these folders in a folder we call the workspace. Our workspace is going to be located at /srv. If you are using your laptop, you can put this folder anywhere else, too.
Create the directory:
mkdir -p /srv
First service
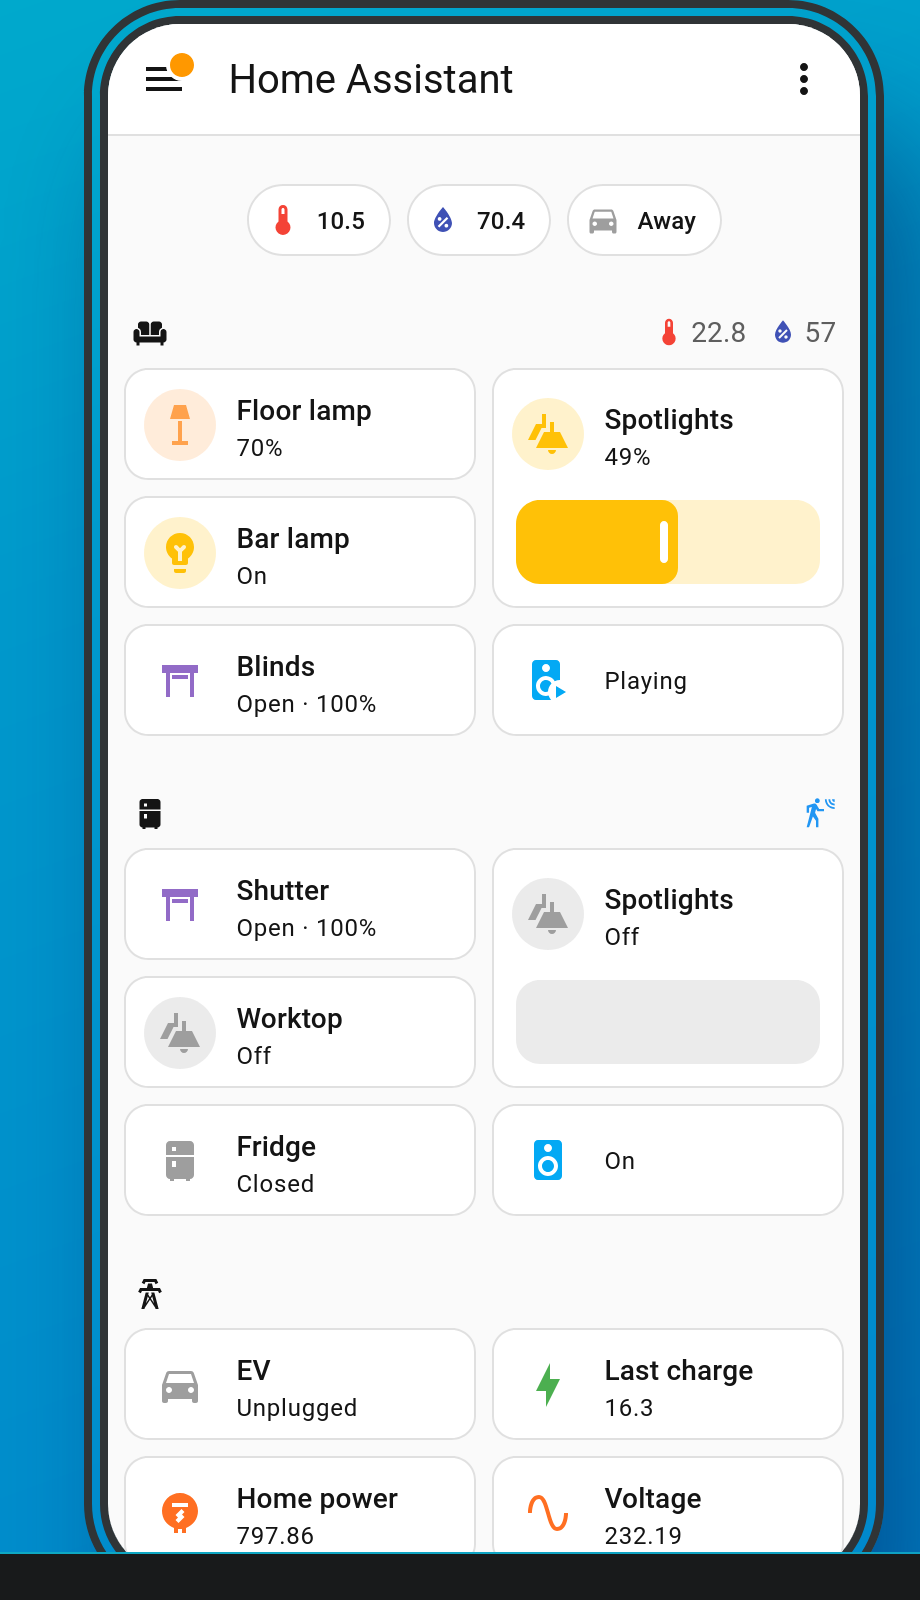
Now that we are all on the same page, we can install our first service: Home Assistant, an all-in-one local smart home solution like Google Home or Apple HomeKit. You can use it to control and automate anything "smart" in your household, via a mobile app or a web interface.
Installation
First, create a service directory in your workspace. Run
mkdir -p /srv/homeassistant
and change to the newly created directory using
cd /srv/homeassistant
Then, open up the compose.yaml in an editor using nano compose.yaml. Paste the following content:
services:
  app:
    container_name: home_assistant
    image: "ghcr.io/home-assistant/home-assistant:stable" # The Image used
    volumes:
      # A new folder where Home Assistant will store its config
      - ./config:/config
      # Allow access to your system time
      # Skip this on macOS and WSL
      - /etc/localtime:/etc/localtime:ro
      # Allow access to dbus, the device control service
      # Skip this on macOS and WSL
      - /run/dbus:/run/dbus:ro
    restart: unless-stopped
    # Give the container more privileges
    # Usually, you shouldn't do this, but Home Assistant
    # needs to access devices like the Bluetooth card
    # for automation purposes
    privileged: true
    # Allow access to the host network for device discovery
    # Usually, you wouln't do this either, but for HA we need it
    # Because we use the host network we do not need to expose container ports
    network_mode: host
To start downloading and running HomeAssistant, just run
docker compose up -d
What does it do?
- Check if the image (the package containing the service) is already downloaded and downloads it if required
- Starts the service in background (
-dstands for detached mode)
Now you should be ready to setup HomeAssistant on port 8123 in your web browser. Sometimes it can take a up to 5 min until the web server is started. Especially if it is the first start and you have older hardware.
- http://IP:8123 (use the IP you use for connecting via SSH)
- http://localhost:8123 (if installed locally)
For more useful Compose commands, see More on Docker.
Accessing the server remotely
Now, you have a service running. You can do all the Home Assistant things you want. But what happens if you are on the go and want to access Home Assistant? Or if you have set up a different service and need to access it from the go? You could expose the service to the internet, but that's a hassle and also might be dangerous.
Instead, we will use NetBird, a free and open-source German-made mesh VPN, which will allow all devices connected to the mesh to talk to each other. The idea is simple: install NetBird on the server and on your laptop, then you can connect to your server from anywhere. For the purpose of this guide, we will use the forever-free tier of their cloud service, but you can always host your own control server. In the future, we might offer a Spark NetBird server, run by us, potentially on HPI servers.
Begin by going to https://app.netbird.io and creating an account. When prompted, select "peer-to-peer network" as the means of operation. Then, follow the instructions to connect your laptop. When prompted to connect your second device, click "Install with a setup key" and then Continue.
You will see two commands, like
curl -fsSL https://pkgs.netbird.io/install.sh | sh
and
netbird up --setup-key <SETUP-KEY>
Log into your server via SSH and run them. Once connected, go back to the onboarding in your browser. You will see a command like ping <IP>. Copy only the IP, then run, on your laptop:
ssh root@<IP>
This should connect you to your server. When on the go, you can run this command instead of the ssh <NAME> you've been using to access your server remotely. This goes for any service, not just SSH -- try accessing Home Assistant at http://<IP>:8123.
Going further
Congrats, you now have home server!
There are so many possibilities that you have with your server, we can't cover everything. However, we are always open for ideas, questions, recommendations and feedback. In the meantime, you might want to take a look at the Docker Hub which contains many different (official and unofficial) container images that might be interesting to self-host.
We hope that you all had fun following this workshop and if you have an idea what to host next, let us know and (if you want to) write the next script :)
Glossary and Notation
Glossary
| Term | Acronym | Definition |
|---|---|---|
| Distribution, Distro | An operating system based on Linux. As Linux itself is just a kernel, we need essential services and software like the init system or a package manager to make it an actual, usable operating system. | |
| Debian | A general-purpose Linux distribution often used for servers. Probably the biggest one. | |
| Debian derivatives | A distribution based on Debian. Examples include Proxmox, Raspberry Pi OS and Ubuntu. | |
| Proxmox | A Debian derivative designed to run virtual machines. | |
| SSH | Secure SHell | A protocol to execute terminal commands on another machine over the network. |
| APT | Advanced Package Tool | The package manager used on Debian distribution |
| root | A special user on Linux (and Linux-like) operating systems which has every permission. Most administrative commands like installing packages or changing global settings have to be executed as root. Sometimes also called the "super user" or "super admin". | |
| sudo | super/switch user do | A command to run a command as root (or as another user). |
~, $HOME,<YOUR-USER-PATH> |
Your user folder. On Linux, this is /home/<USERNAME>, on macOS /Users/<USERNAME> and on Windows C:\Users\<USERNAME>. On macOS and Windows, they are not shown under "important locations" / "favourites" by default. |
|
| nano | A text editor for the terminal. | |
| YAML | Yet Another Markup Language / YAML Ain't Markup Language | A structured data language usually used for configuration files. Indicated by the .yml or .yaml file extensions. |
| Virtualisation | The practice of running an isolated operating system on another for security and/or compatibility reasons. | |
| Virtual machine | A virtualized computer, with it's own (virtual) devices and ports running a full operating system. | |
| Container | A type of virtualisation on Linux where the host and the container share one kernel and all devices, making them much more lightweight than running a full virtual machine. | |
| (Docker) Compose | A set of commands which will create containers based on a compose.yaml. |
|
| LXC |
Variable notation
We use a common notation for placeholders. <NAME> is the required variable NAME, which you have to replace with the name needed (context should usually tell you what name we are referring to). When replacing it, replace not only the the variable name, but also the brackets/braces directly around it. For example, if your (user-)name is "alice" and your server has the hostname alice-super-pc, you should enter a command ssh <YOURNAME>@<HOSTNAME> like ssh alice@alice-super-pc, and a command echo '<<YOURNAME>>' >> wonderland.txtlike echo '<alice>' >> wonderland.txt.
File content notation
For files you need to create, we usually put the file path into the first line. For example, if you need to create the files /etc/foo.txt, /etc/bar.txt and /etc/baz.txt, the notation
# /etc/foo.txt
bar
# /etc/bar.txt
baz
# /etc/baz.txt
foo
gives you the exact file name per content. When creating the file, omit these comments.
More on Docker
Handy Docker Commands
All docker compose commands expect you to be in the same directory as the compose.yml file.
For more info on compose.yml files you can read the official docs.
docker compose down # Stop the container(s)
docker compose logs -f -n 500 # Show the last 500 log lines of all containers in the current stack (The -n flag is recommended because if left, it will show all logs, which can grow quite large over time)
docker image prune -a -f # Removes images that are not in use (all containers that are down)
docker compose pull # Pulls the (latest) container images.
Multiple Container In One File
It is possible to have multiple containers in the same compose.yml file. You can start them all at once and they share an internal virtual network. This is quite handy because you can combine a database, web server and much more in the same file, which can communicate directly with next to no overhead. It is also possible to copy this file to a new machine and spin up a new deployment without checking dependencies.
Deleting containers
Docker container are designed to be deleted. User data is stored on disk or in volumes which are persistent. However, this means that you will have to ensure that all configuration is stored in volumes.
Updating containers
This might be counter intuitive at first , but you do not update, you replace containers with its newer version. Using this approach you are guarantied to always have a working version after the update. Your data is not deleted by this process but always take a backup to be safe.