We have already prepared USB thumb drives with the installer, but if you want you can download balenaEtcher and a Debian install image (x86, ARM) to flash your own.
Insert the thumb drive and select it as a boot media in your BIOS. How exactly this looks will depend on your device. Generally, it is going to look like this:
- Connect the USB thumb drive.
- Press F2, F12 or DEL repeatedly after powering on your PC to enter the BIOS. Sometimes there is a message on the boot screen with the keys and the associated function, look for something like "Firmware settings" or "Boot order".
- In the BIOS you want to look for something like "Boot" or "Boot order".
- Now change the order of the entries so that the thumb drive is the first boot media, it should be named something like "Debian" or "USB EFI drive".
- Exit the BIOS and save changes.
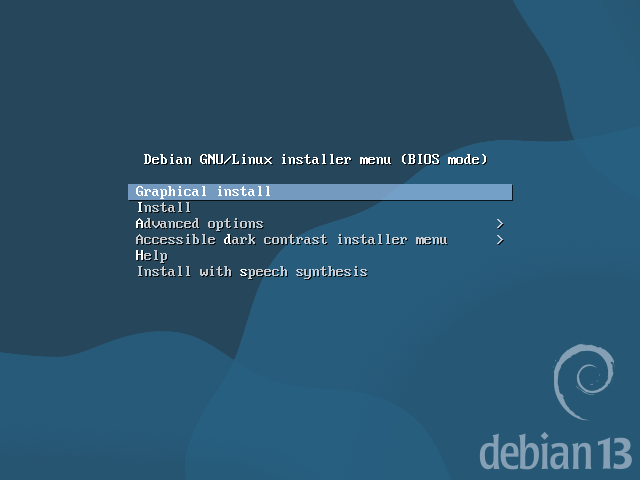
- Now your PC should reboot and start the installer.
Using the installer to install Debian
Follow the guide below to install Debian on your machine.
Use the RETURN KEY (In German ENTER TASTE) to confirm a selection and the arrow keys to move up/down

You can also select German if you want. This simplifies the installation process and you do not have to answer a few of the installation Steps. Just skip the steps in the Guide. We will continue using the English installation process.
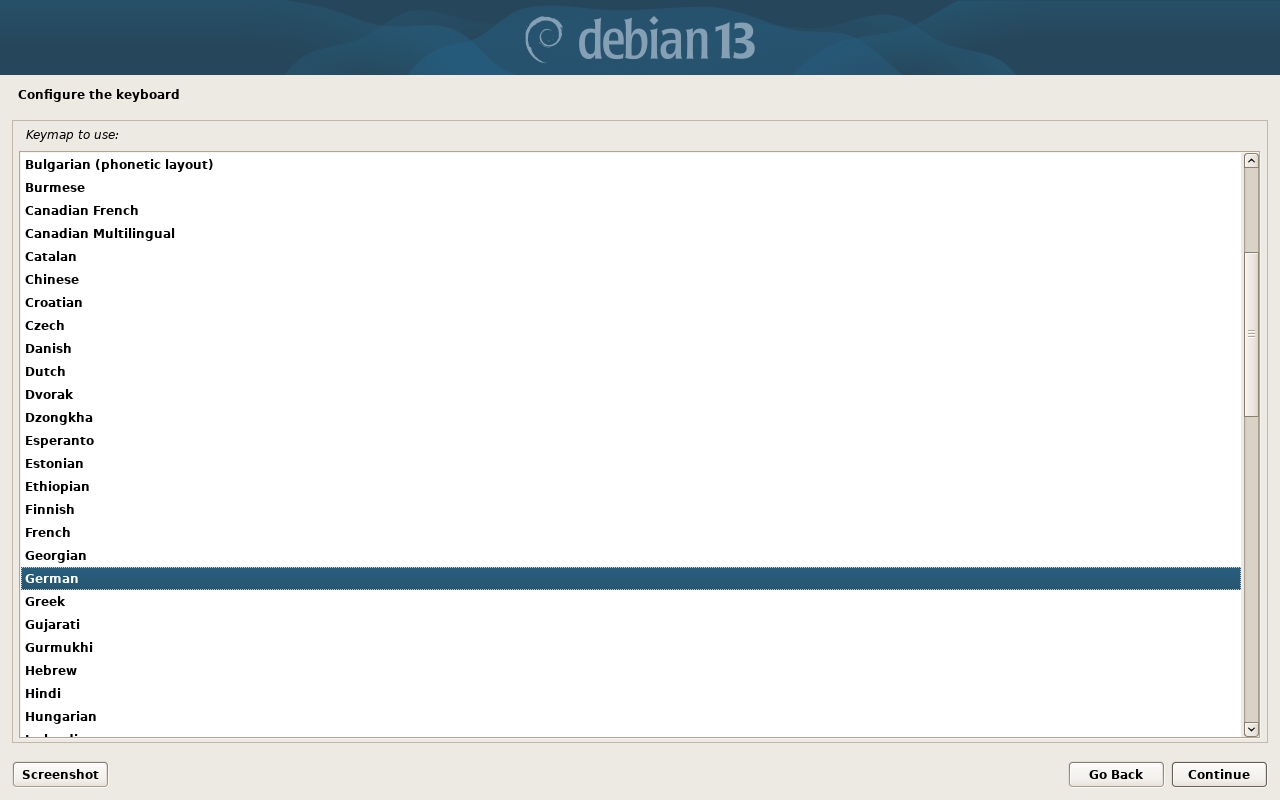
Select the keyboard you have. If you use an different keyboard layout choose it (for example English). Only keyboards directly connected are affected. If you connect from another PC it will use the layout of the connected PC.
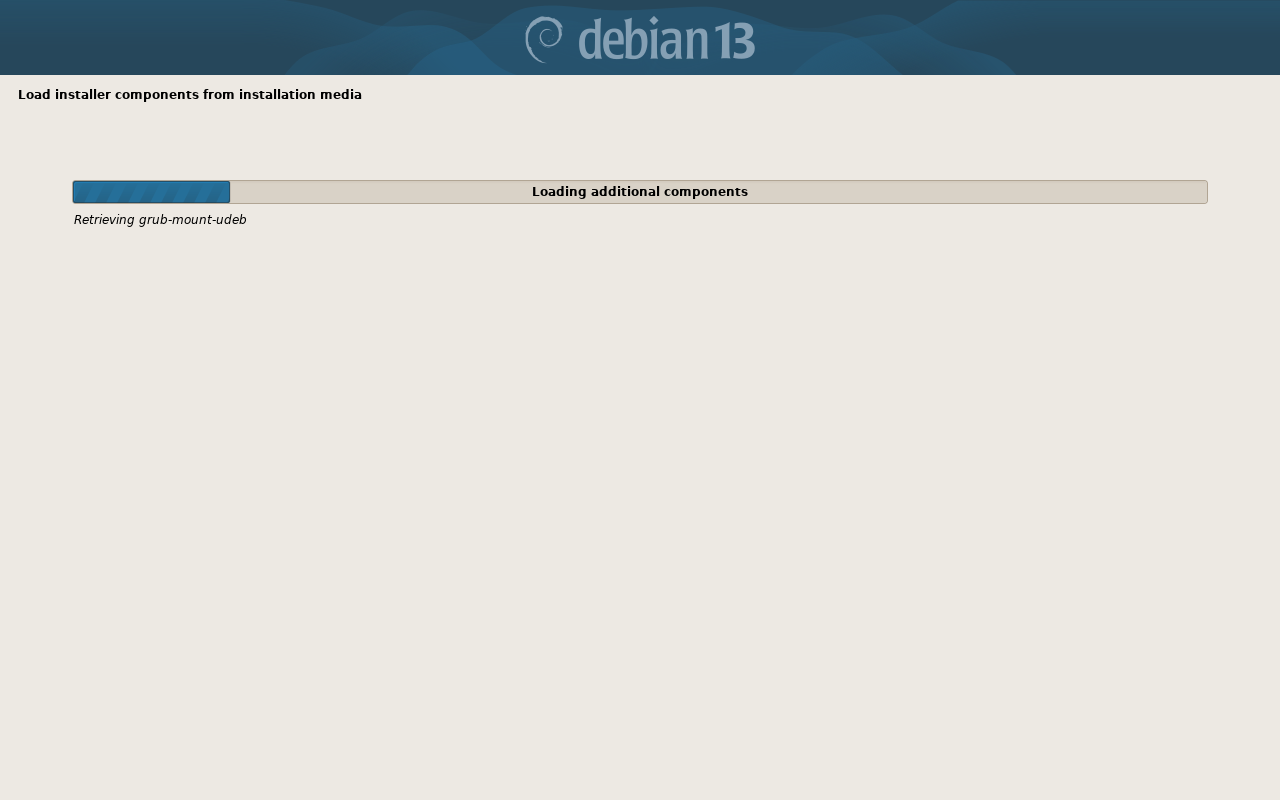
We'll come across a few of these loading screens. Just wait a bit until you can continue.
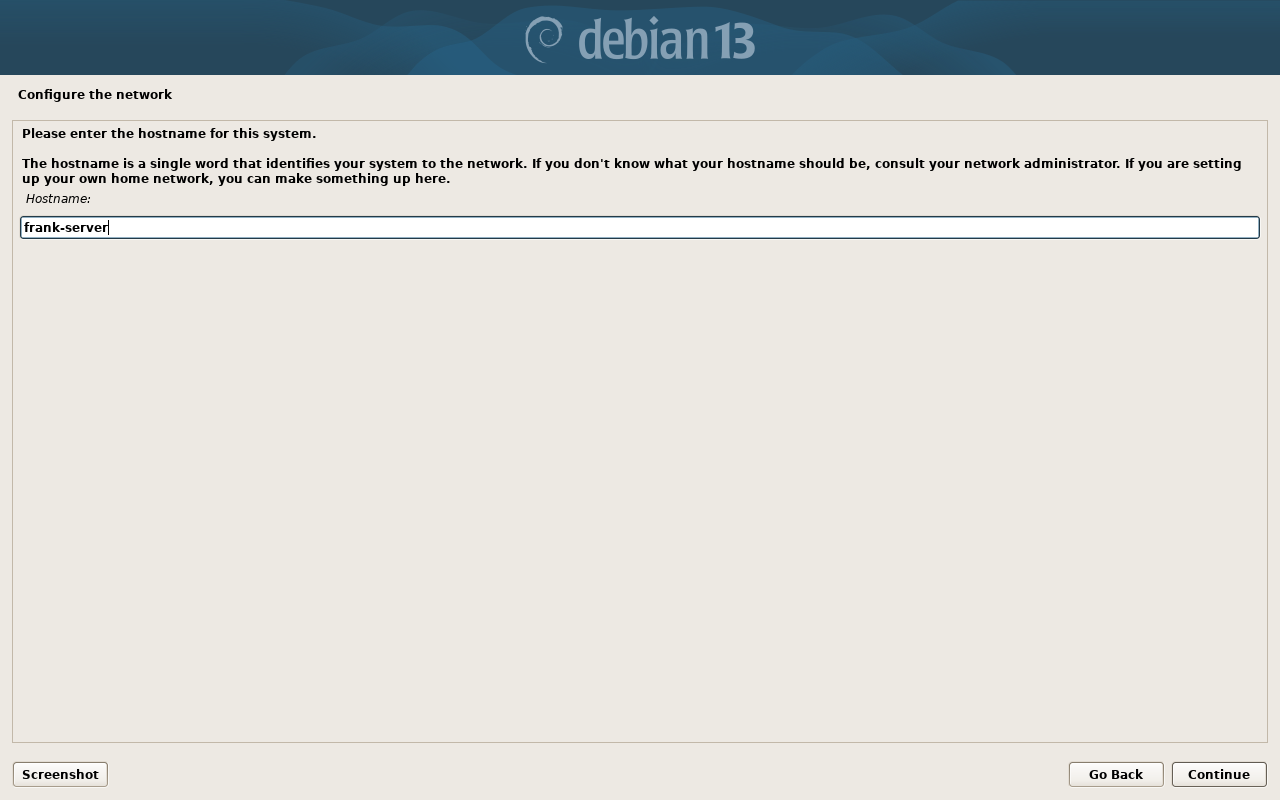
The hostname is the 'name' of a device in the network. Unfortunately the network setup of the HPI does not allow to use these across different access points. We will will use the ip instead. Normal home router however does support using these without further configuration. This allows you to use <HOSTNAME>.local to connect to your server. This only works if you are in the same network (not outside your home).
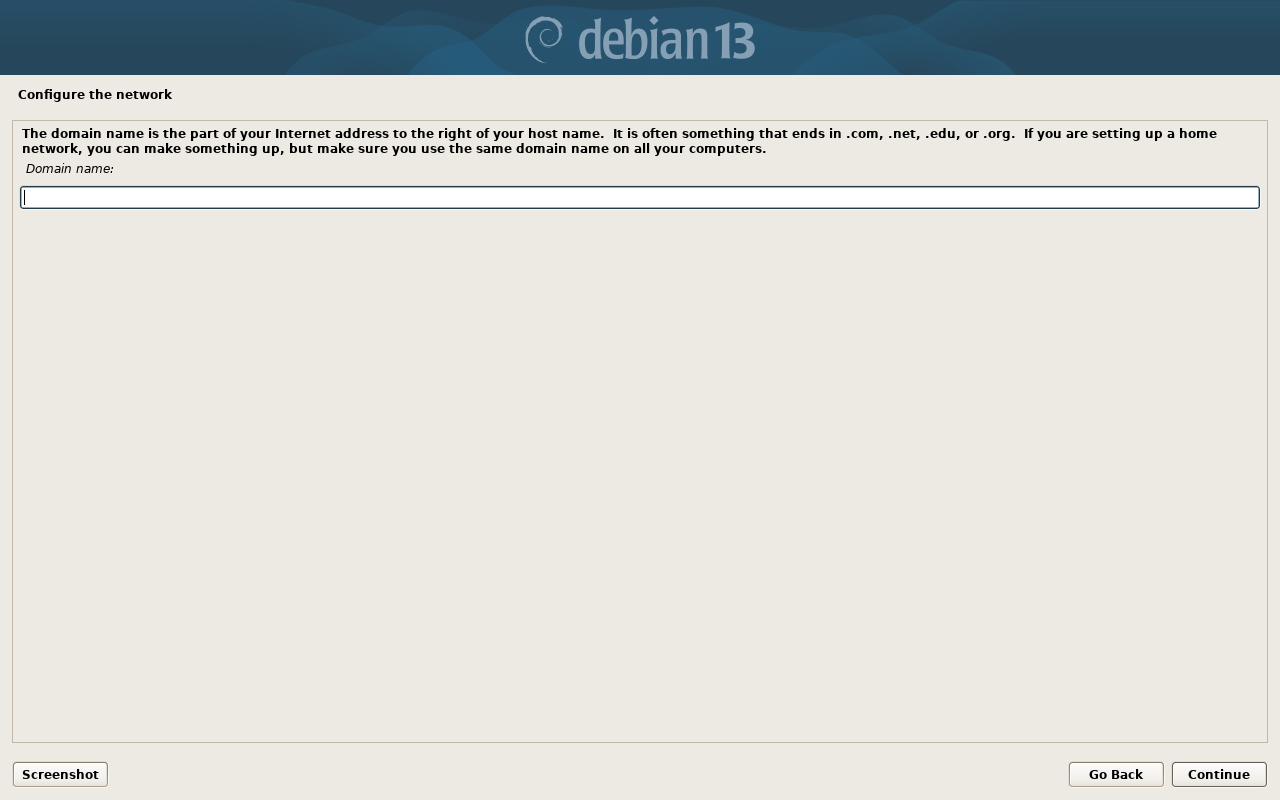
You can leave this empty.
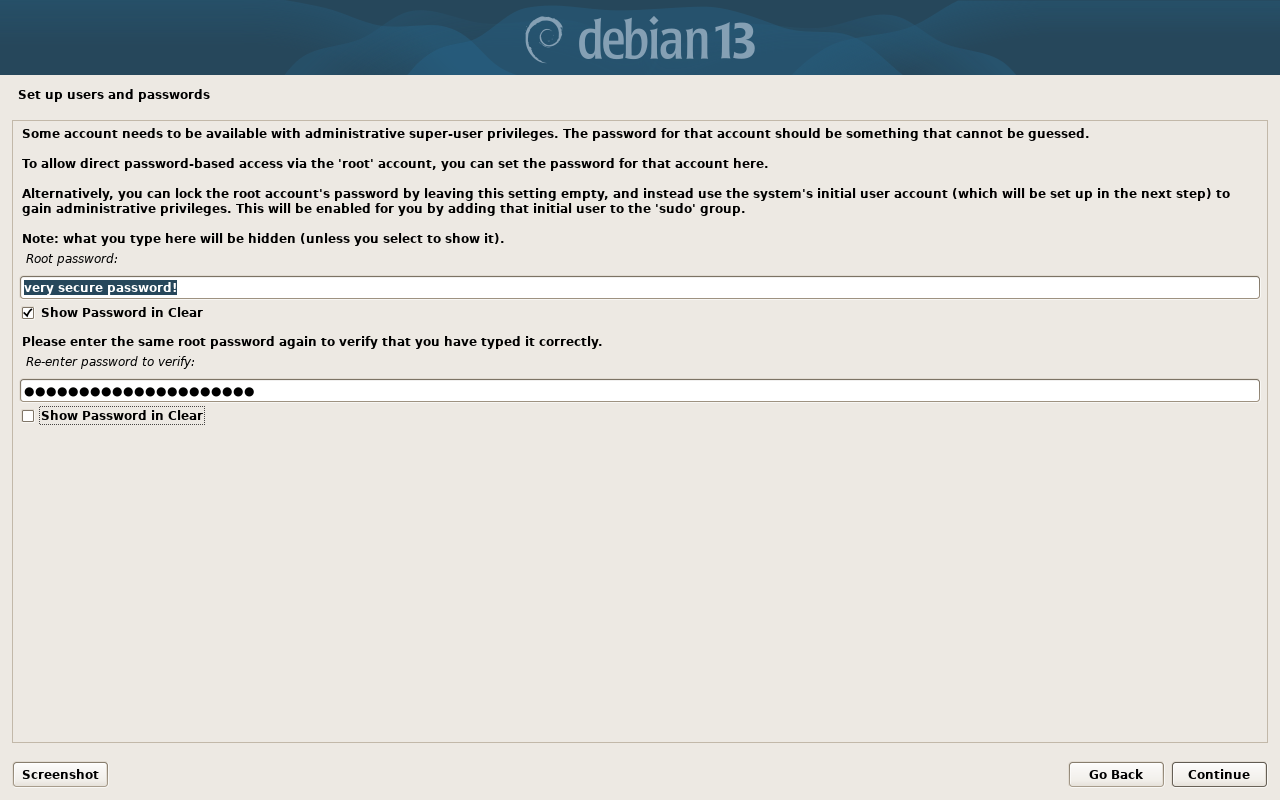
You should choose a secure password. It will be your admin password. If possible use a randomly generated one with more than 8 characters and special characters!
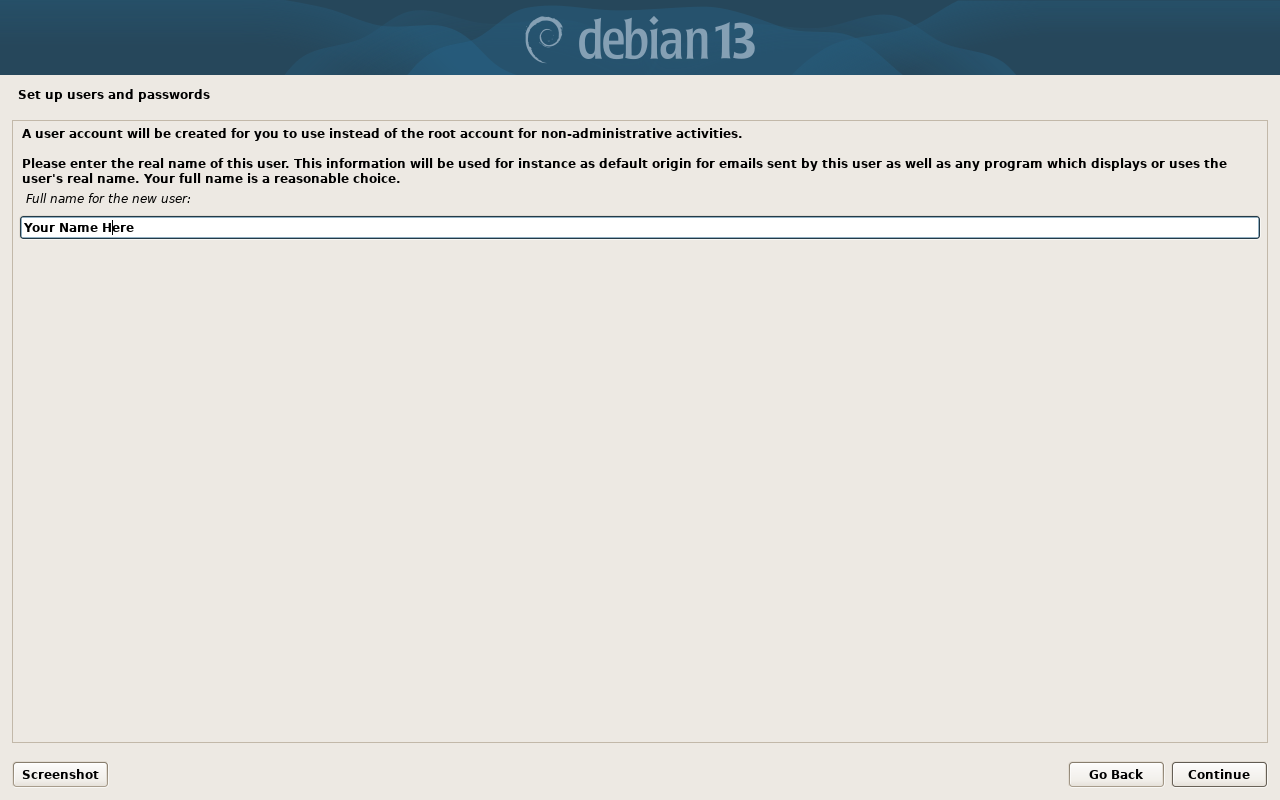
You do not have to use your real name.
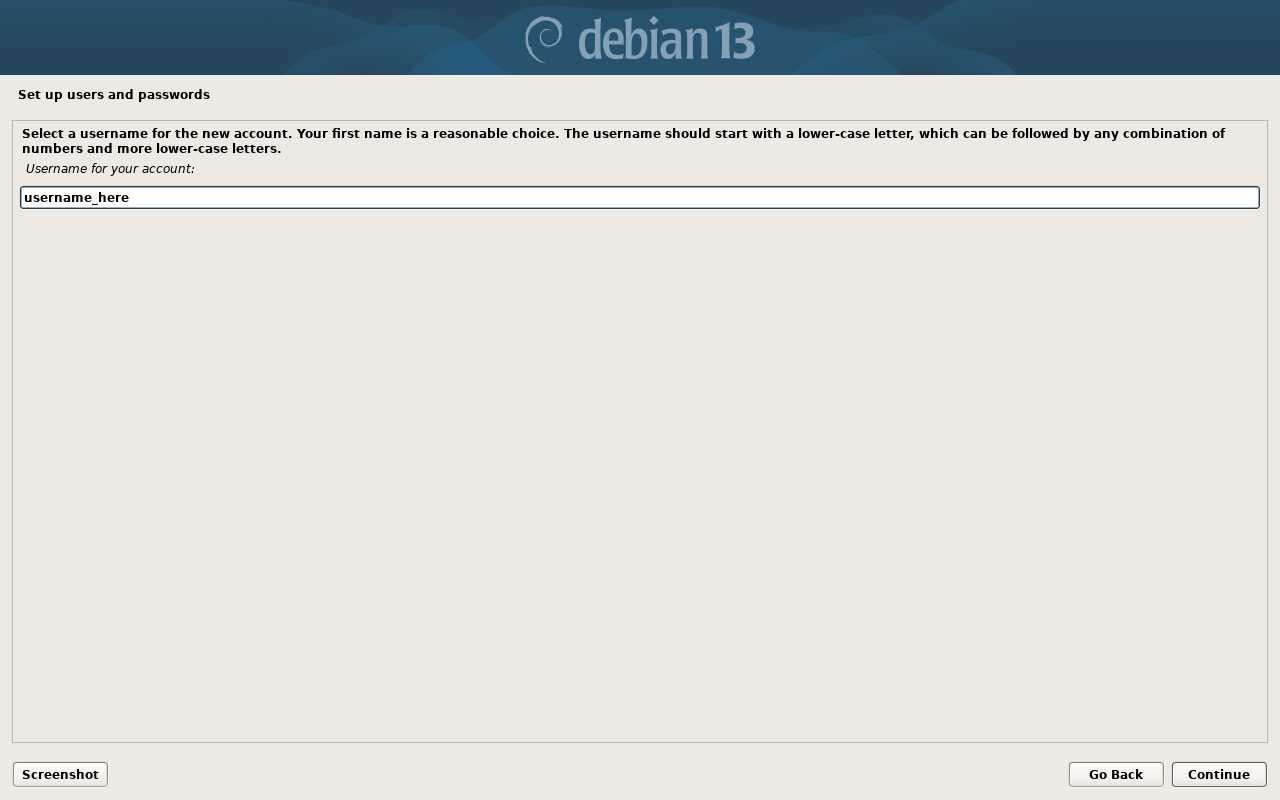
You cannot use capital letters and some special characters. We recommend to choose a short name.
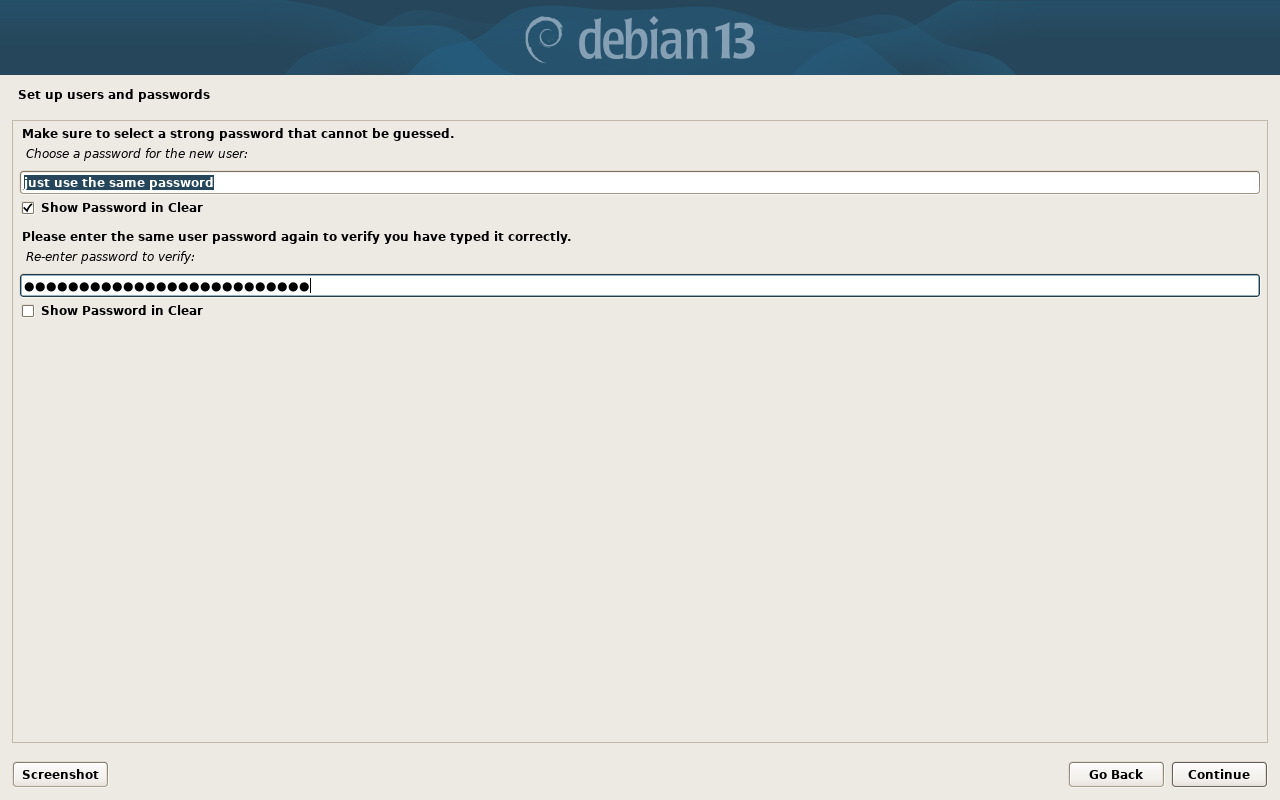
You can set the same password you choose for the admin user.
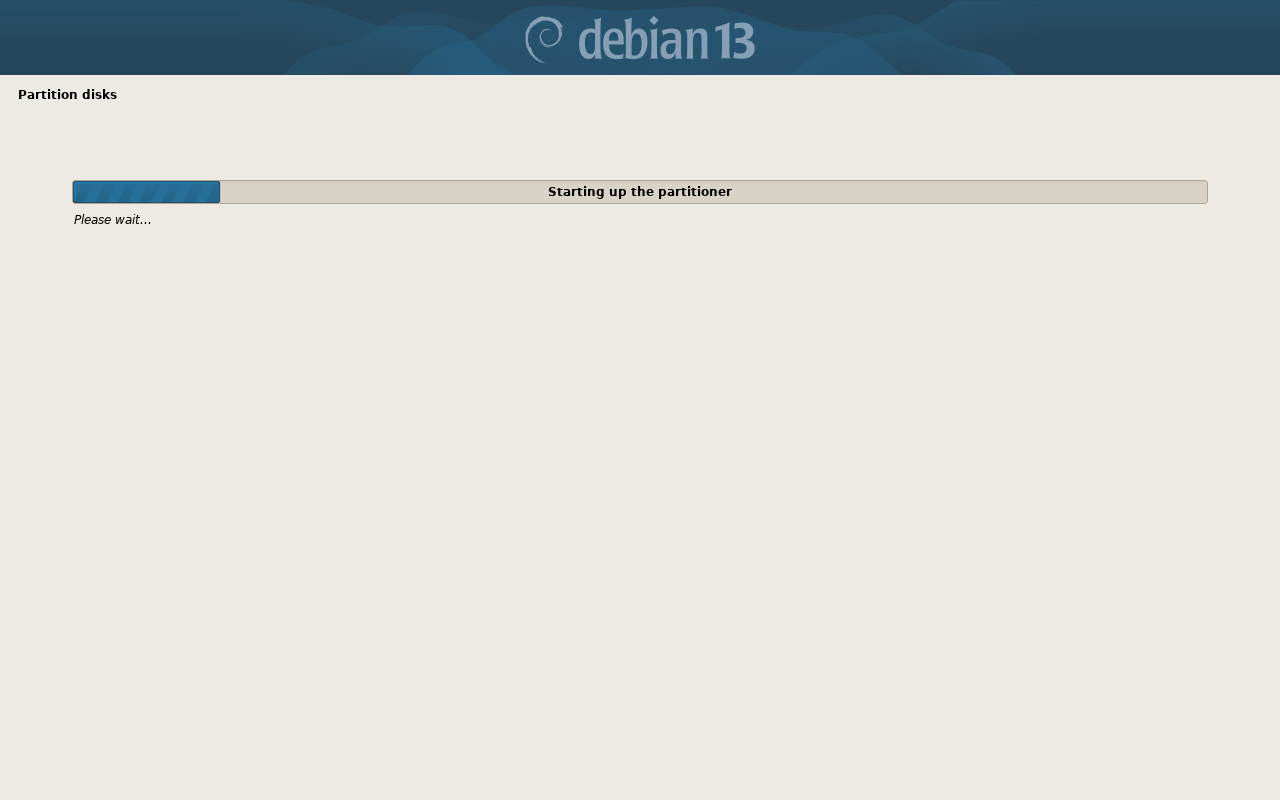
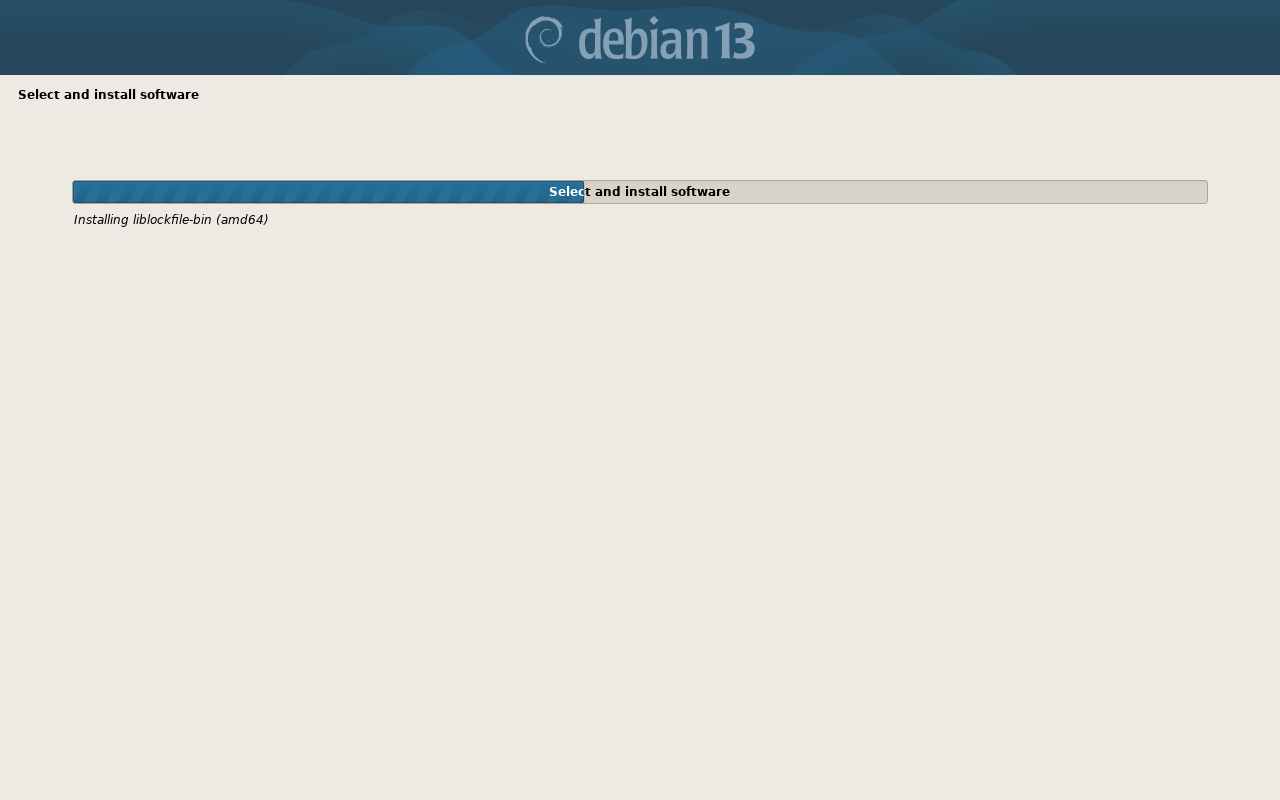
More waiting...
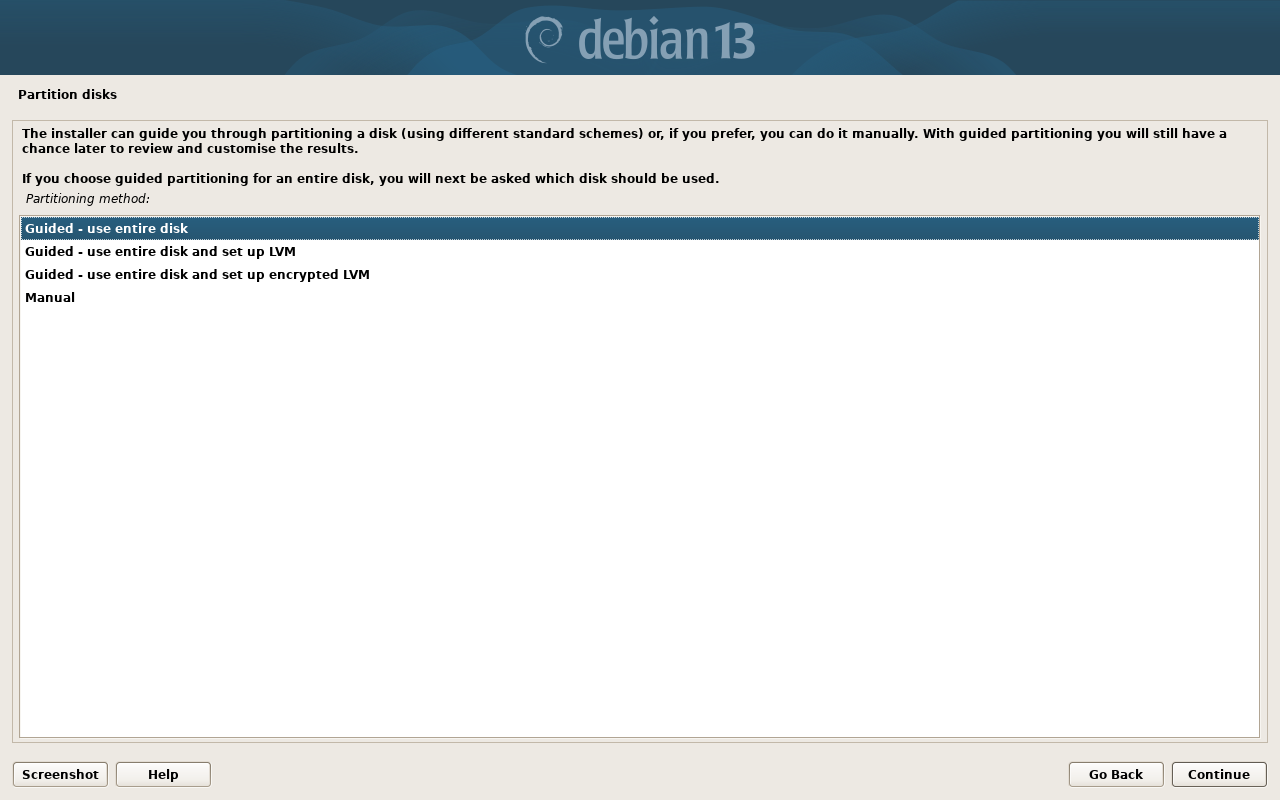
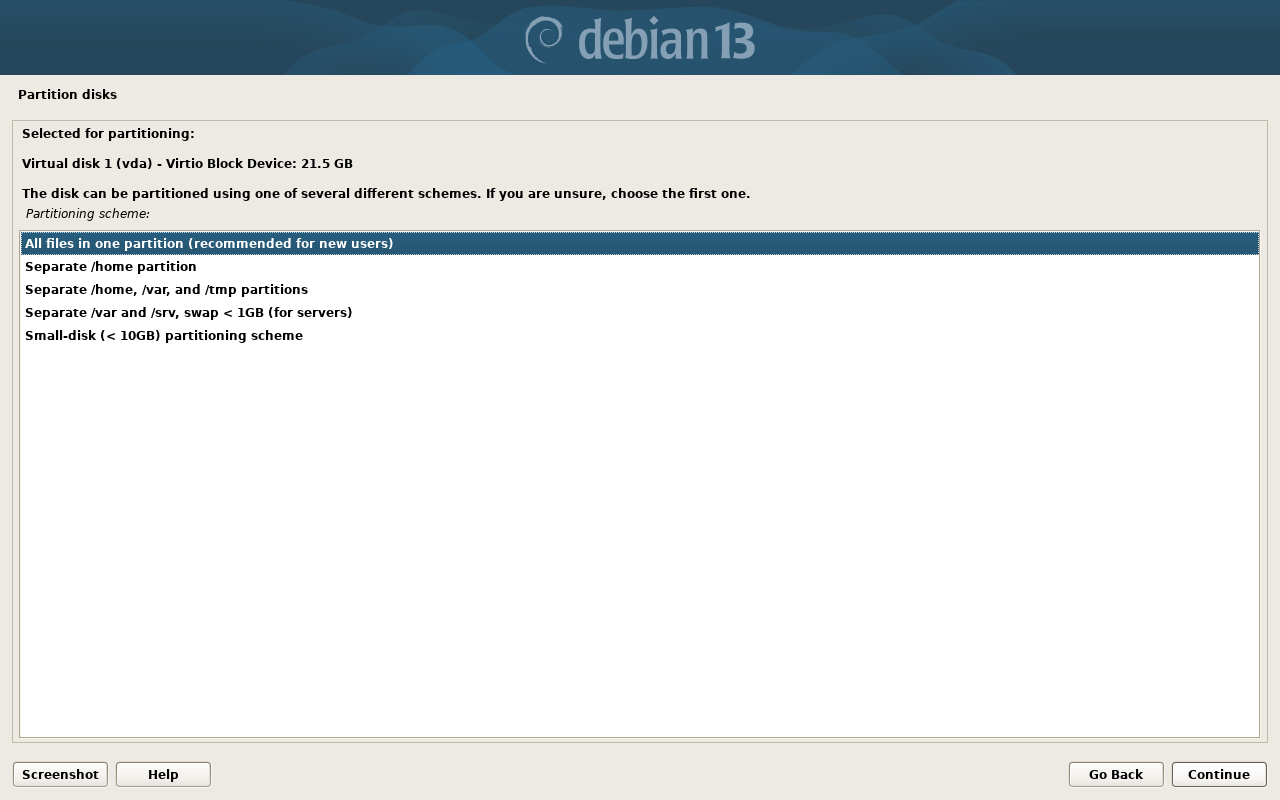
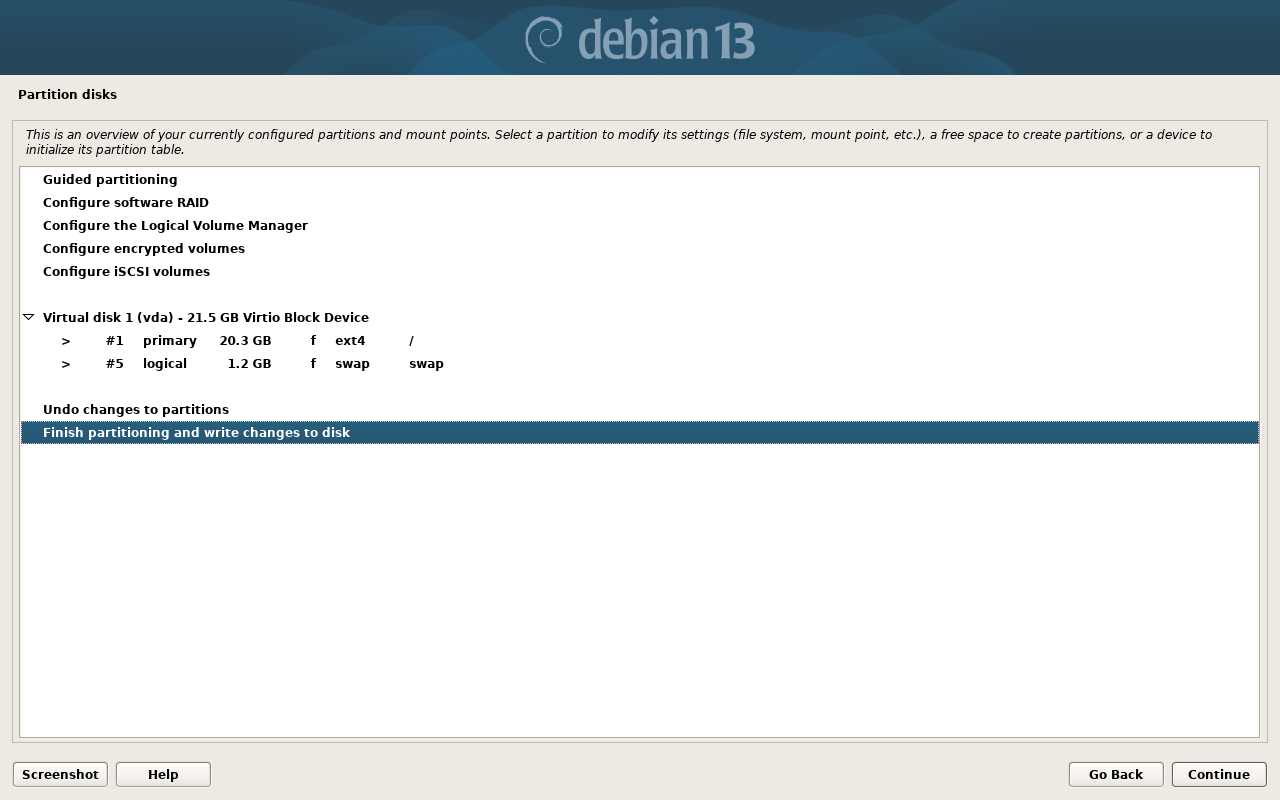
We will use the entire disk as the boot and system drive.


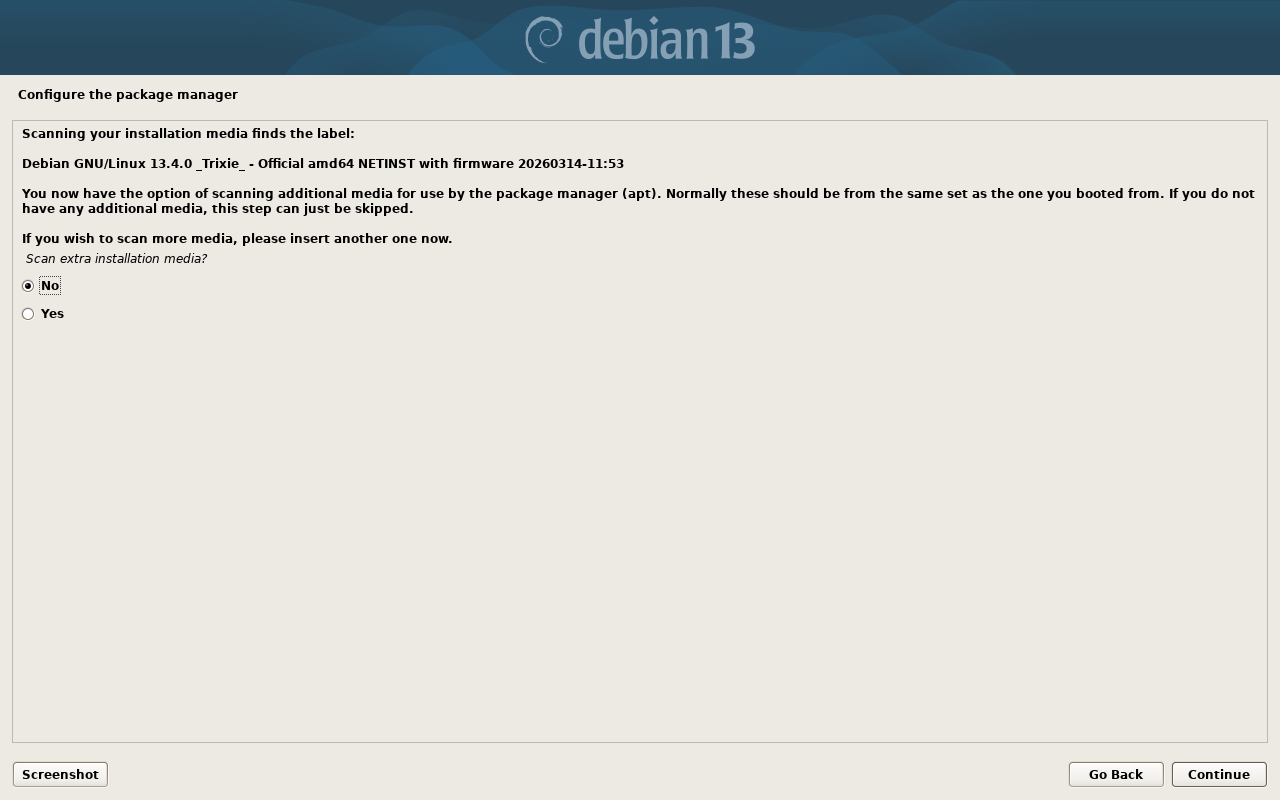
No, we will use the current USB device.
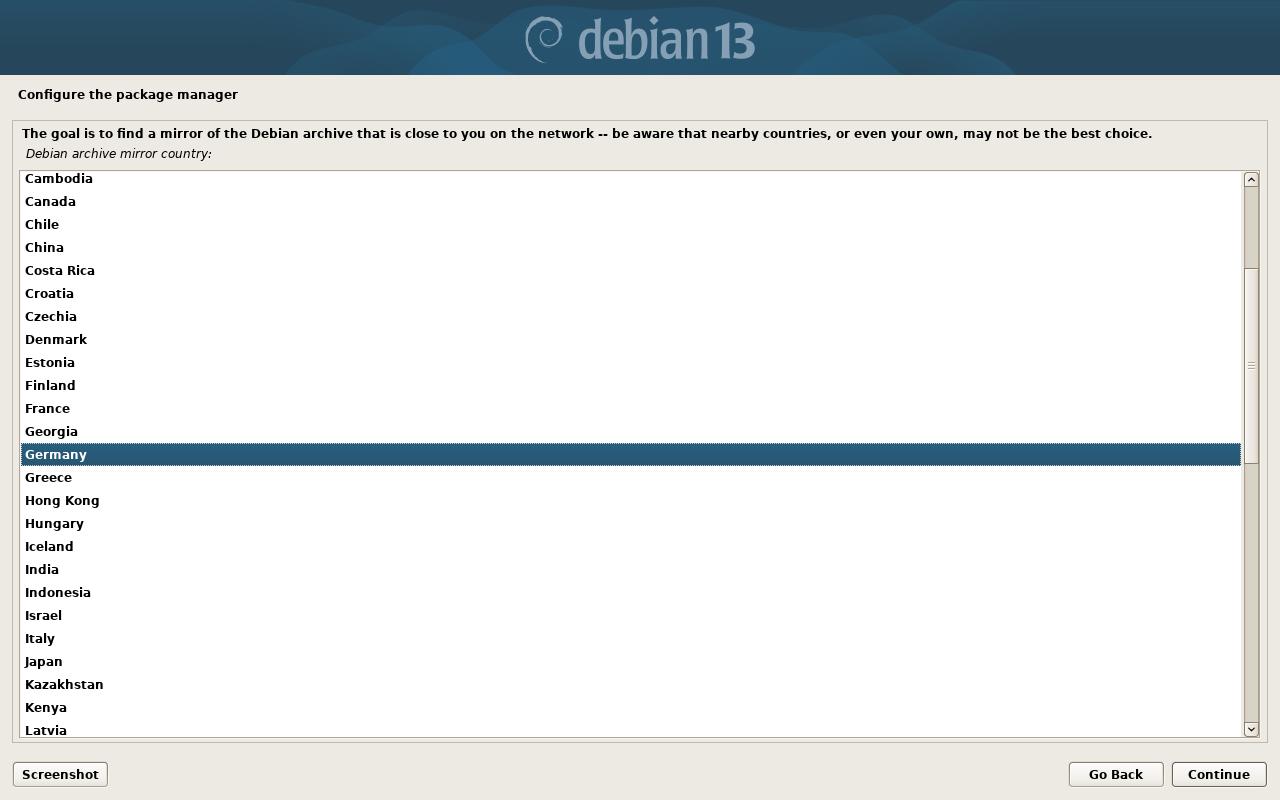
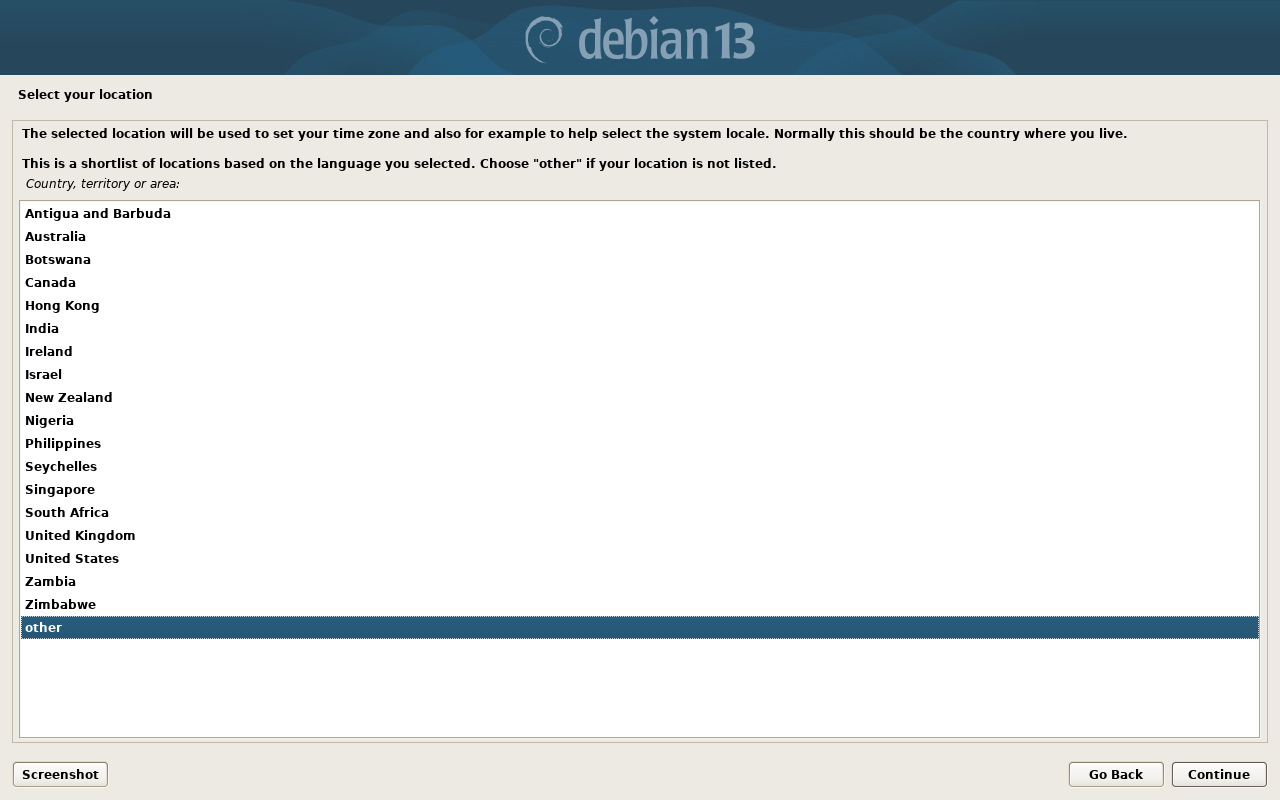
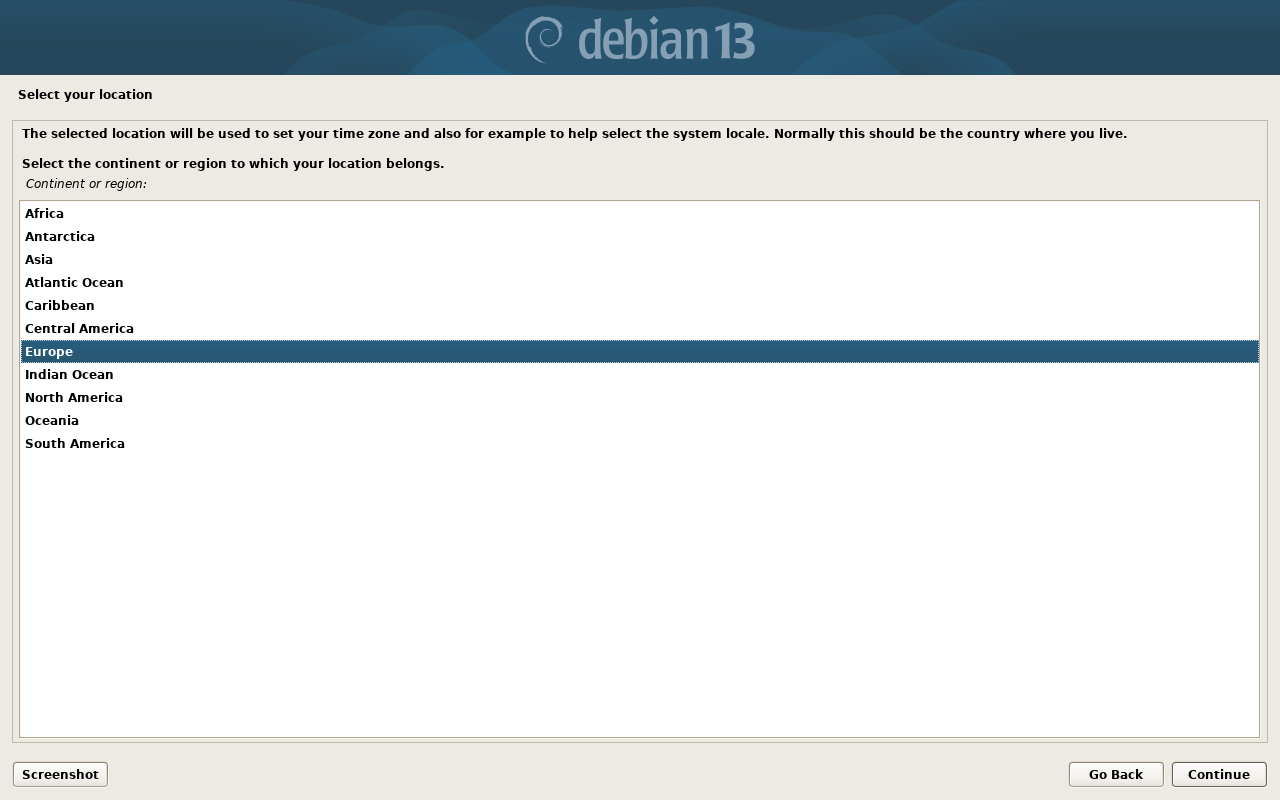
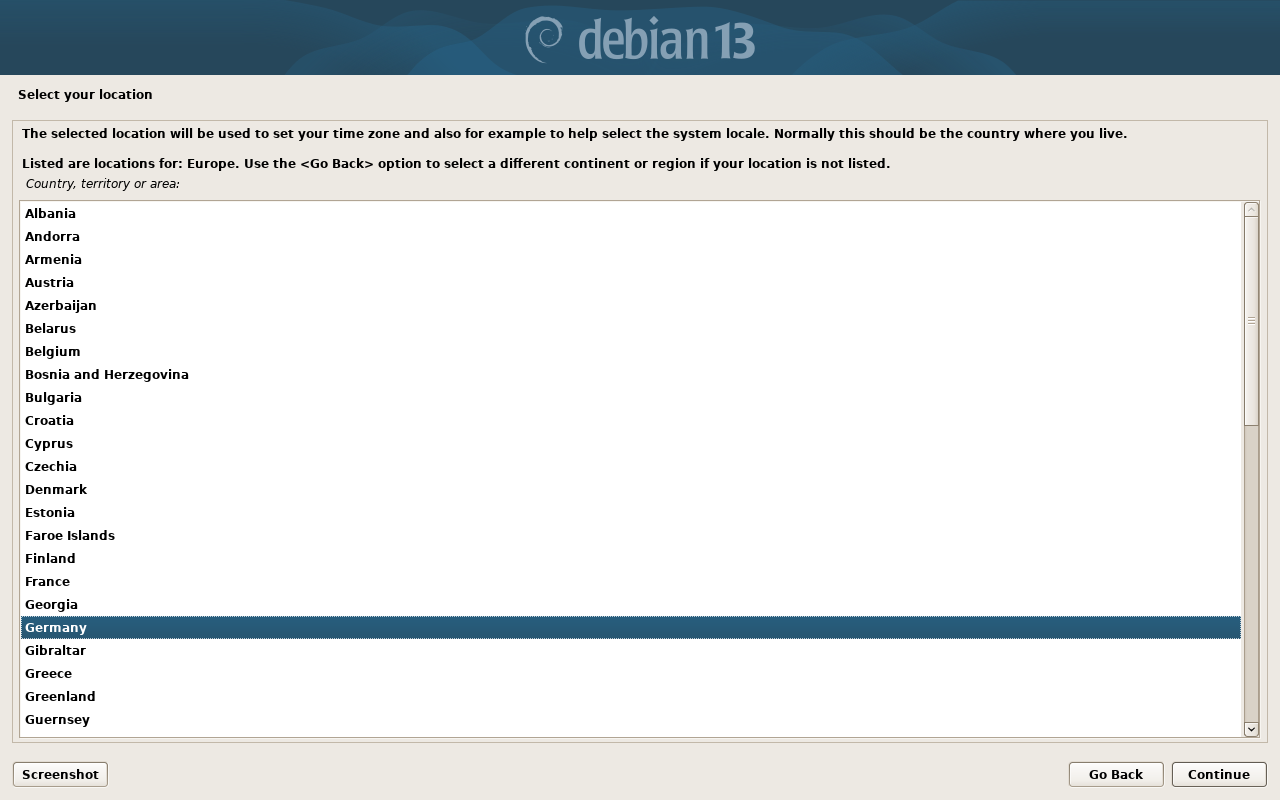
It is recommend to choose a server nearest to you. This will drastically increase update and installation speed. We are currently in Germany, so select Germany. If you move the server to another country you might want to update it later.
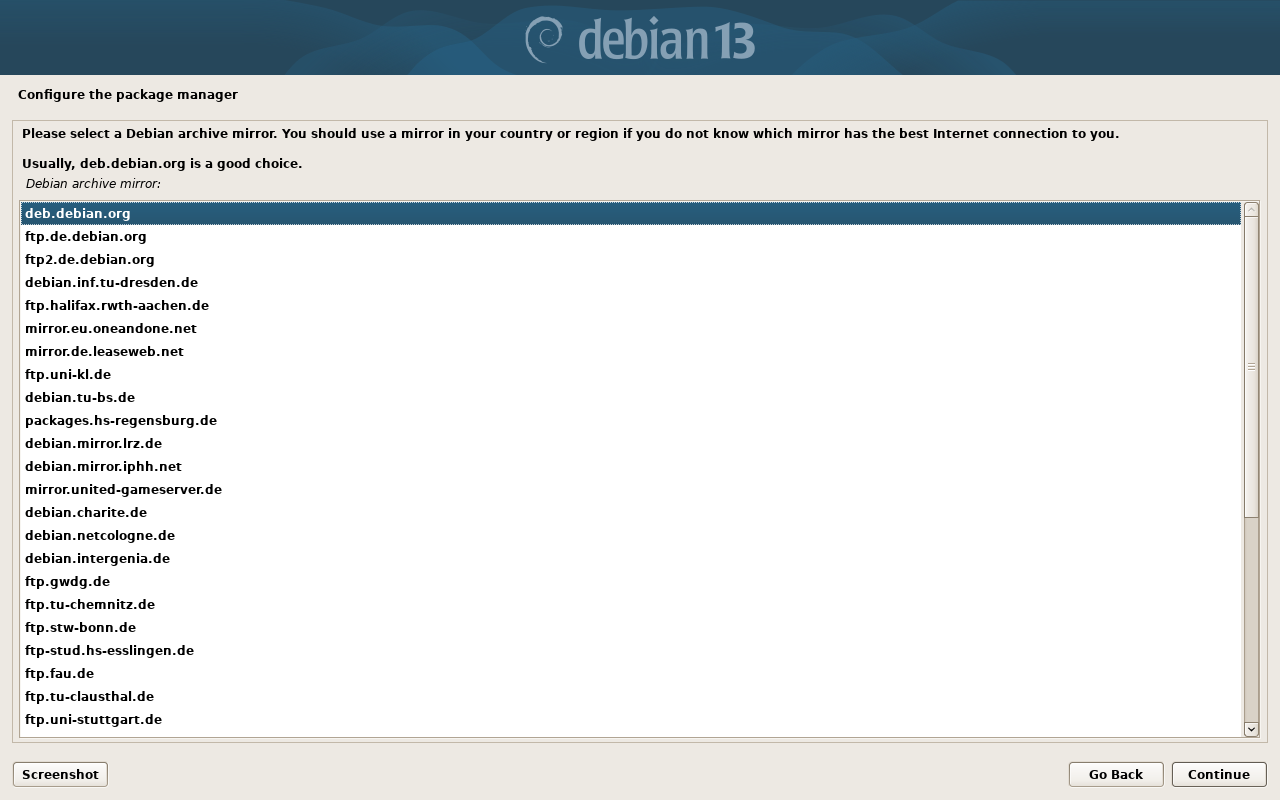
The package manager uses 'mirrors' to download updates and programs. You can choose a different one but they might have limited download speed. Note that many universities, etc. also host mirrors.
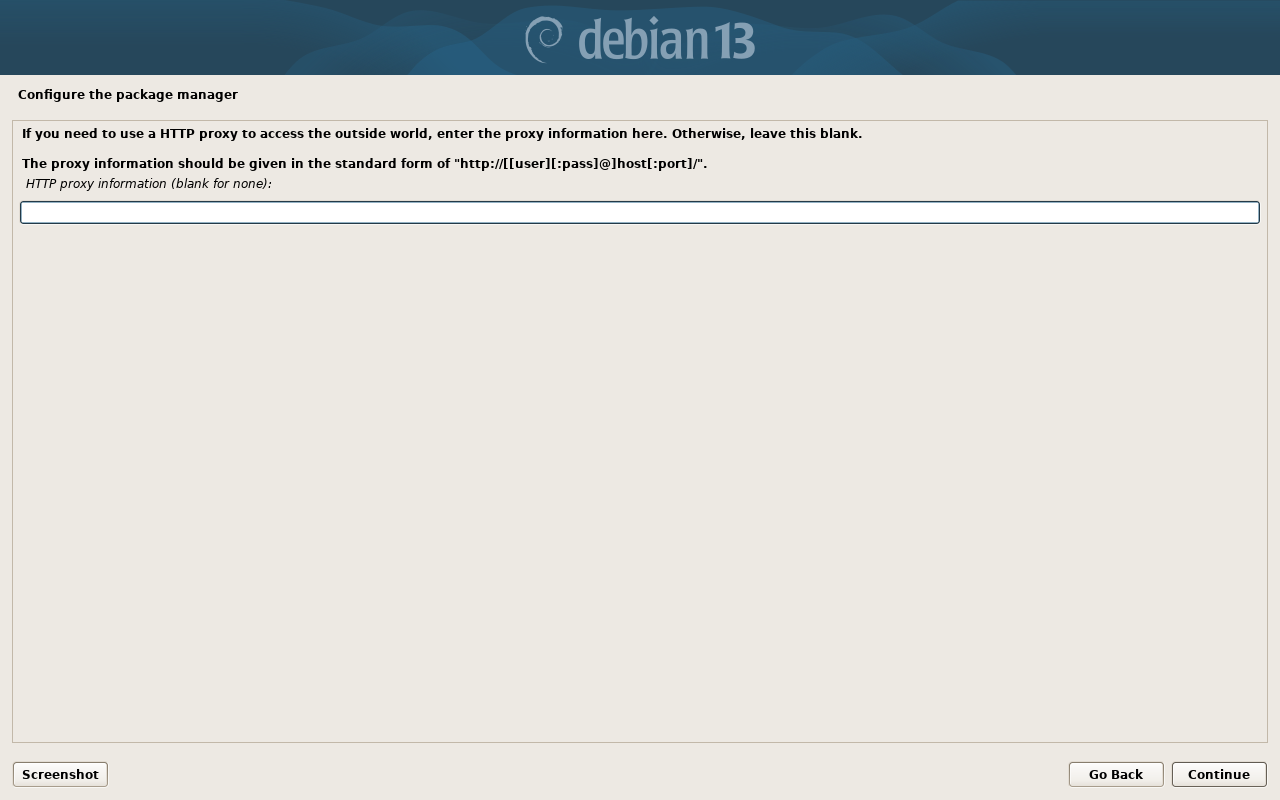
You can leave this empty.
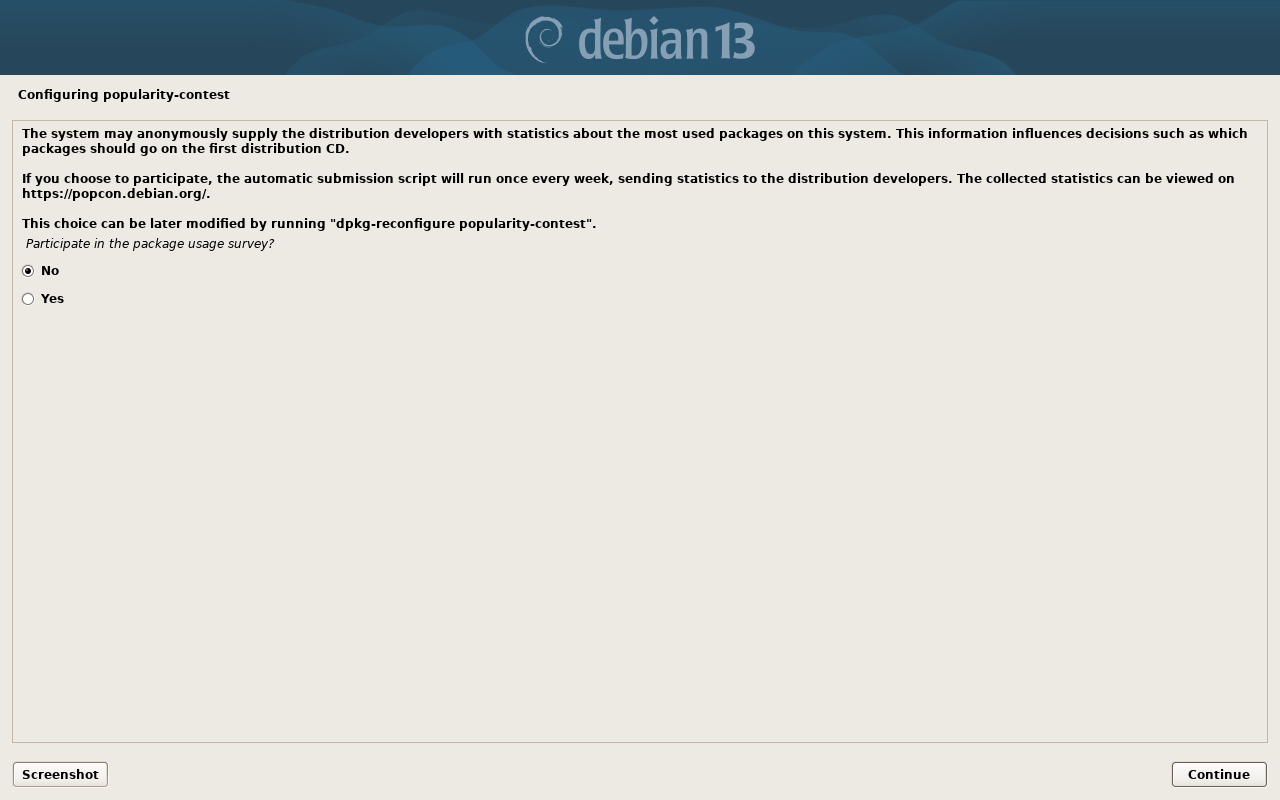
You can choose to participate if you want.
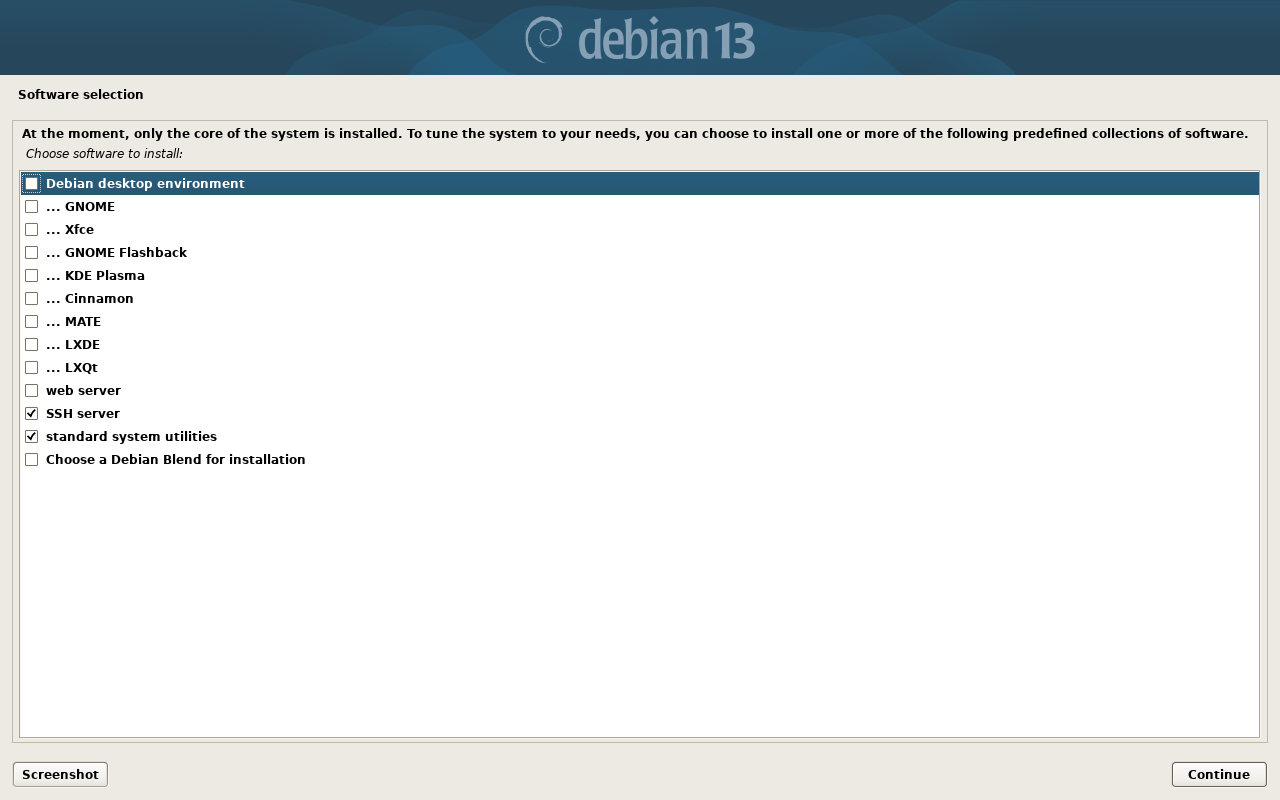
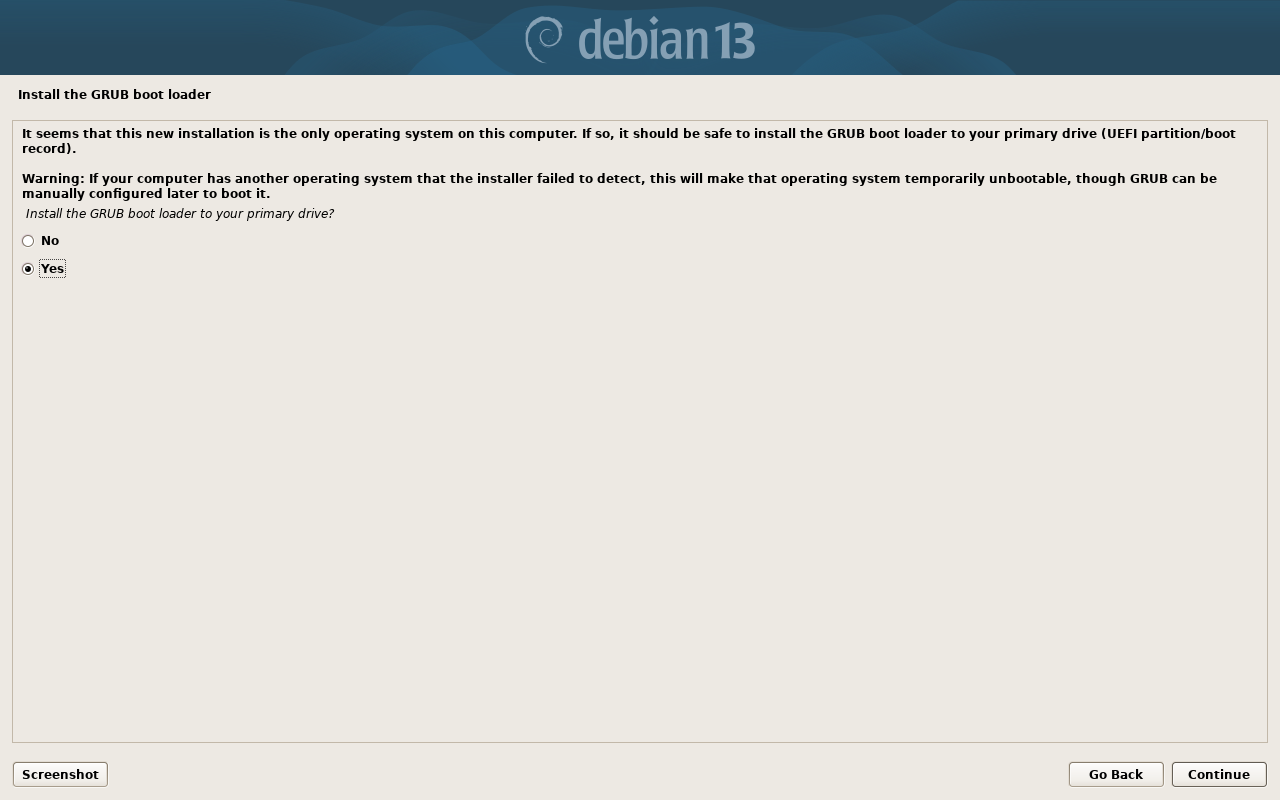
Even if another OS exists, override it. Leaving it install might cause problems later.

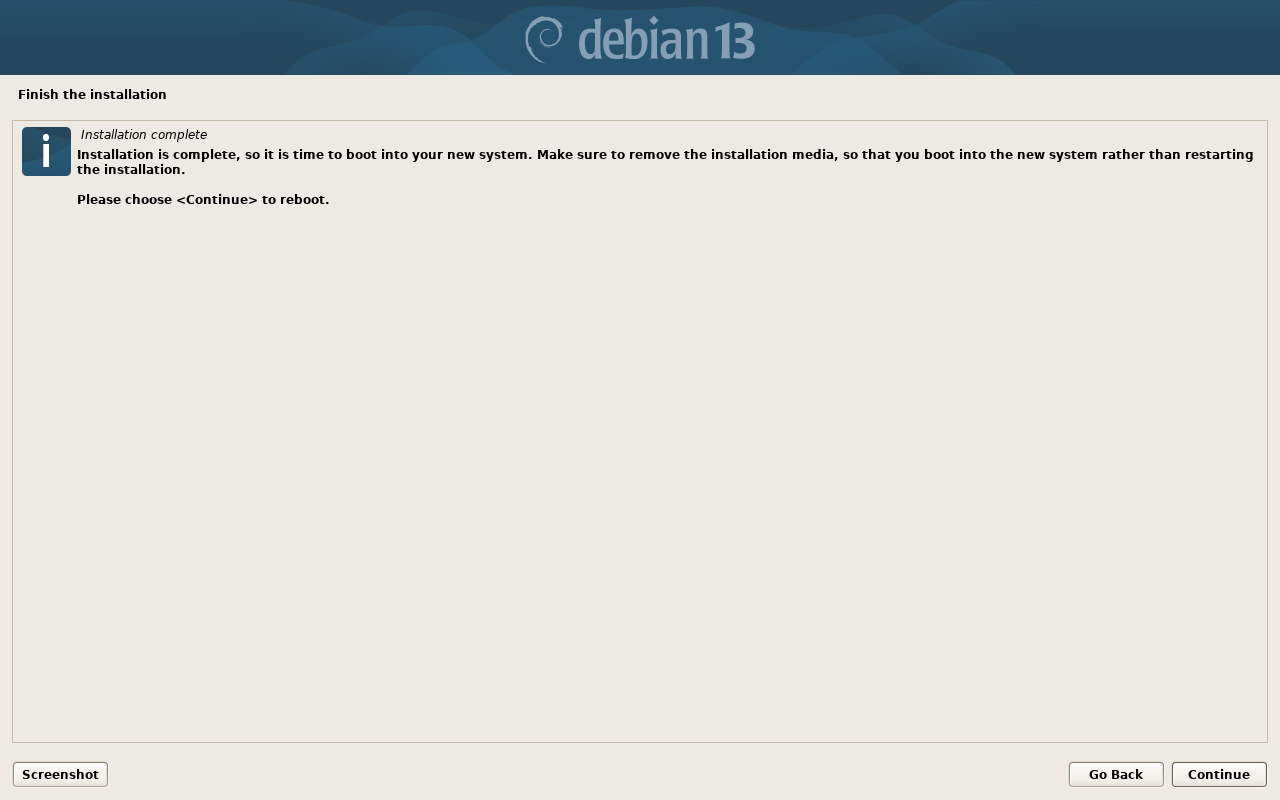
Now wait until the installation is done. Remove your USB Stick and reboot. Now you should be able to connect via SSH. For that we need the IP of you PC.
Get your IP
After a reboot you will see a terminal prompting you to enter a username and after that a password:
SOME TEXT
HOSTNAME login: <YOUR USERNAME HERE>
After entering your username a password prompt should appear. Enter your password. Be aware that it will not be visible for security reasons.
When you are logged in, enter
hostname -i
This will display the IPv6 and IPv4. We will use the IPv4 because it is shorter (Should look like 10.60.70.42).
Remote Connection
In your terminal of your PC, enter
ssh <USERNAME>@<IP>
You should get a prompt like this. (Enter yes to accept the fingerprint)
The authenticity of host '<IP>' can't be established.
ED25519 key fingerprint is: SHA256:eUXGGm1YGsMAS7vkcx6JOJdOGHPem5gQp4taiCfCLB8
This key is not known by any other names.
Are you sure you want to continue connecting (yes/no/[fingerprint])?

<USERNAME>@<IP>'s password:
Enter the password you set. Note that it will not be shown when typing. If you log in successfully, you should see an output like
Linux <IP> 6.8.12-16 #1 SMP PREEMPT_DYNAMIC PMX 6.8.12-16 (2025-10-14T08:58Z) <x86|ARM>

The programs included with the Debian GNU/Linux system are free software;
the exact distribution terms for each program are described in the
individual files in /usr/share/doc/*/copyright.

Debian GNU/Linux comes with ABSOLUTELY NO WARRANTY, to the extent
permitted by applicable law.
You have mail.
Last login: Sat Apr 18 10:00:59 2026 from 100.121.200.236
<USERNAME>@<IP>:~#
Now you can switch to the root (admin) user with the command
su -
Enter the password again. Now the <USERNAME> should change to root
Key Based Authentication
This step requires you to be root
In the next steps we will setup root login with ssh keys.
For that you need your ssh public key you created on you normal PC (<YOUR-USER-PATH>/.ssh/id_ed25519.pub).
Next we have to copy the content of this file to /root/.ssh/authorized_keys
We can add one by just running on your Server
echo "<YOUR-KEY-CONTENTS-HERE>" >> /root/.ssh/authorized_keys
You can also add more keys by manually edit this file using nano /root/.ssh/authorized_keys. You can find more on nano at How to nano.