Proxmox is a Debian-based Linux distribution designed for running virtual machines. It is suited well for home labs because of it's friendly web interface and big community. We are going to set up a single node (which is what Proxmox calls a physical server).
Installing Proxmox
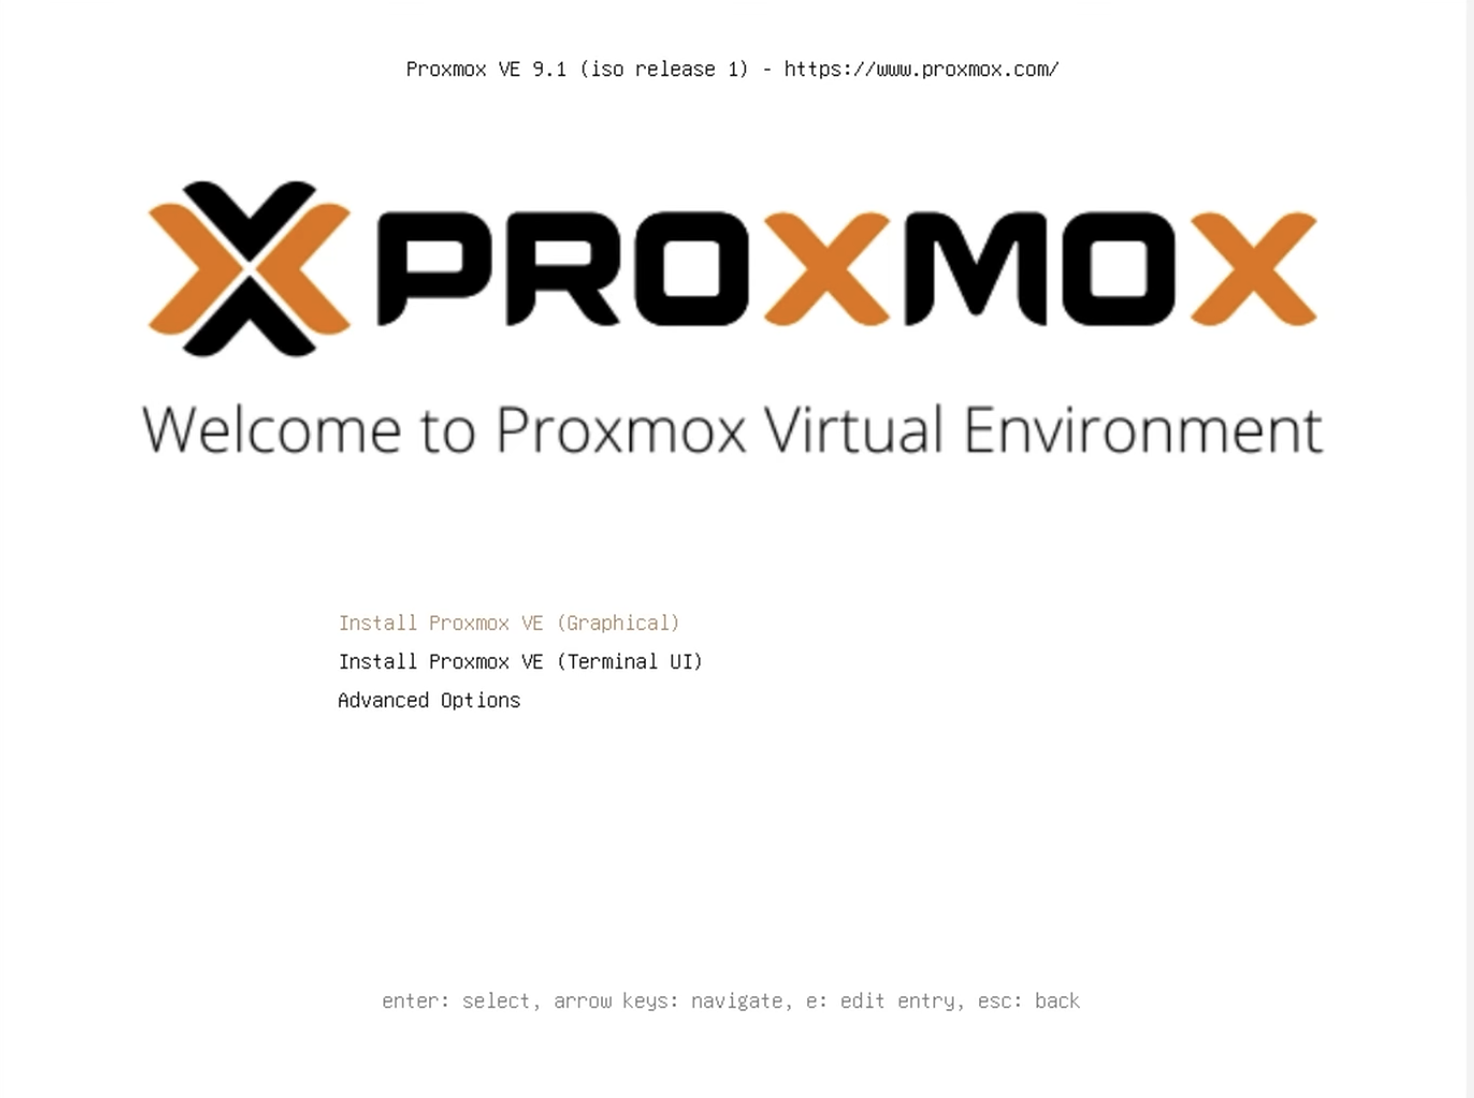
Grab a USB stick labelled Proxmox or download an image and flash your own. Plug in the USB stick into your device and boot from it. If you don't know how to do this, search for "<YOUR-DEVICE> bios" or "<YOUR-DEVICE> change boot order", or ask us. If you did everything correctly, you should see the installer:
Accept the EULA. Proxmox is free and open-source software under the AGPLv3, but there is an enterprise subscription.

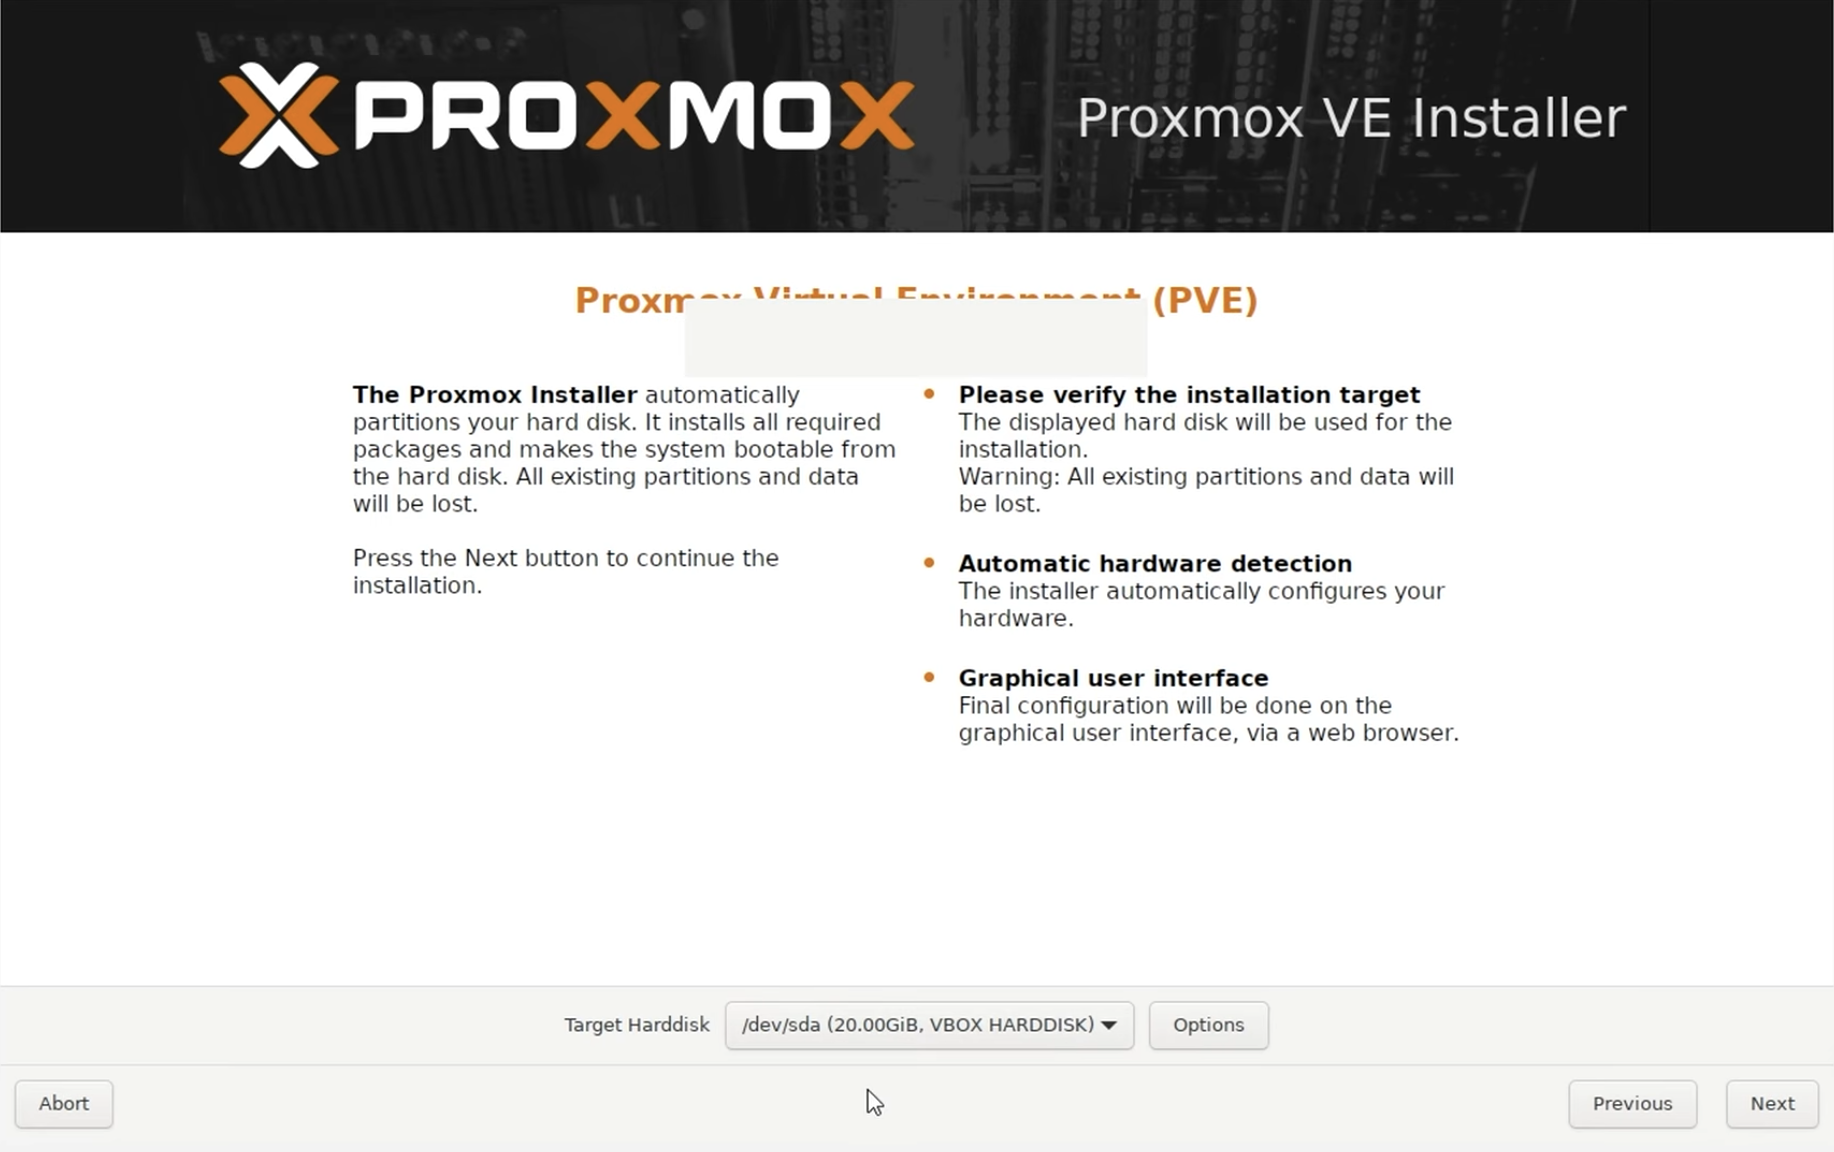
Now, select your drive. Ensure to select the drive you want to use as a boot drive, you can set up additional drives later. The USB thumb drive you're booting off should not show up here.
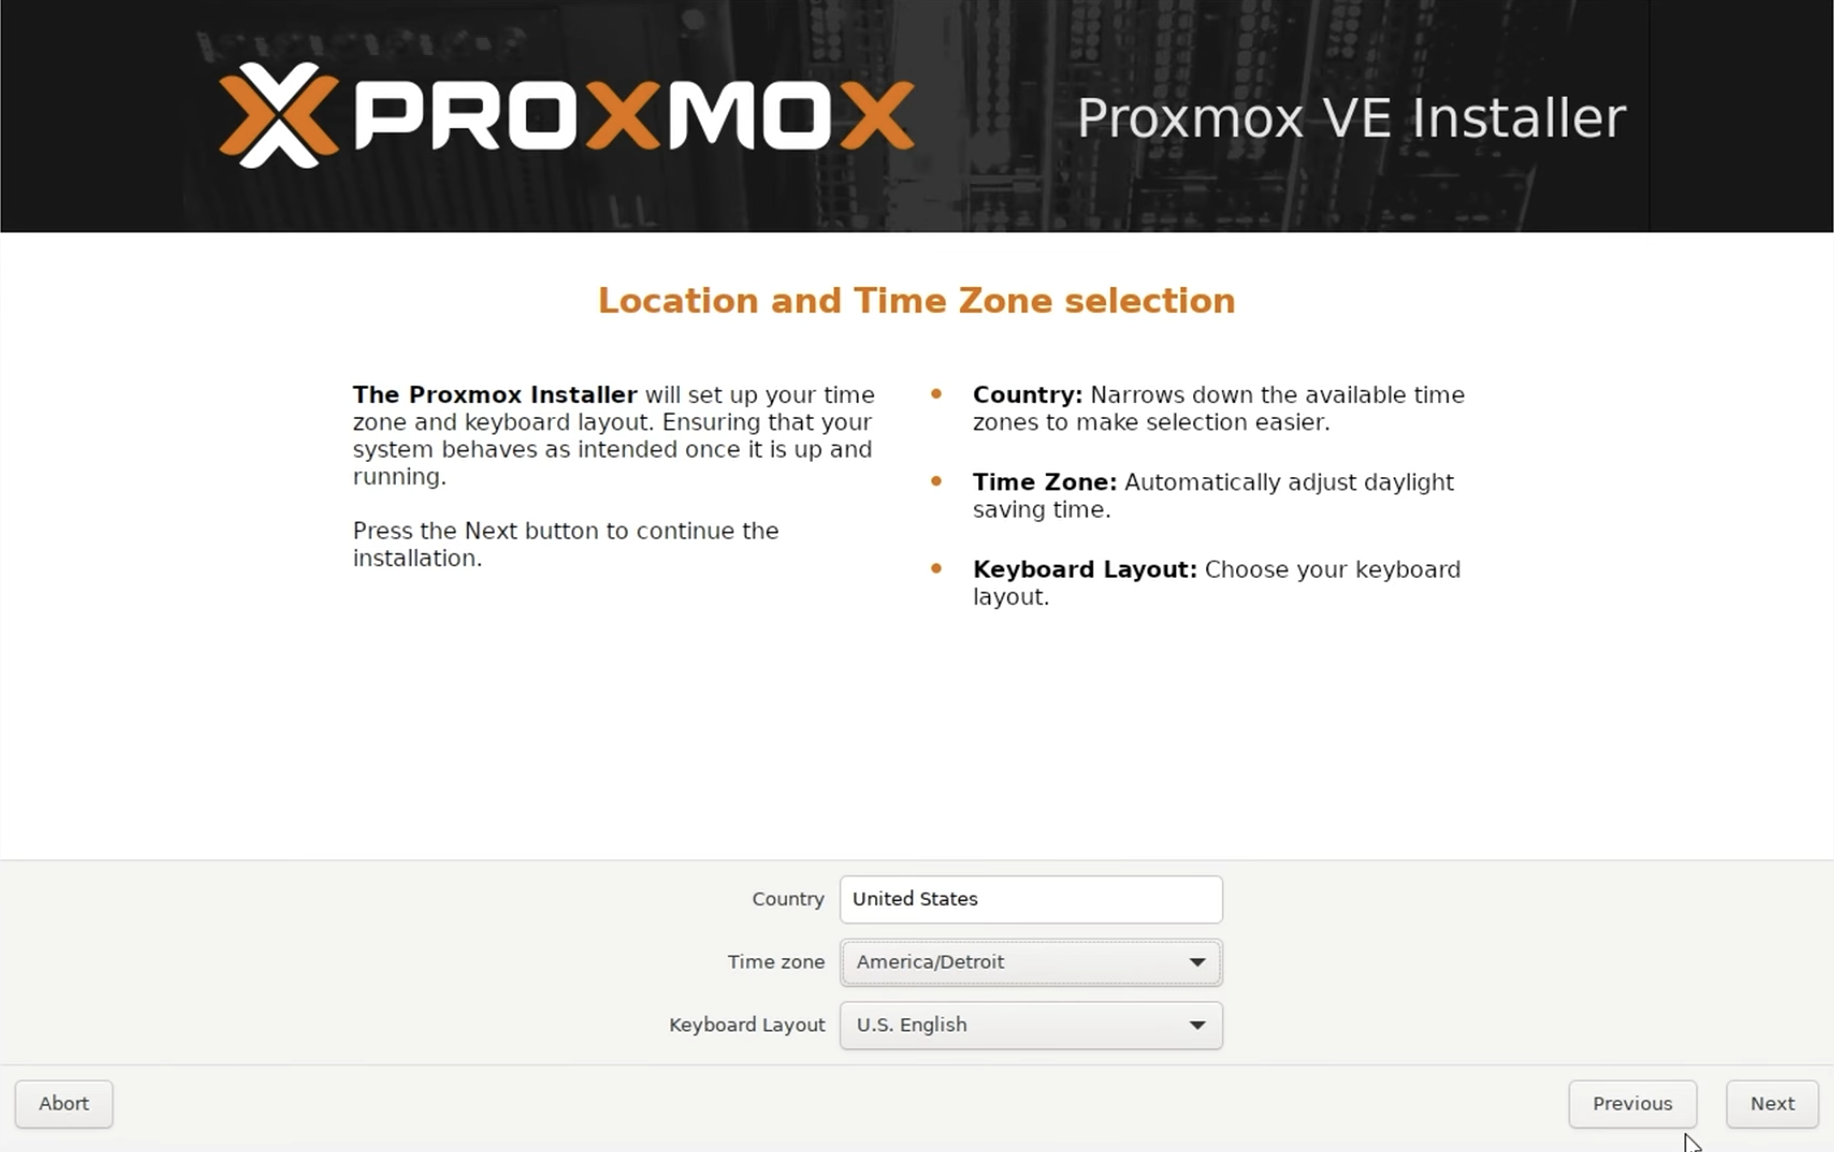
The next step is probably self-explanatory.
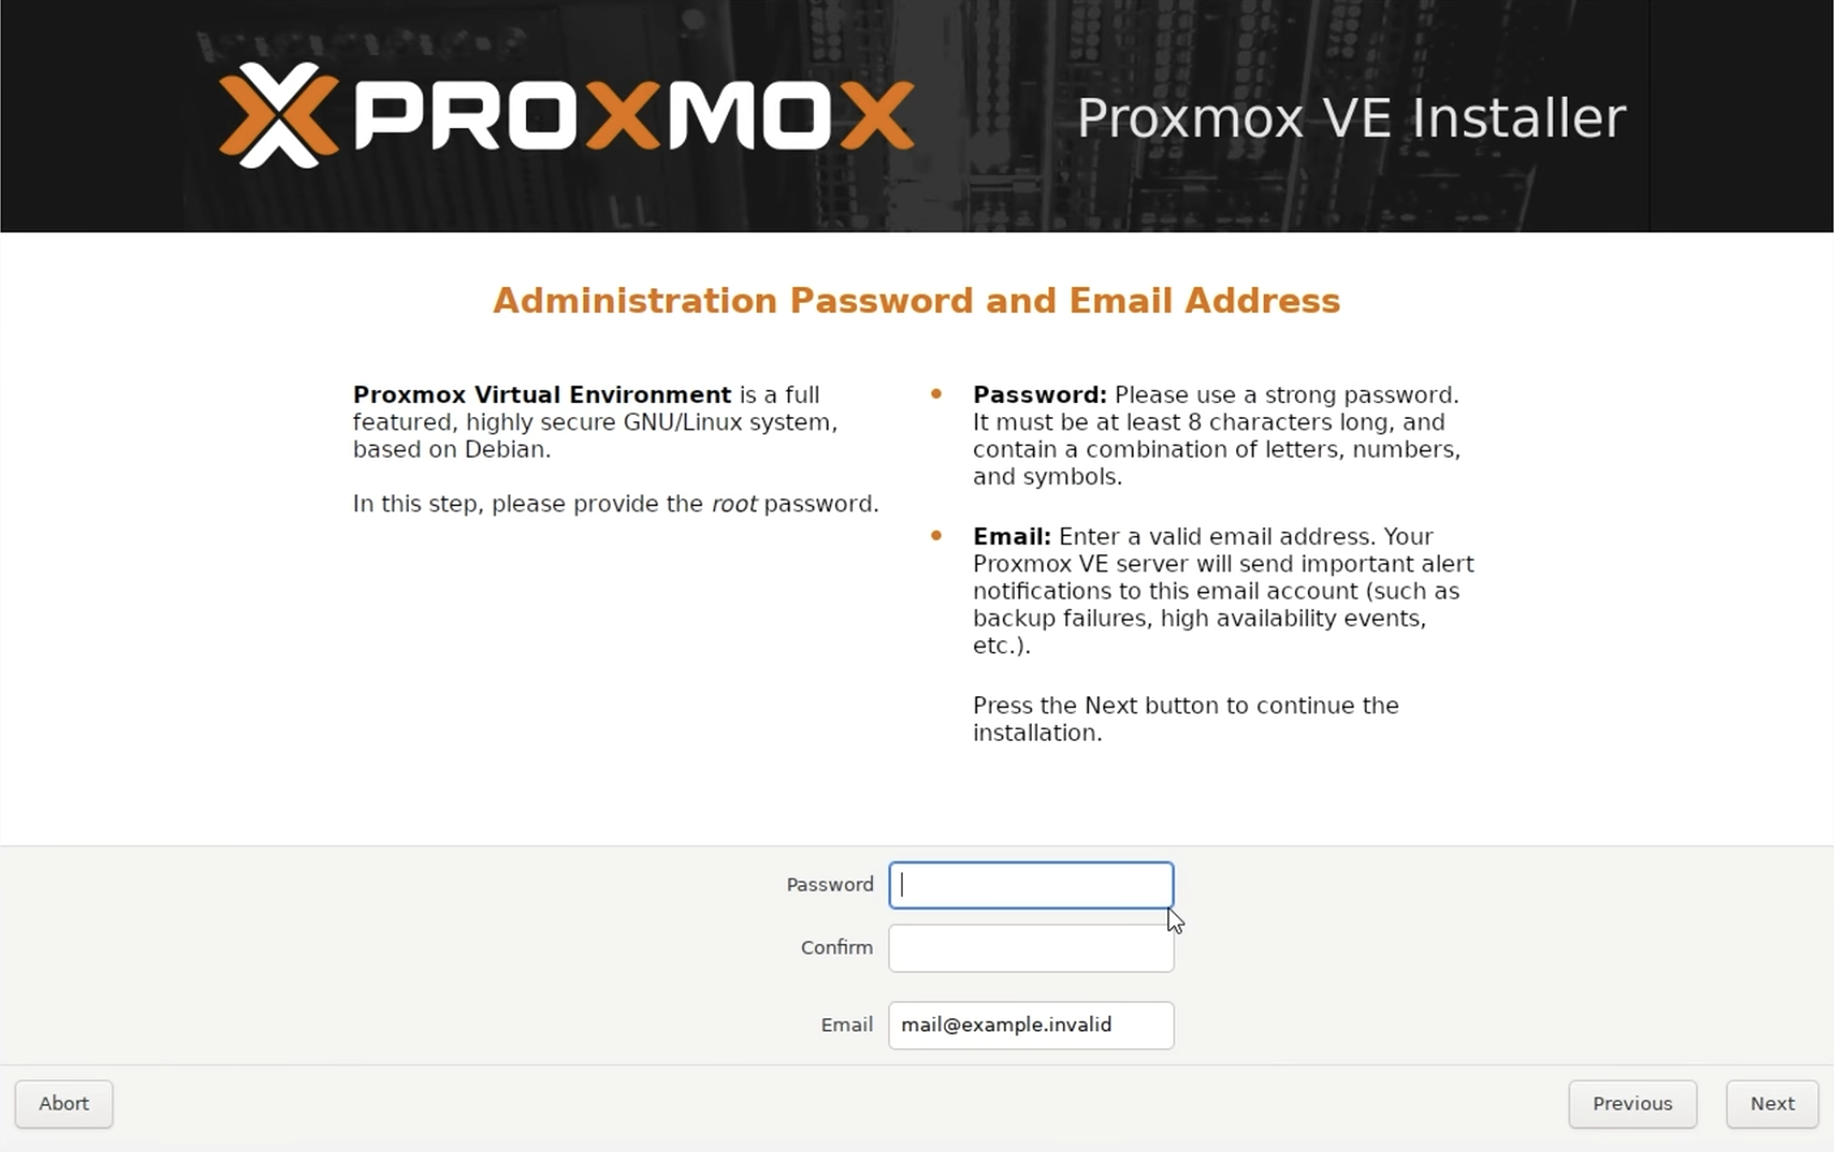
This step is important. Set up a secure password for the root user (you can change this later) and a valid email (you will receive automated messages from your server like backup failures there).
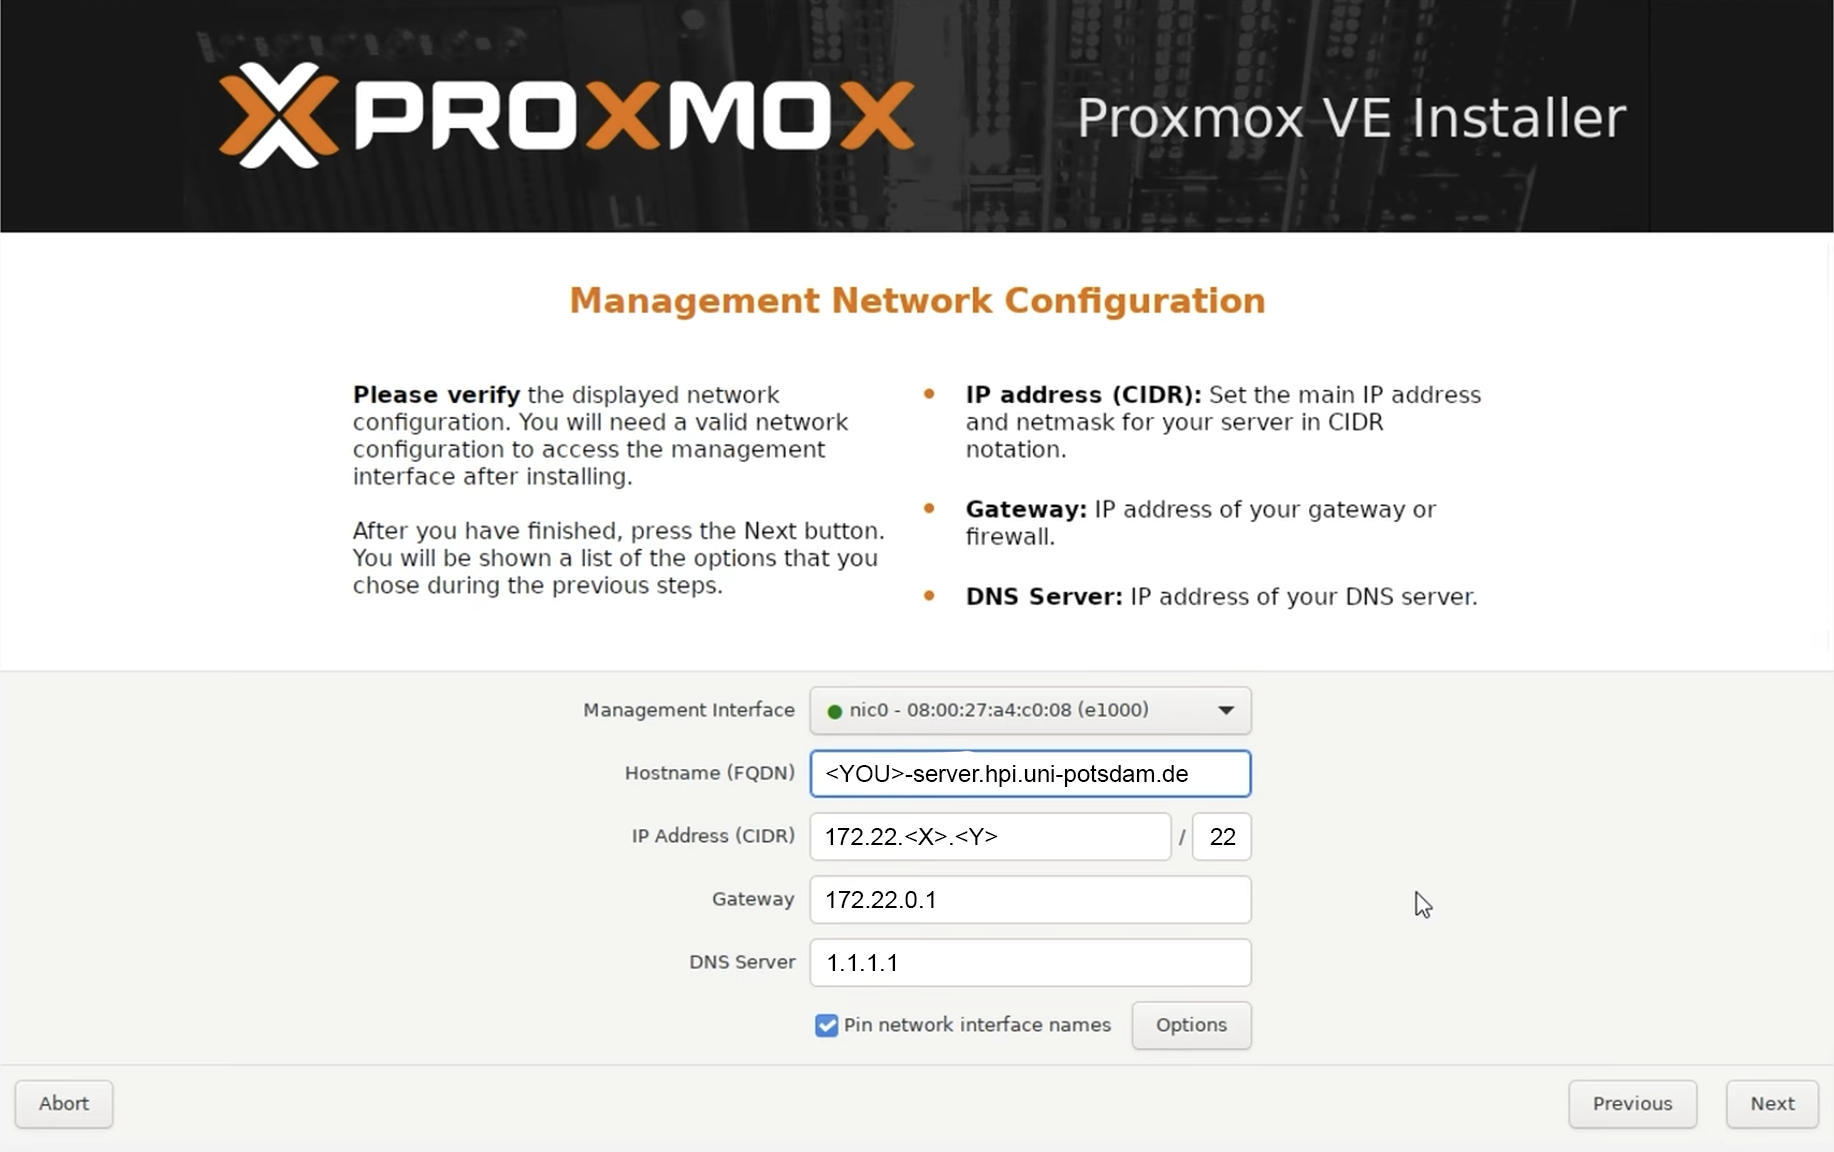
Then, set up networking. You will have to change this when you take the server home, but for now, it should look like this. Change the hostname from whatever it currently is to a unique one, like <YOURNAME>-server. Also ensure to set the DNS server to a public one, either 1.1.1.1 (Cloudflare) or 9.9.9.9 (quad9, European DNS server)
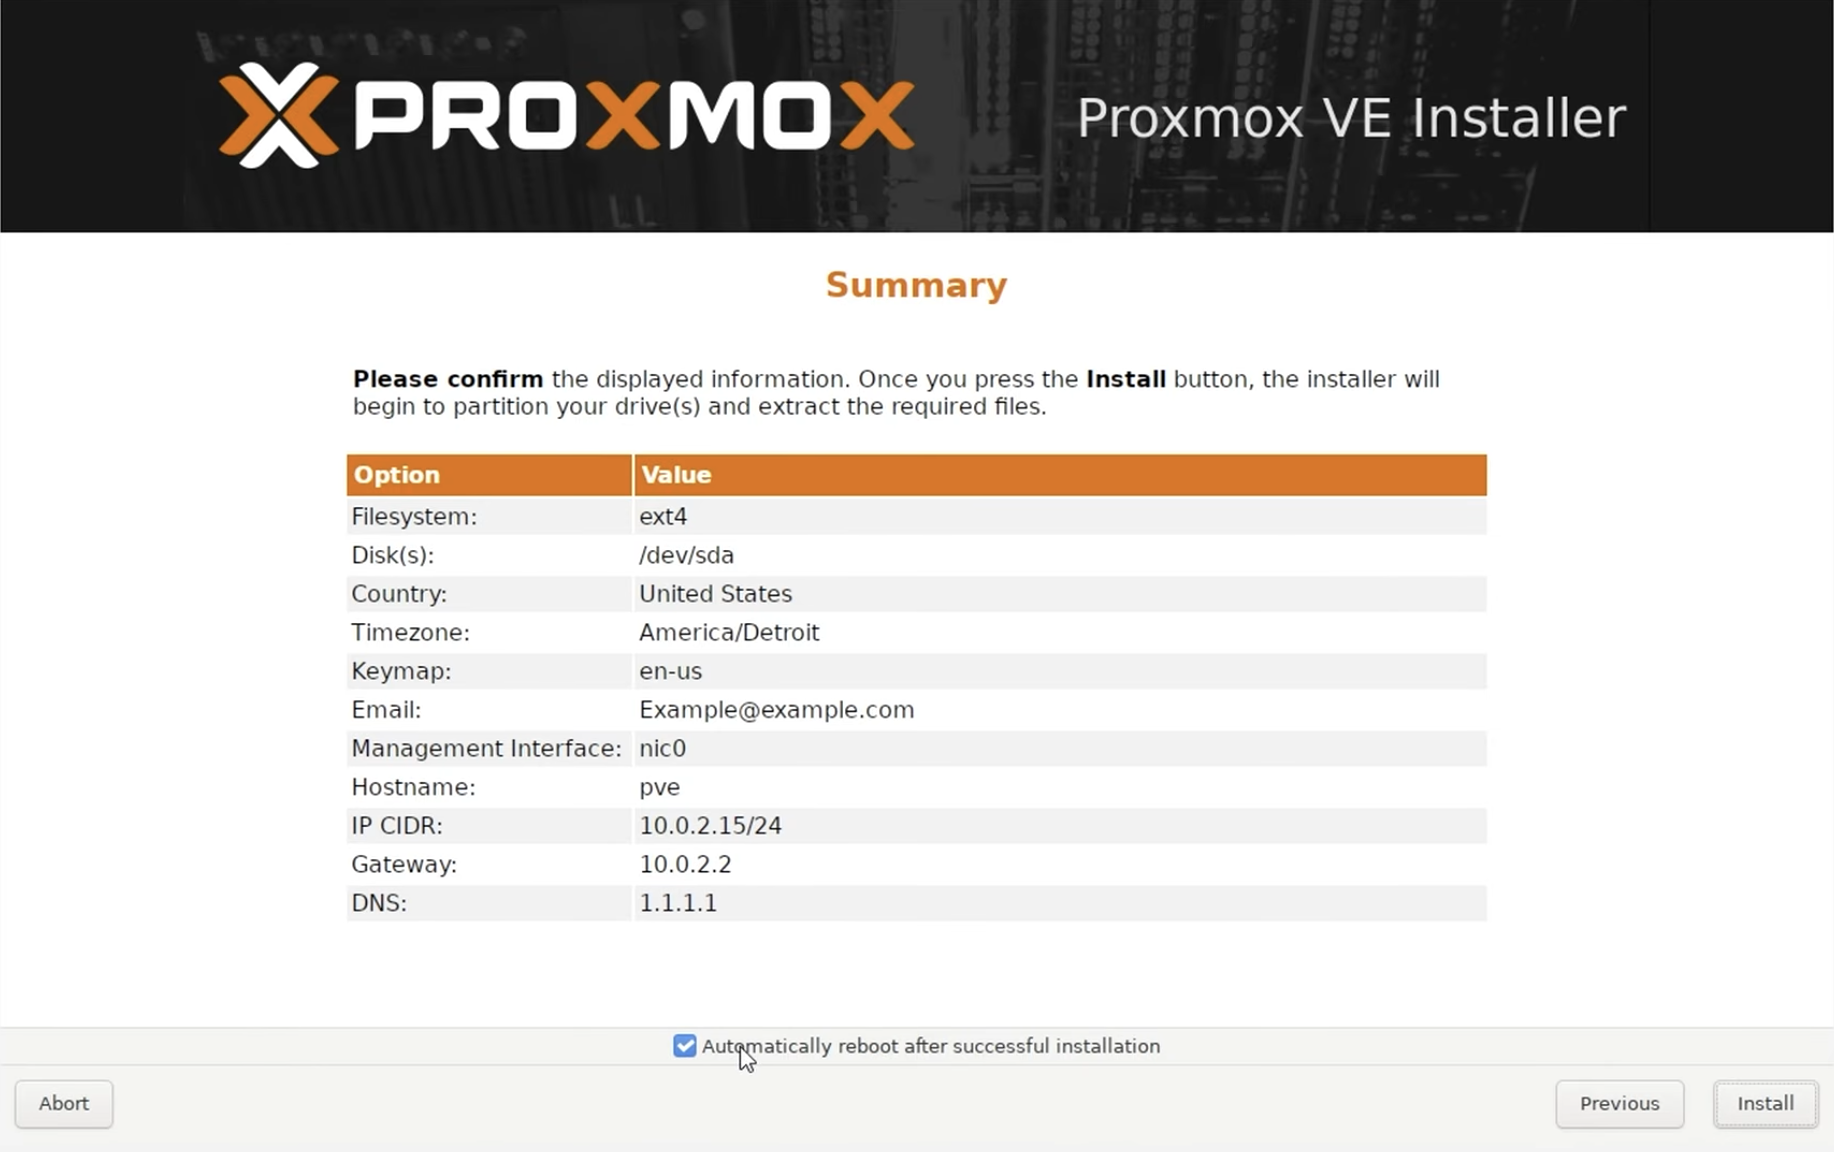
Now, a summary will show. Ensure the settings are correct (not as in this screenshot though), then click Install.
Your device will now reboot. When it does, unplug the USB stick and wait for the device to fully boot. You should see a screen like this:
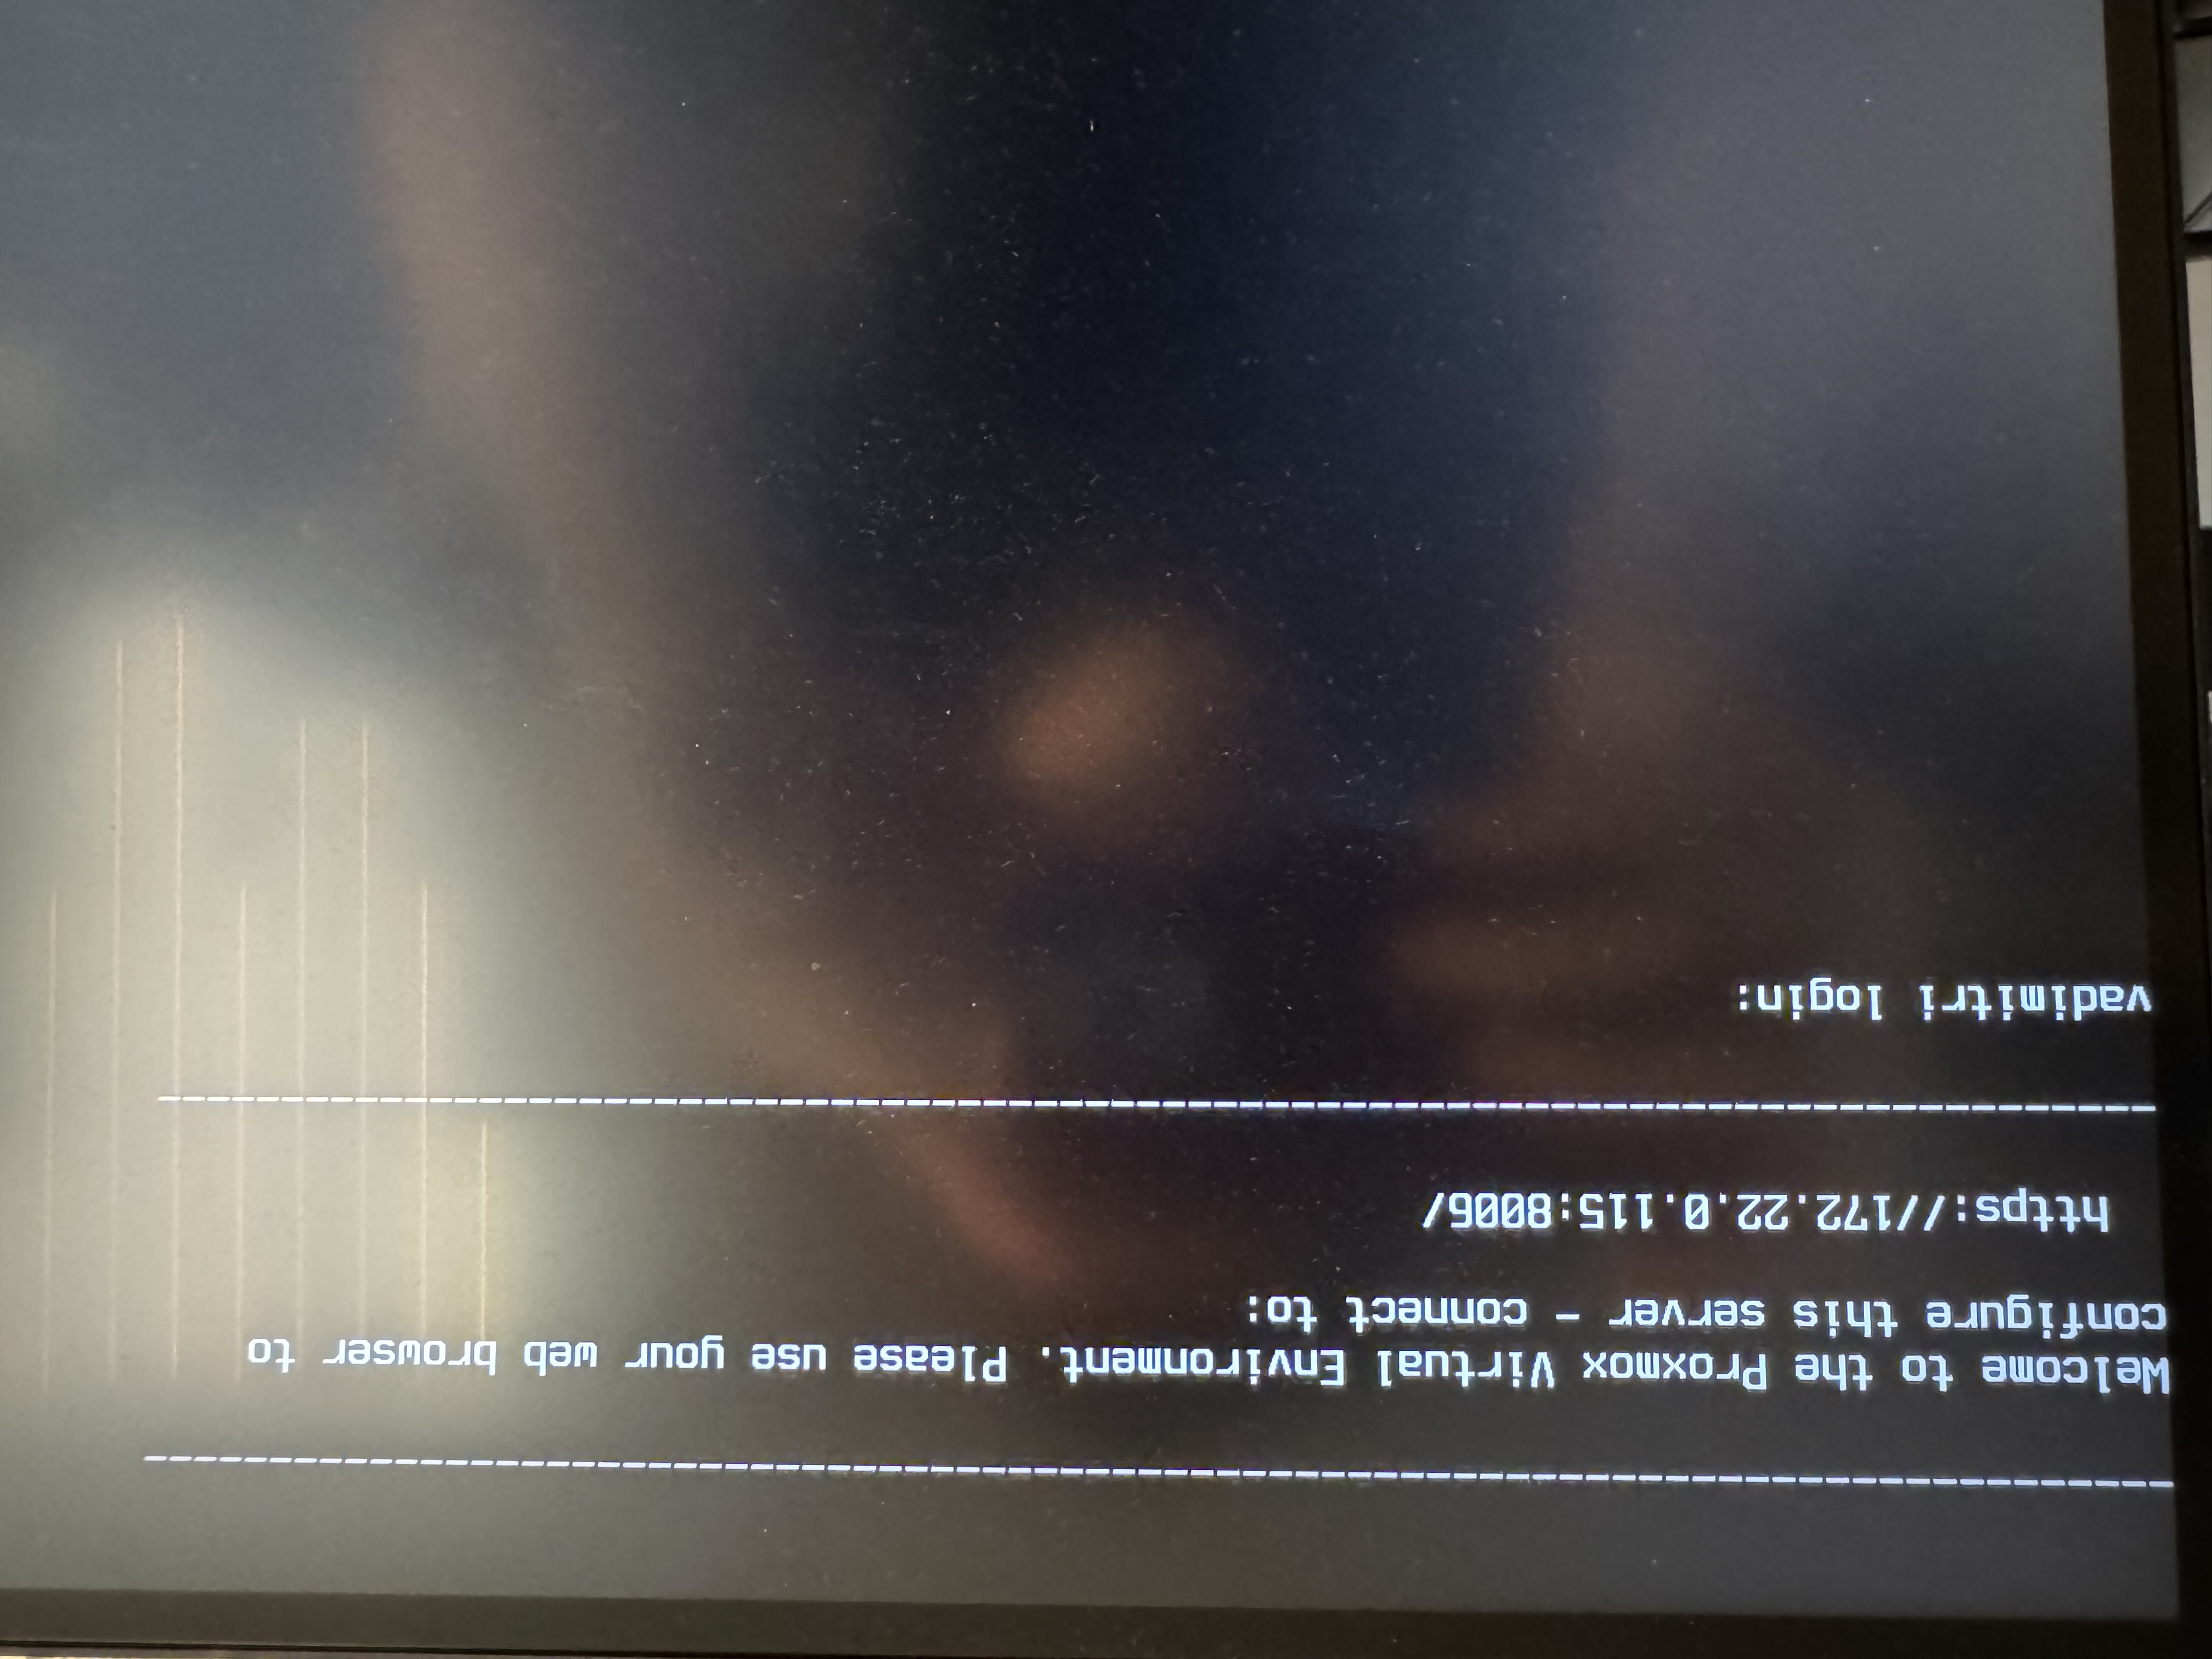
Enter the URL in your browser and ignore an invalid certificate prompt if shown.
Setting up Proxmox
Since we want to run Docker on our Proxmox machine, we recommend installing a Debian LXC on Proxmox and running Docker on that instance.
Begin by logging in into Proxmox with the username root and the password you set up.
Post-installation maintenance
Before we can continue, we are going to run a postinstall script for some sensible defaults. For that, click on your host in the left tree and on the top bar on the right, click shell. This should open a terminal. We are going to run the "PVE Post Install" script from https://community-scripts.org/, a reputable repository of scripts to simplify installation and maintenance of services on Proxmox. You can find the script on https://community-scripts.org/scripts/post-pve-install. Run the following command:
bash -c "$(curl -fsSL https://raw.githubusercontent.com/community-scripts/ProxmoxVE/main/tools/pve/post-pve-install.sh)"
Getting the Debian template
- In the left tree, select your node ->
localstorage. - Click the CT Templates tab
- Click the Templates button (top)
- In the search box, type "debian"
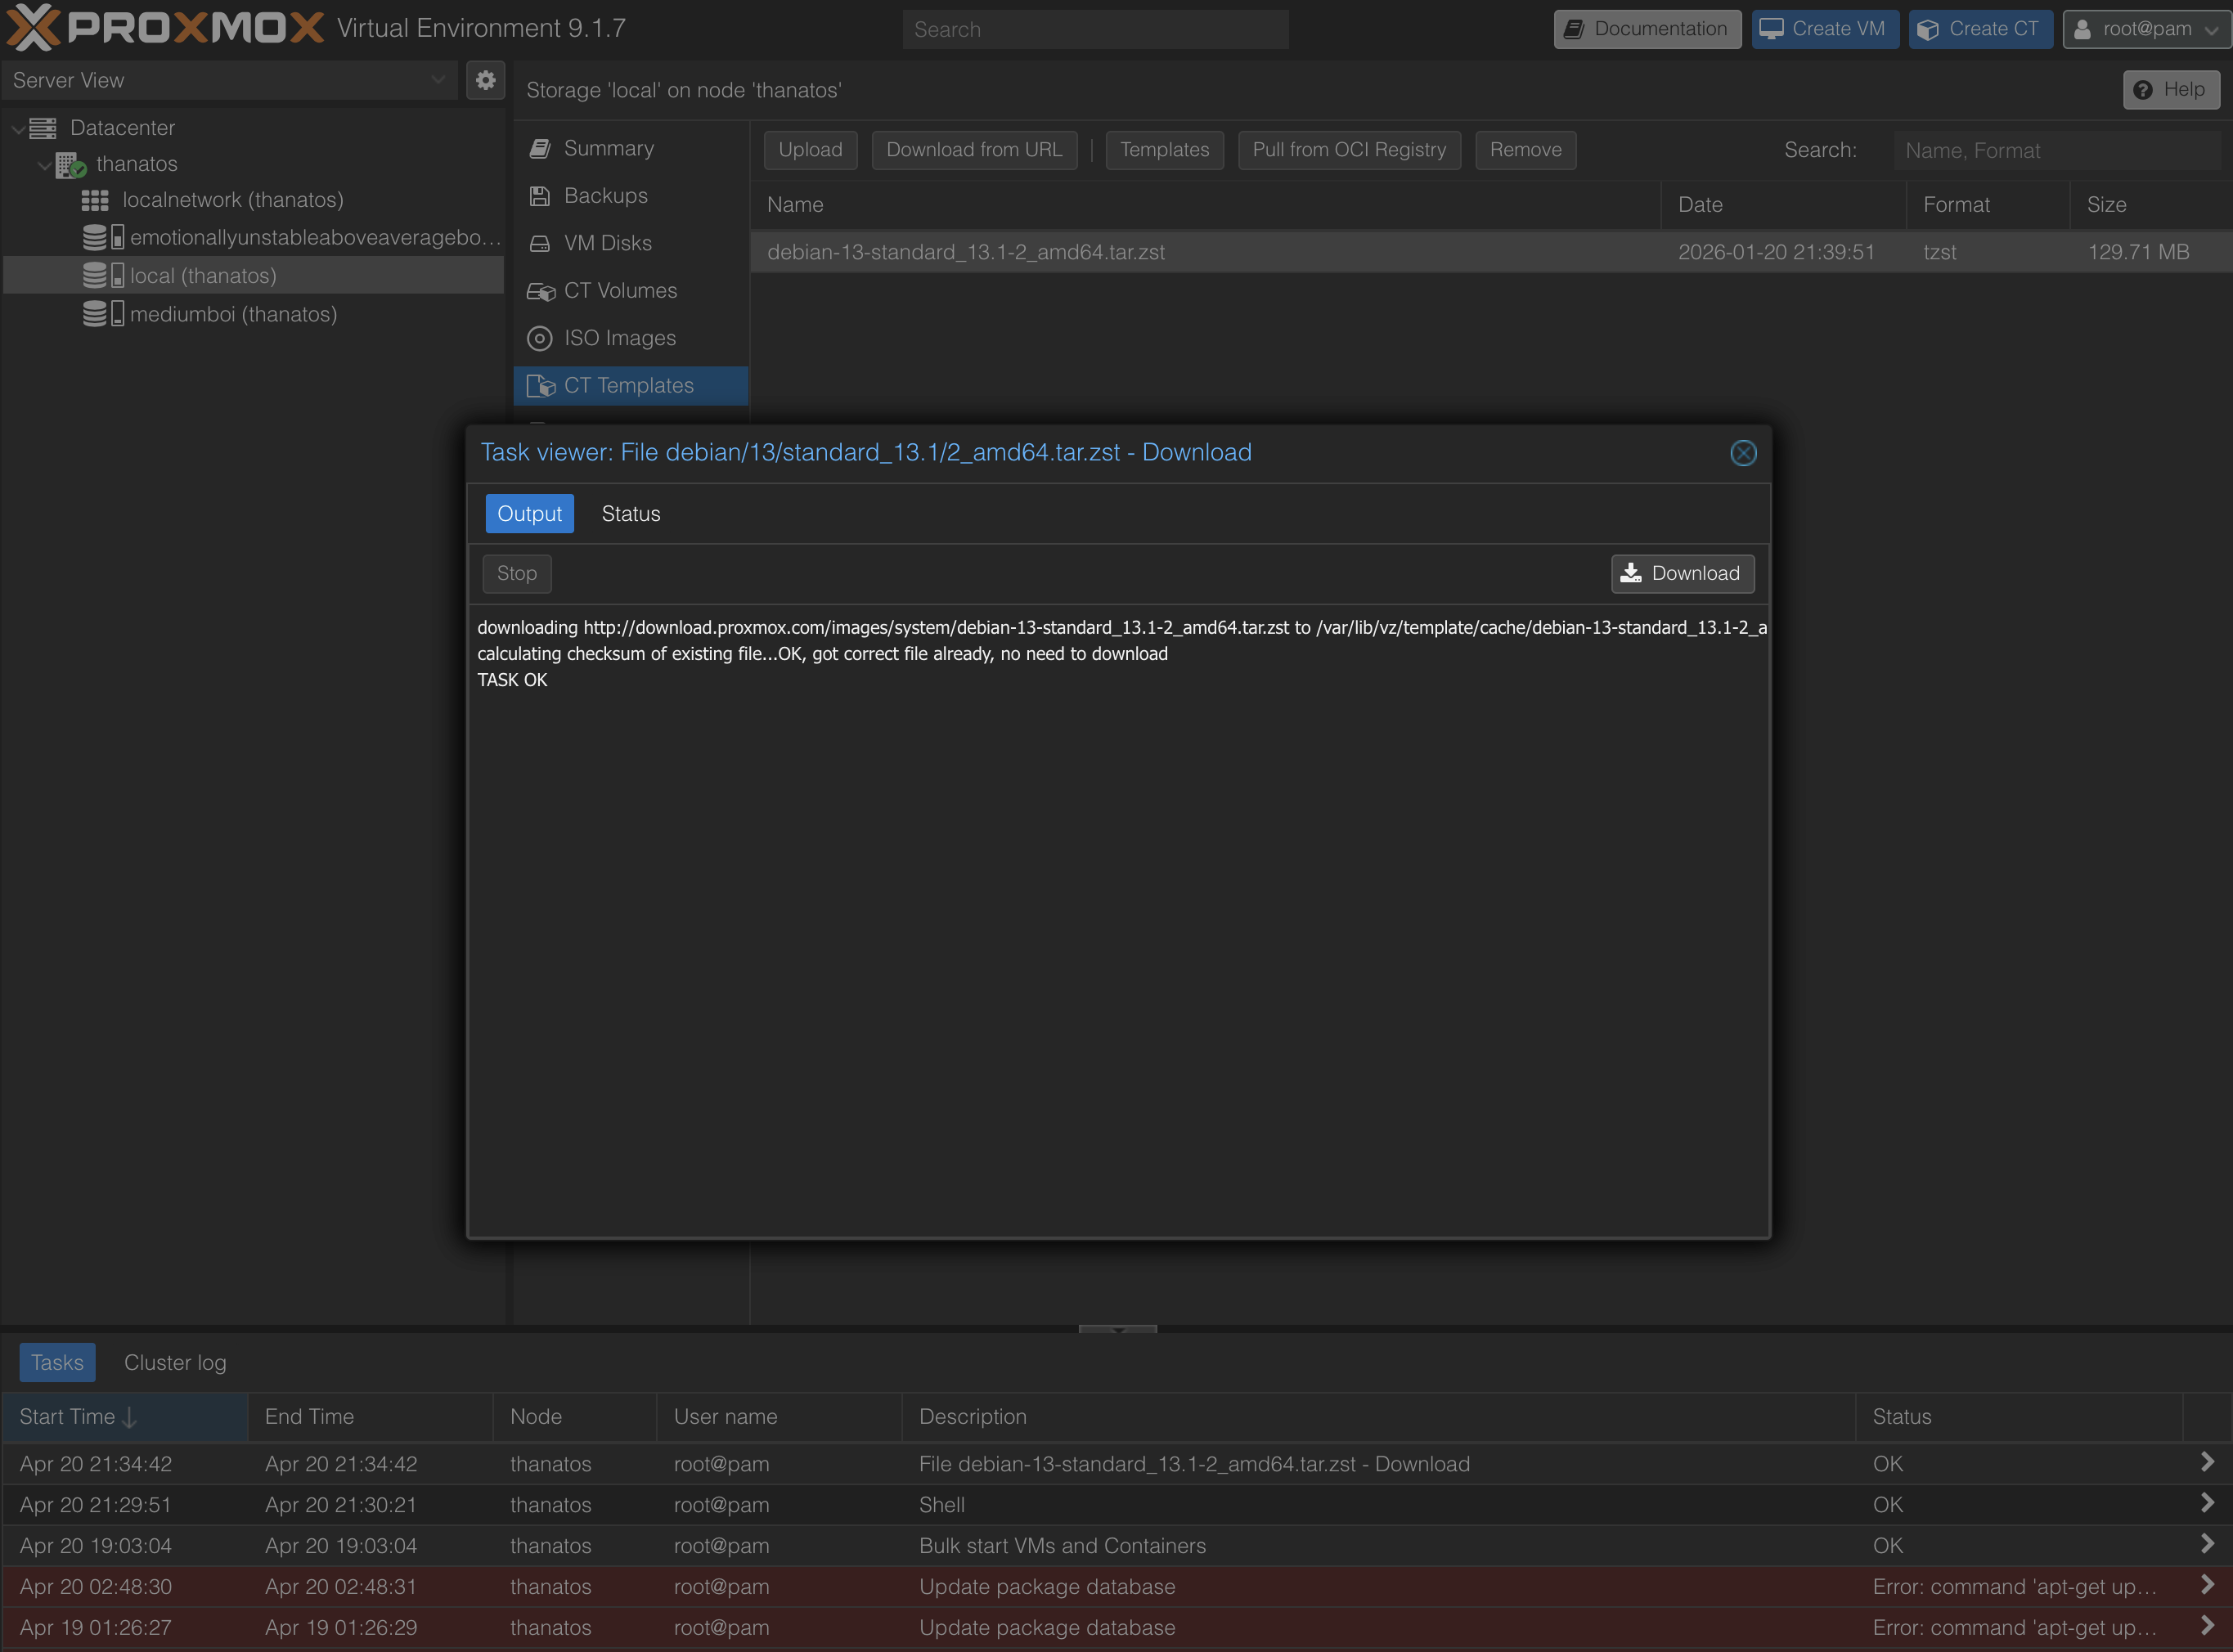
- Select debian-13-standard and click Download
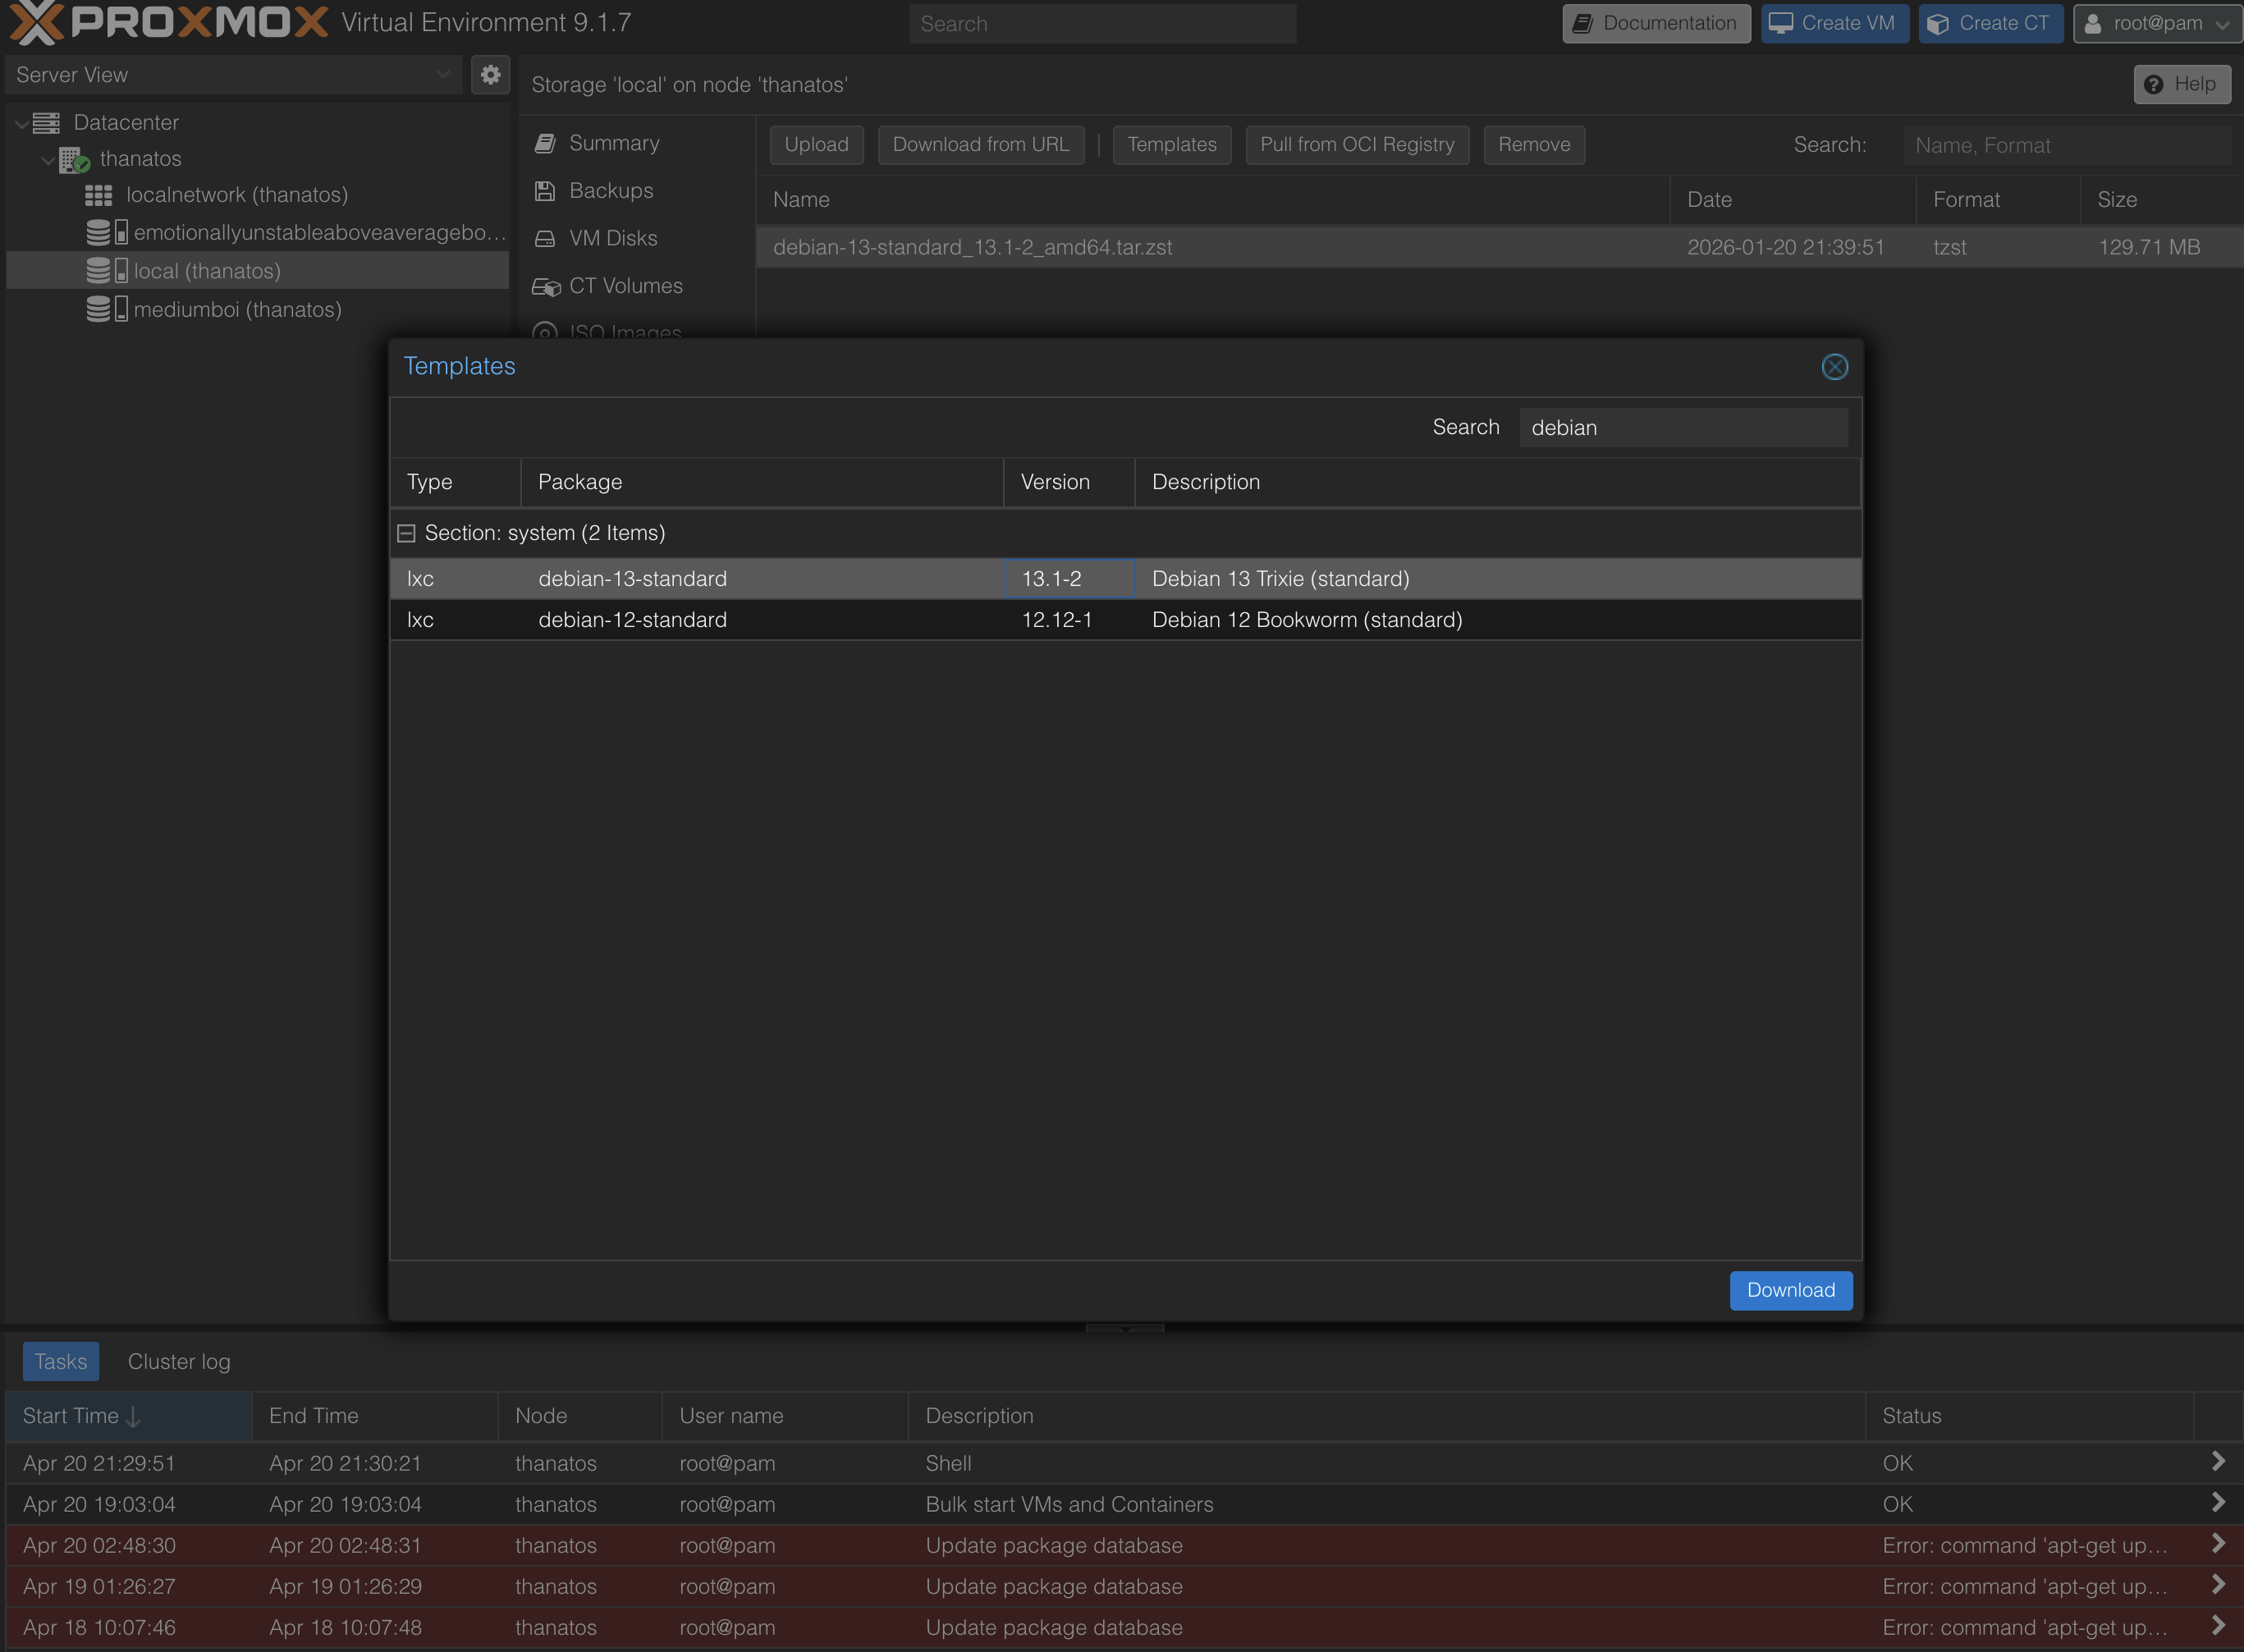
Wait for the task to finish (last line is "TASK OK"), then close the window:
Create the container
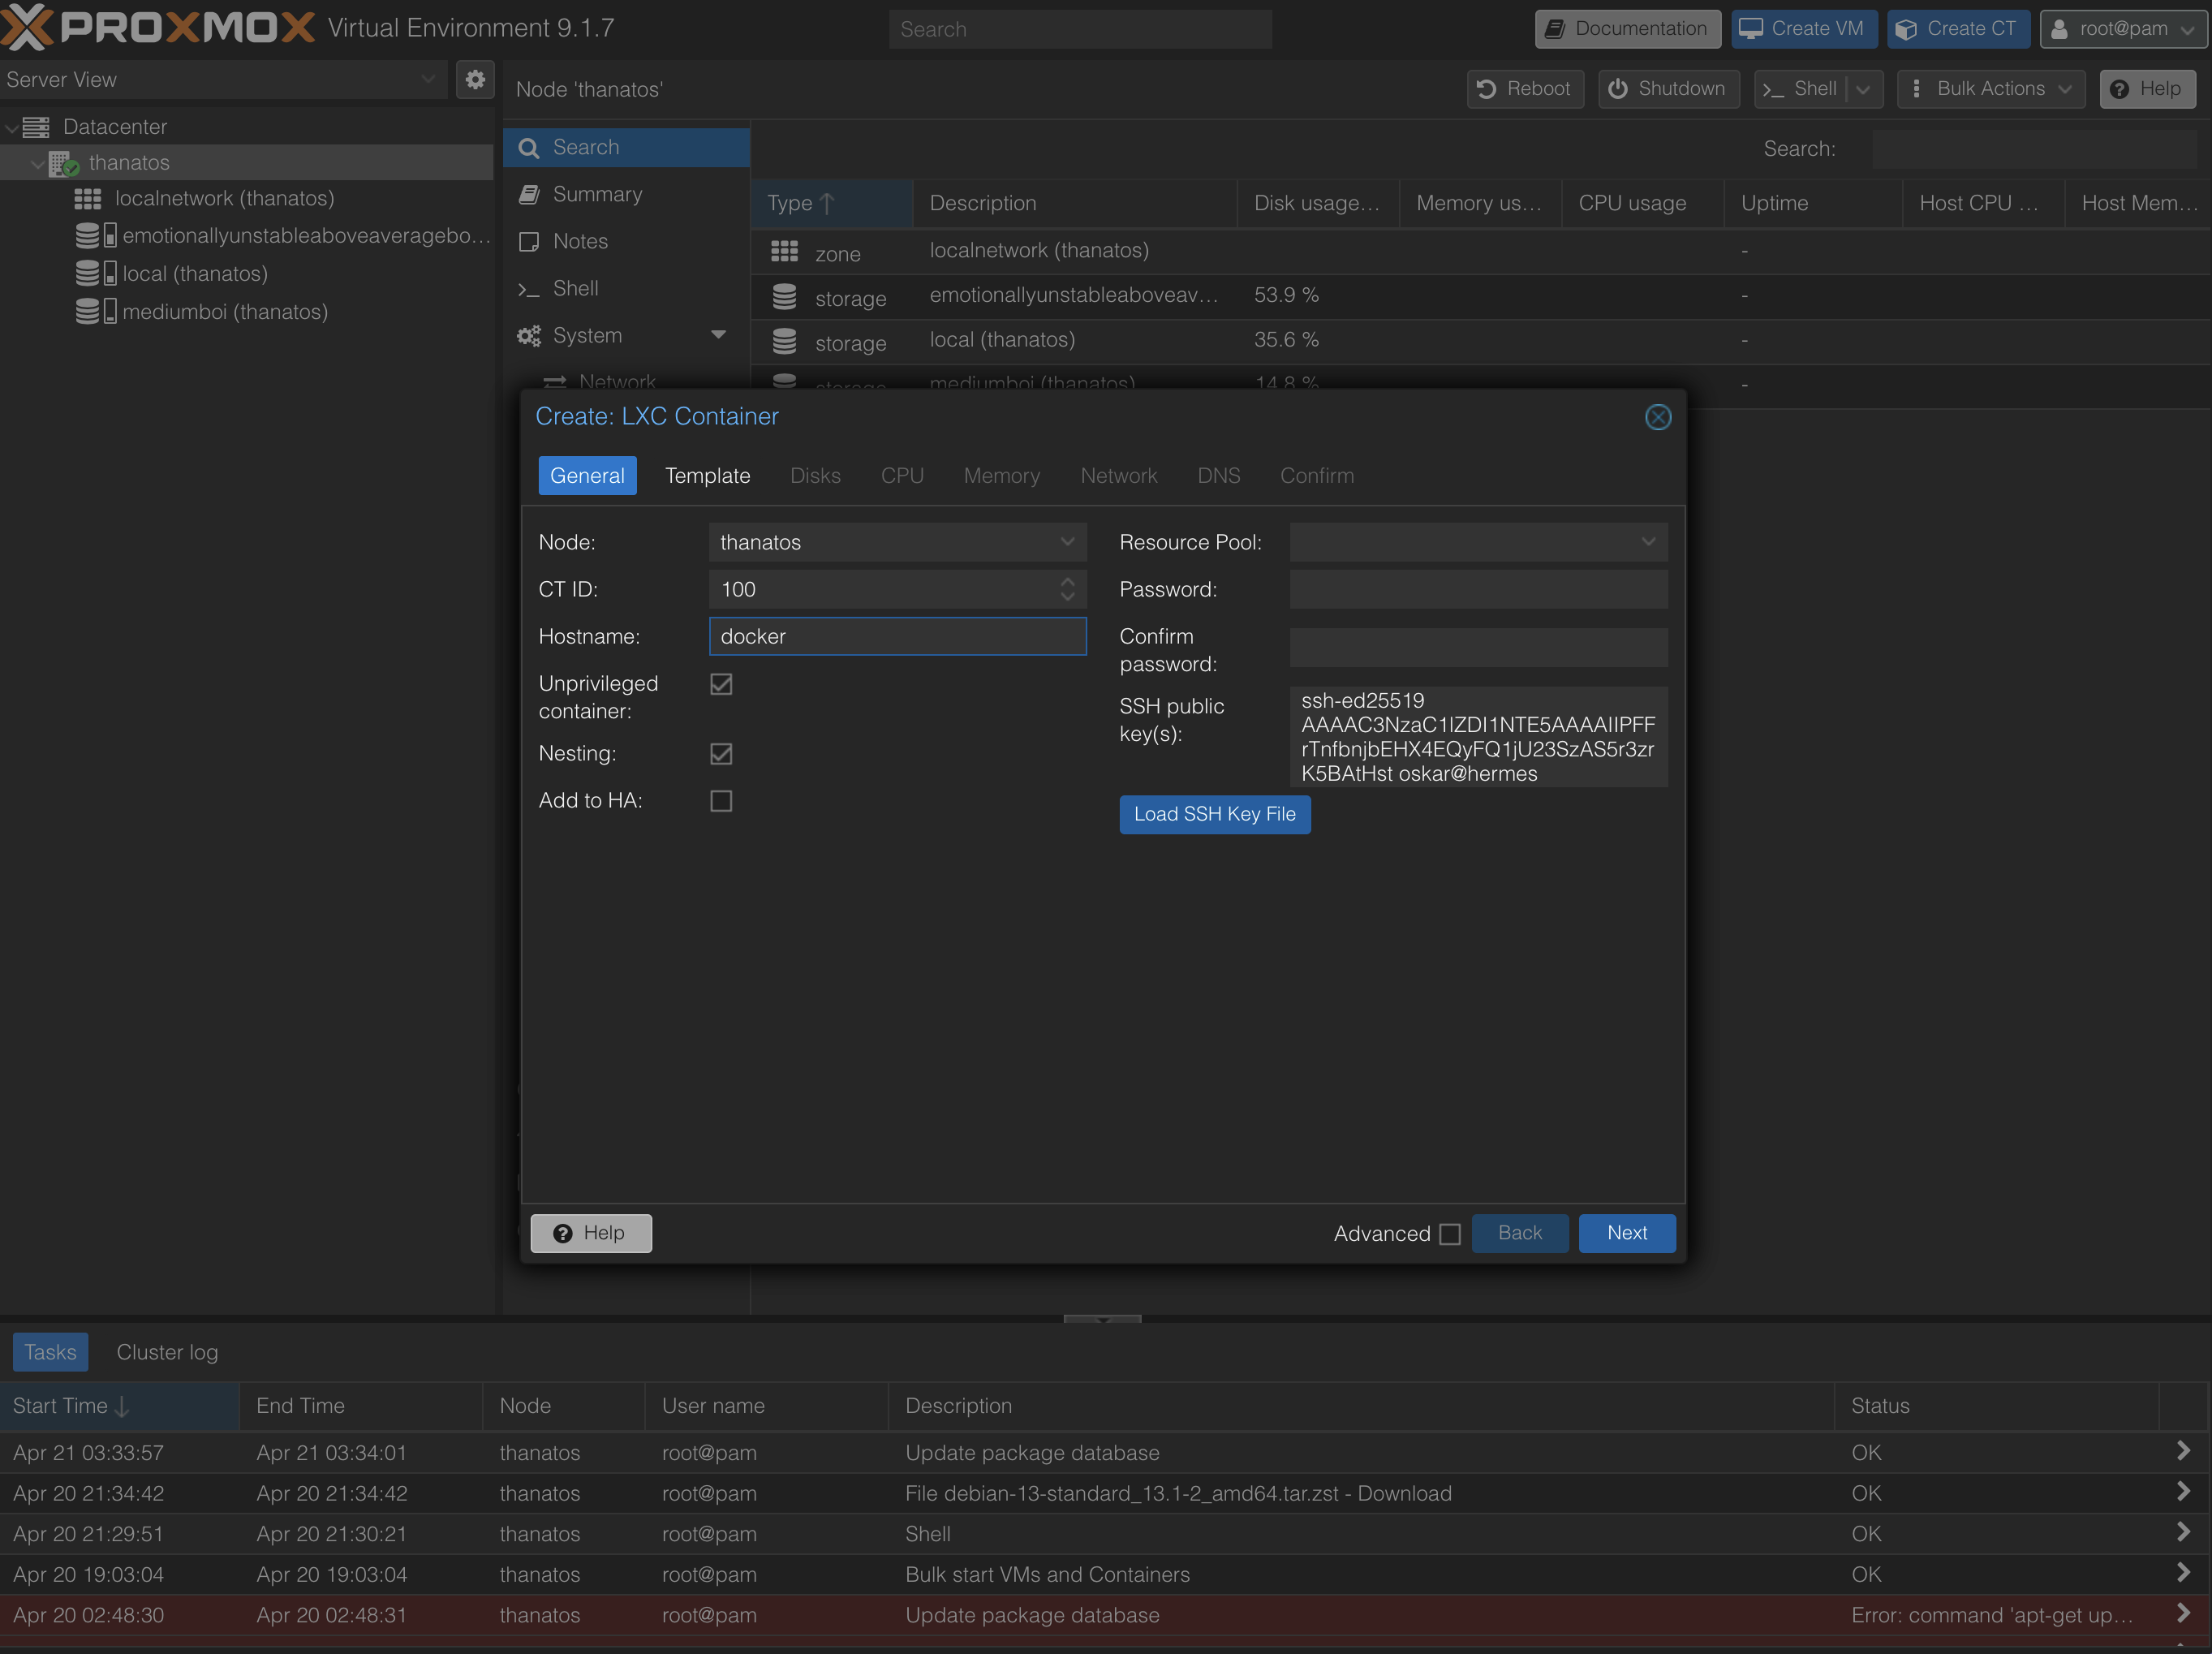
From the Proxmox web GUI, click the blue Create CT button in the top-right corner. Tab by tab:
Set the hostname to docker, ensure the CT ID is set to 100 and that "Unprivileged container" and "Nesting".
Then, paste your public key, located in <YOUR-USER-PATH>/.ssh/id_ed25515.pub or <YOUR-USER-PATH>/.ssh/id_rsa.pub and click Next. The public key is the whole line, including the ssh-ed25519 or ssh-rsa prefix and the user@host at the end of the line, not just the random string inbetween.
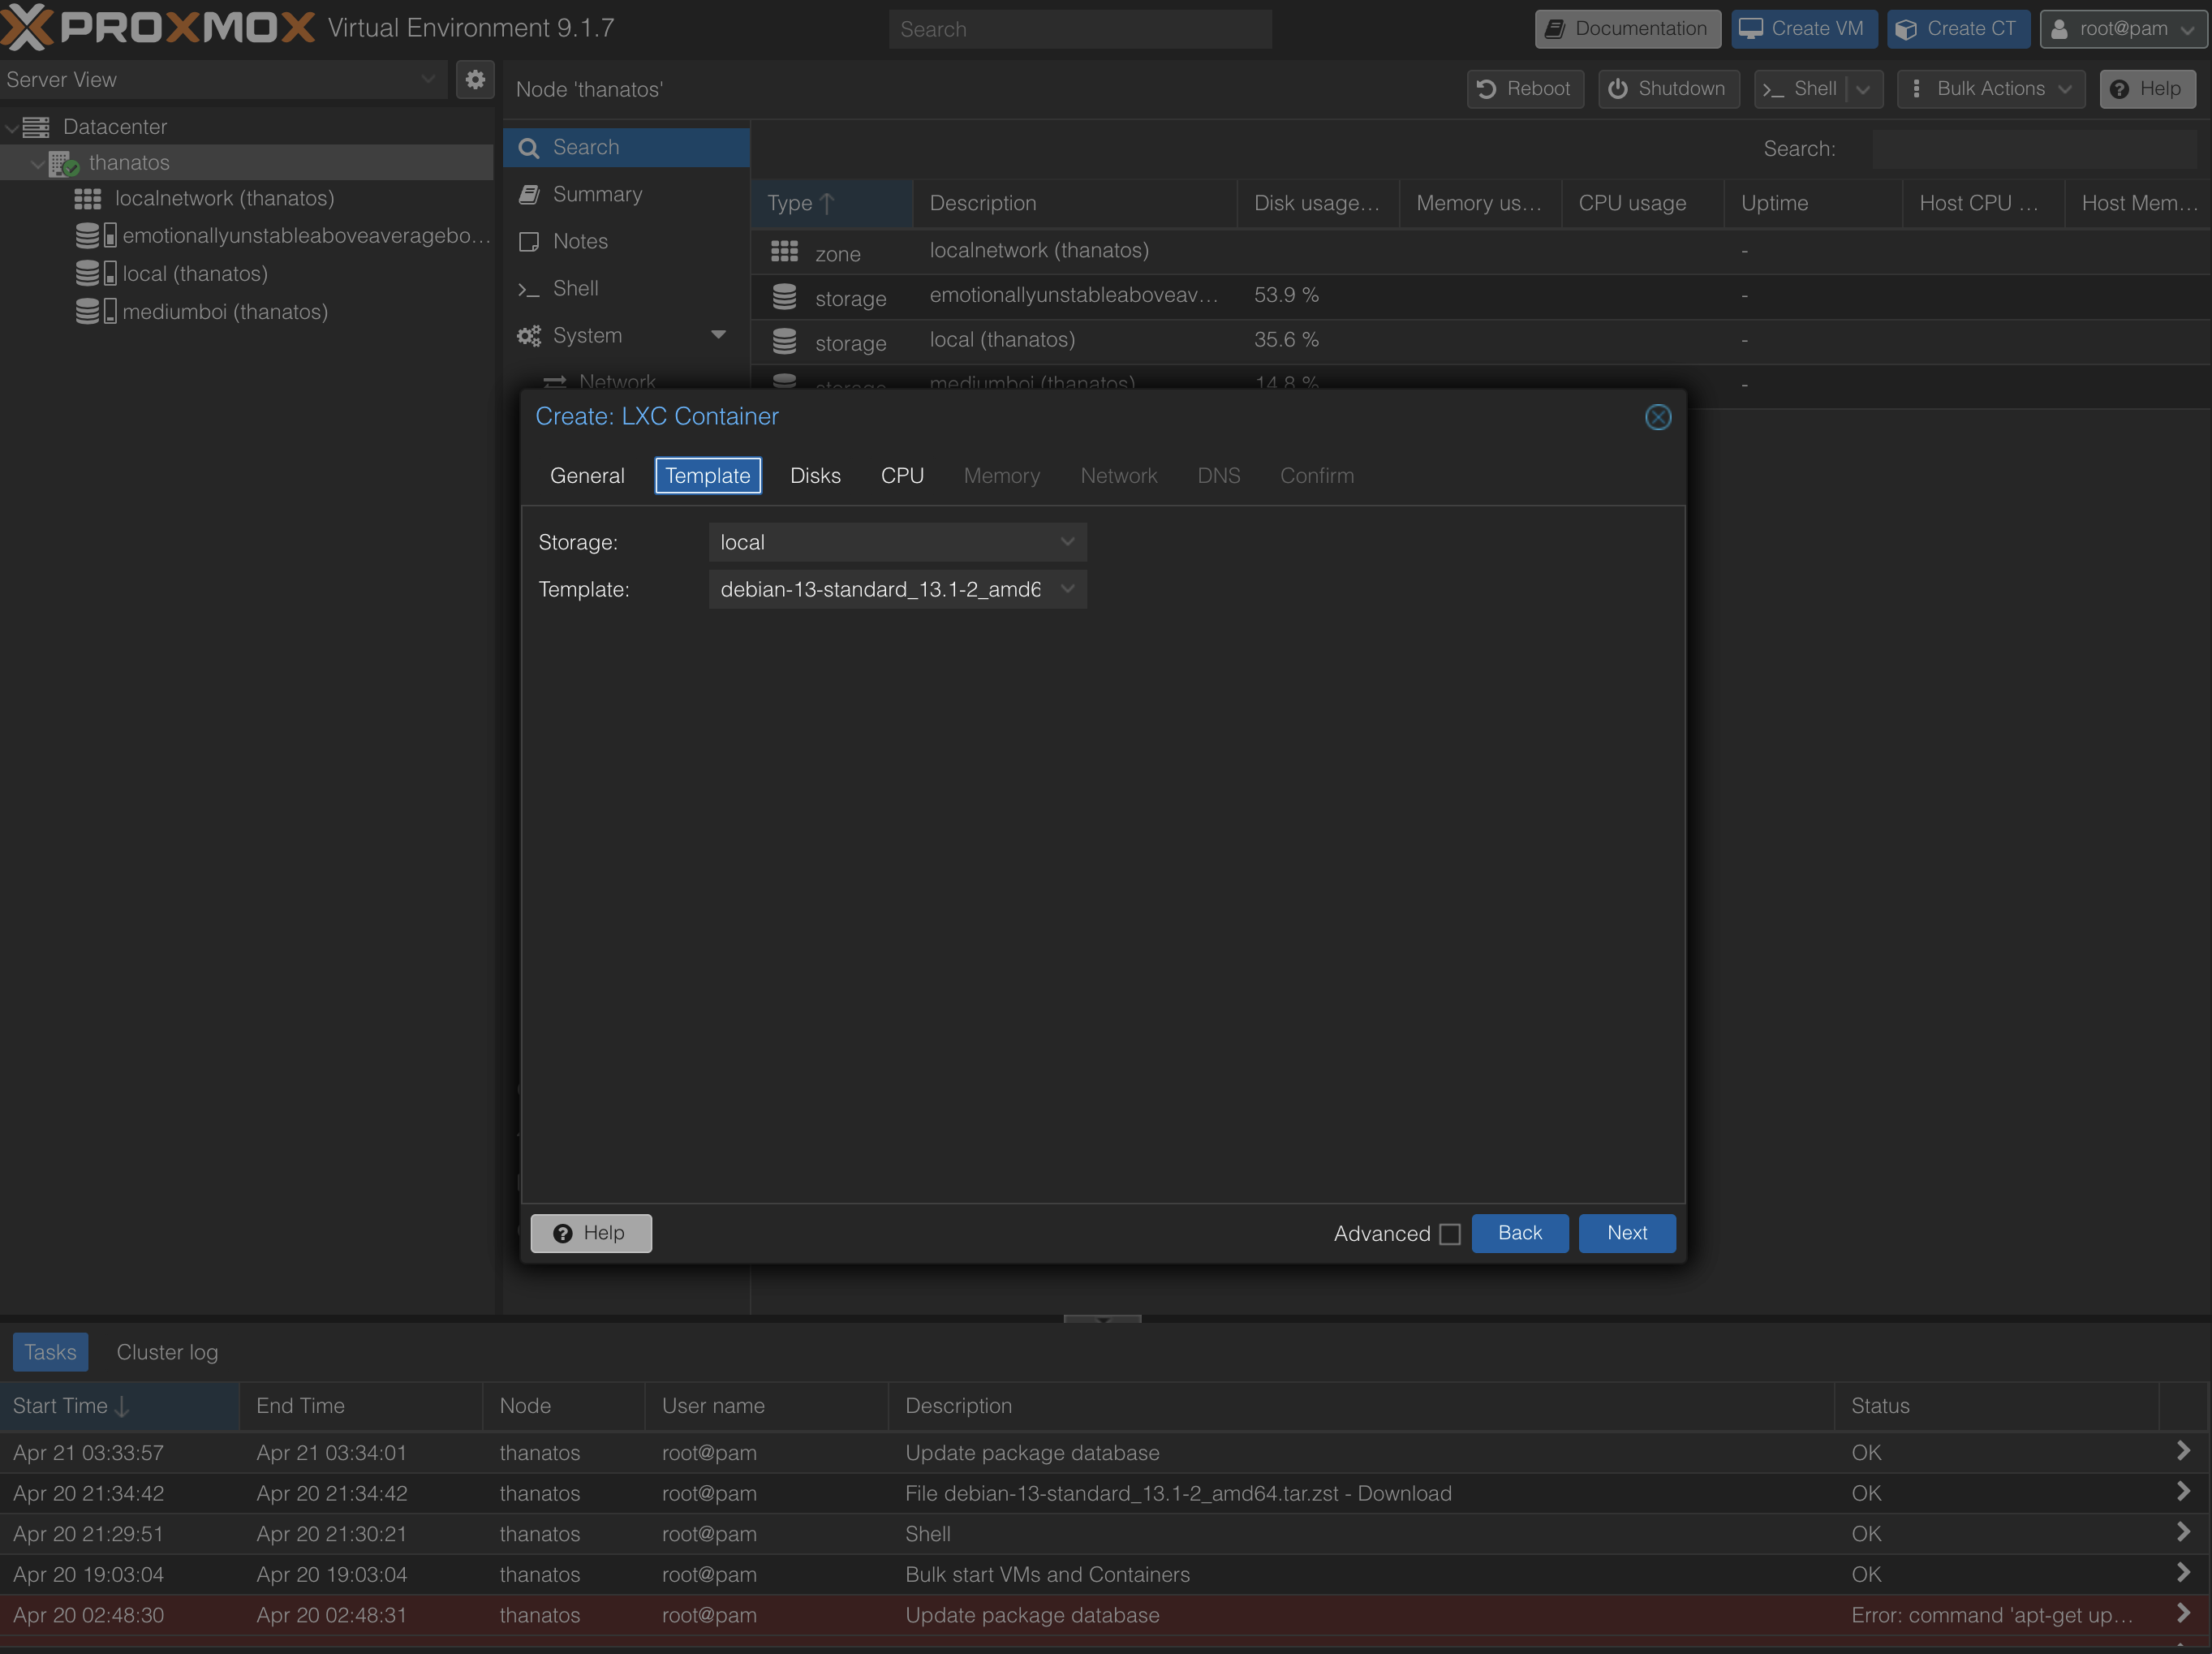
Now, select the Debian 13 template you just downloaded and click Next.
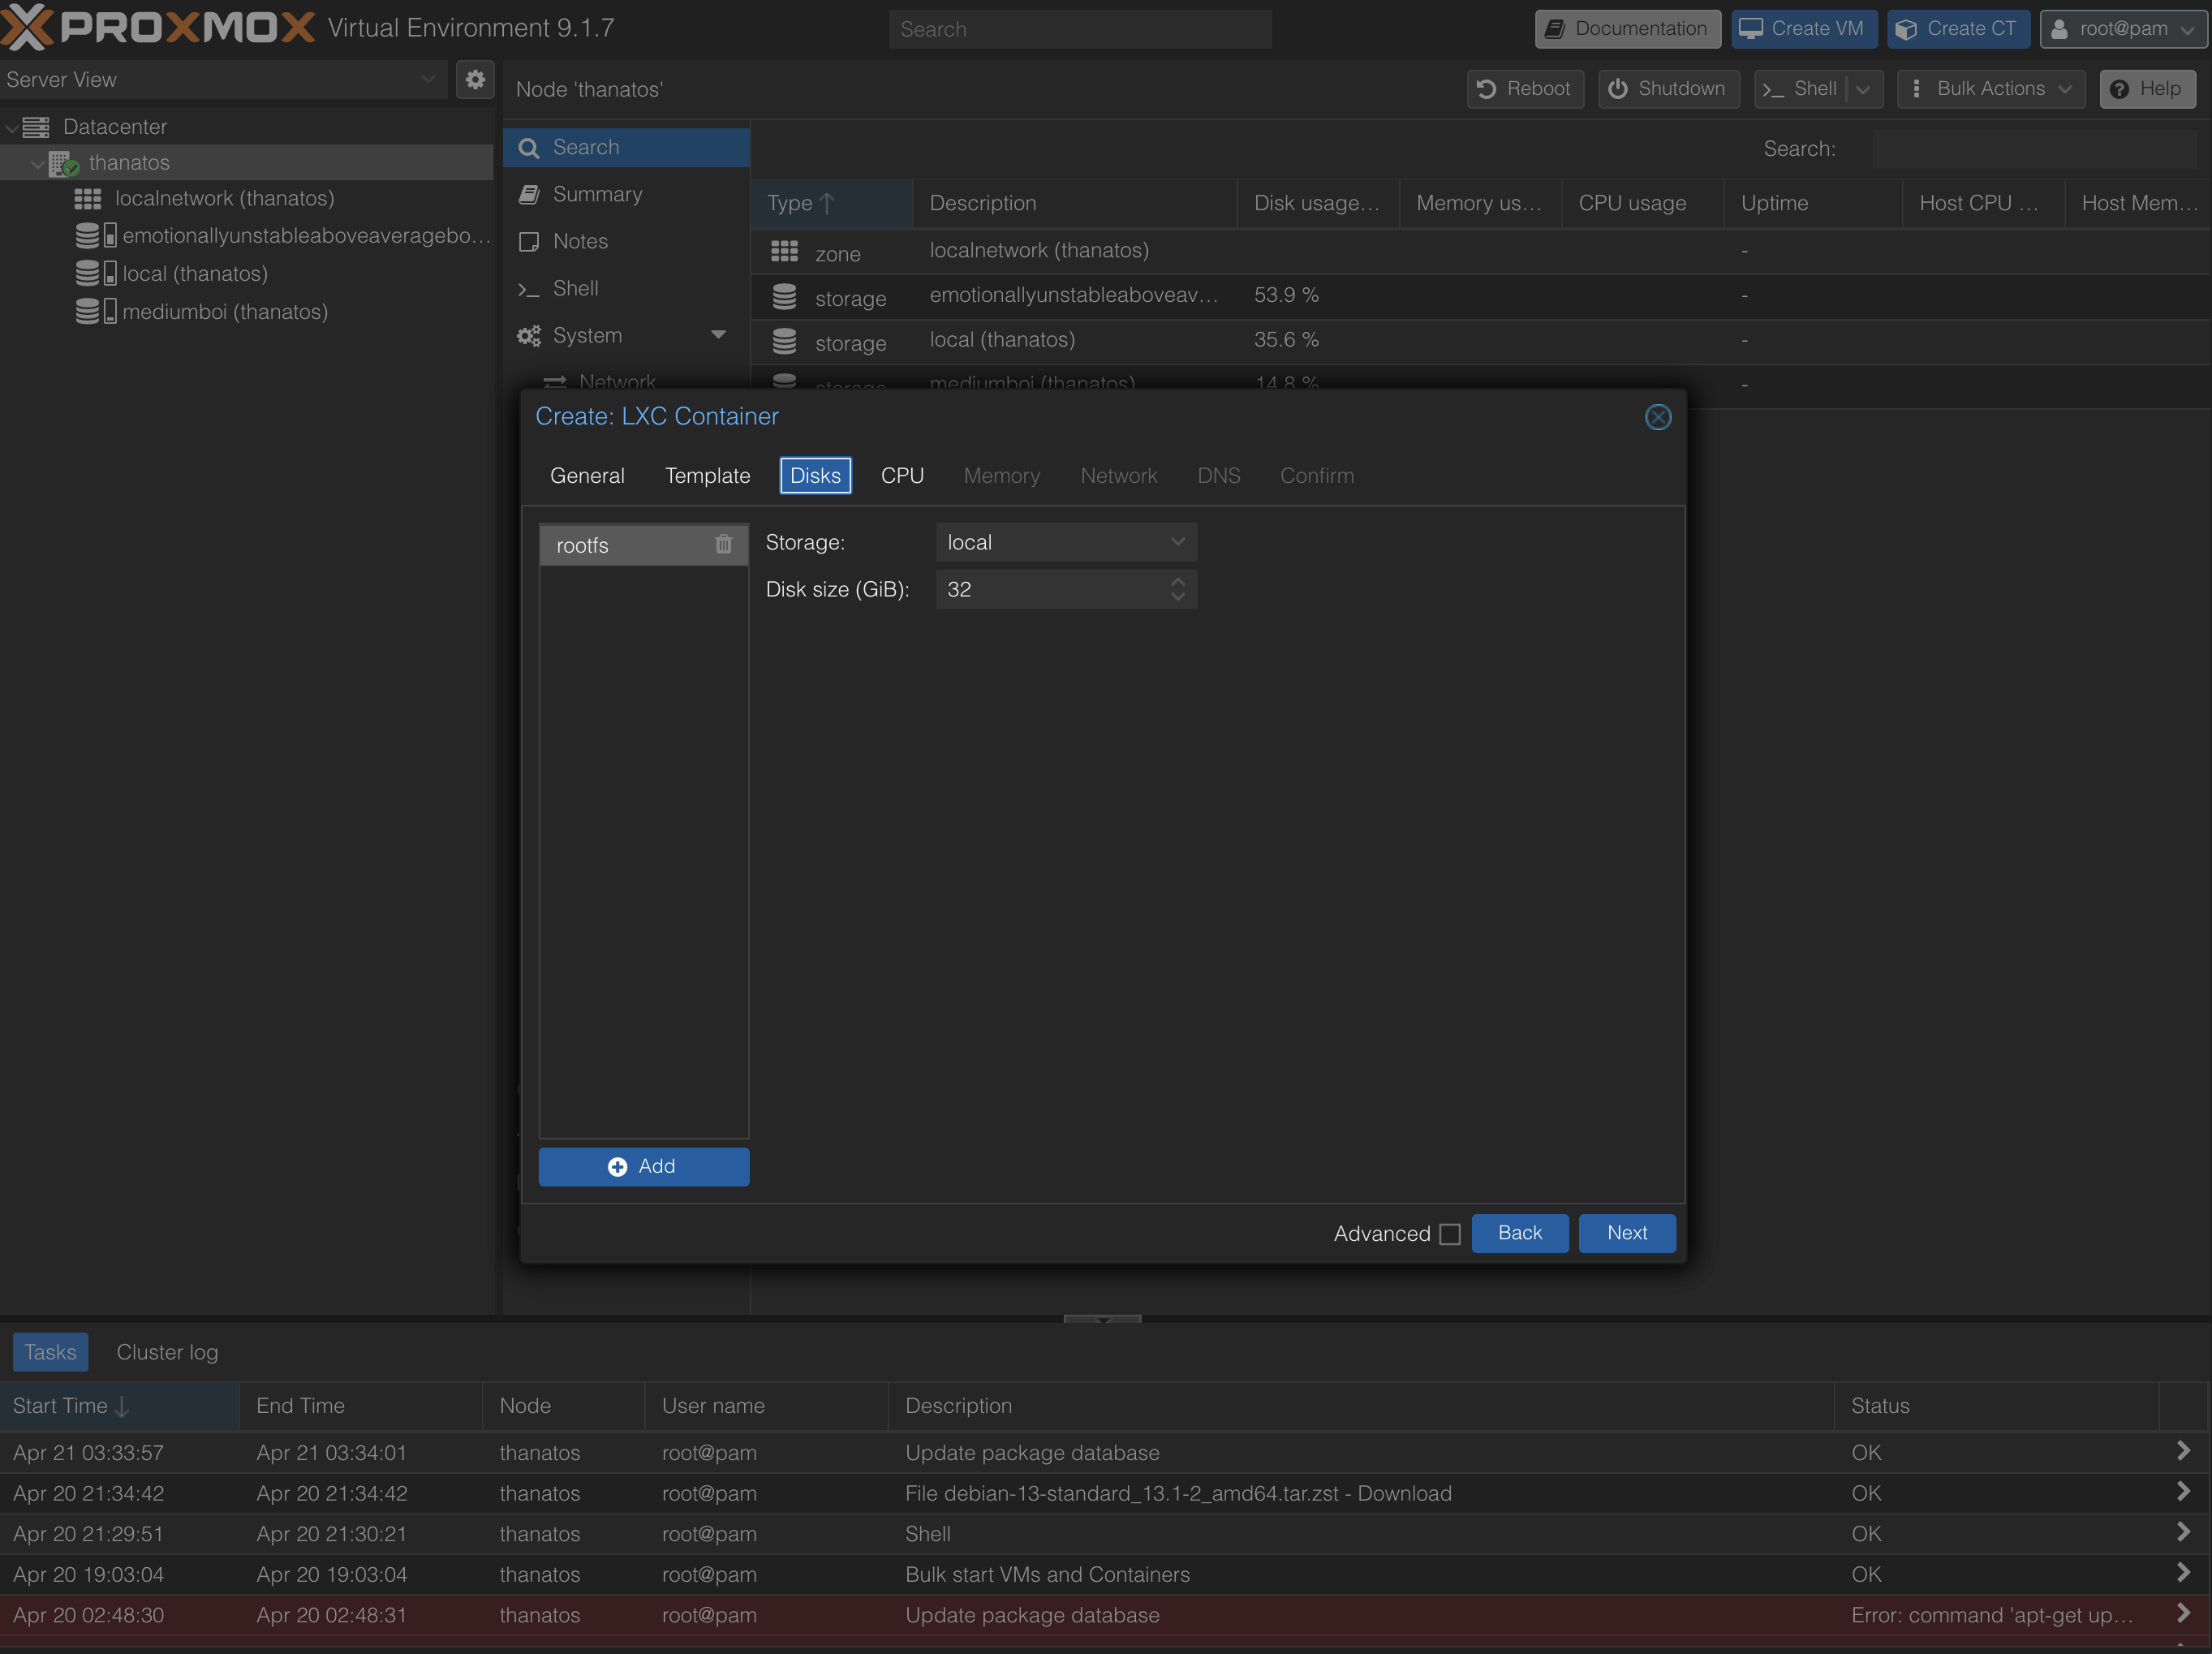
For the disk, enter a capacity of at least 32 GiB:
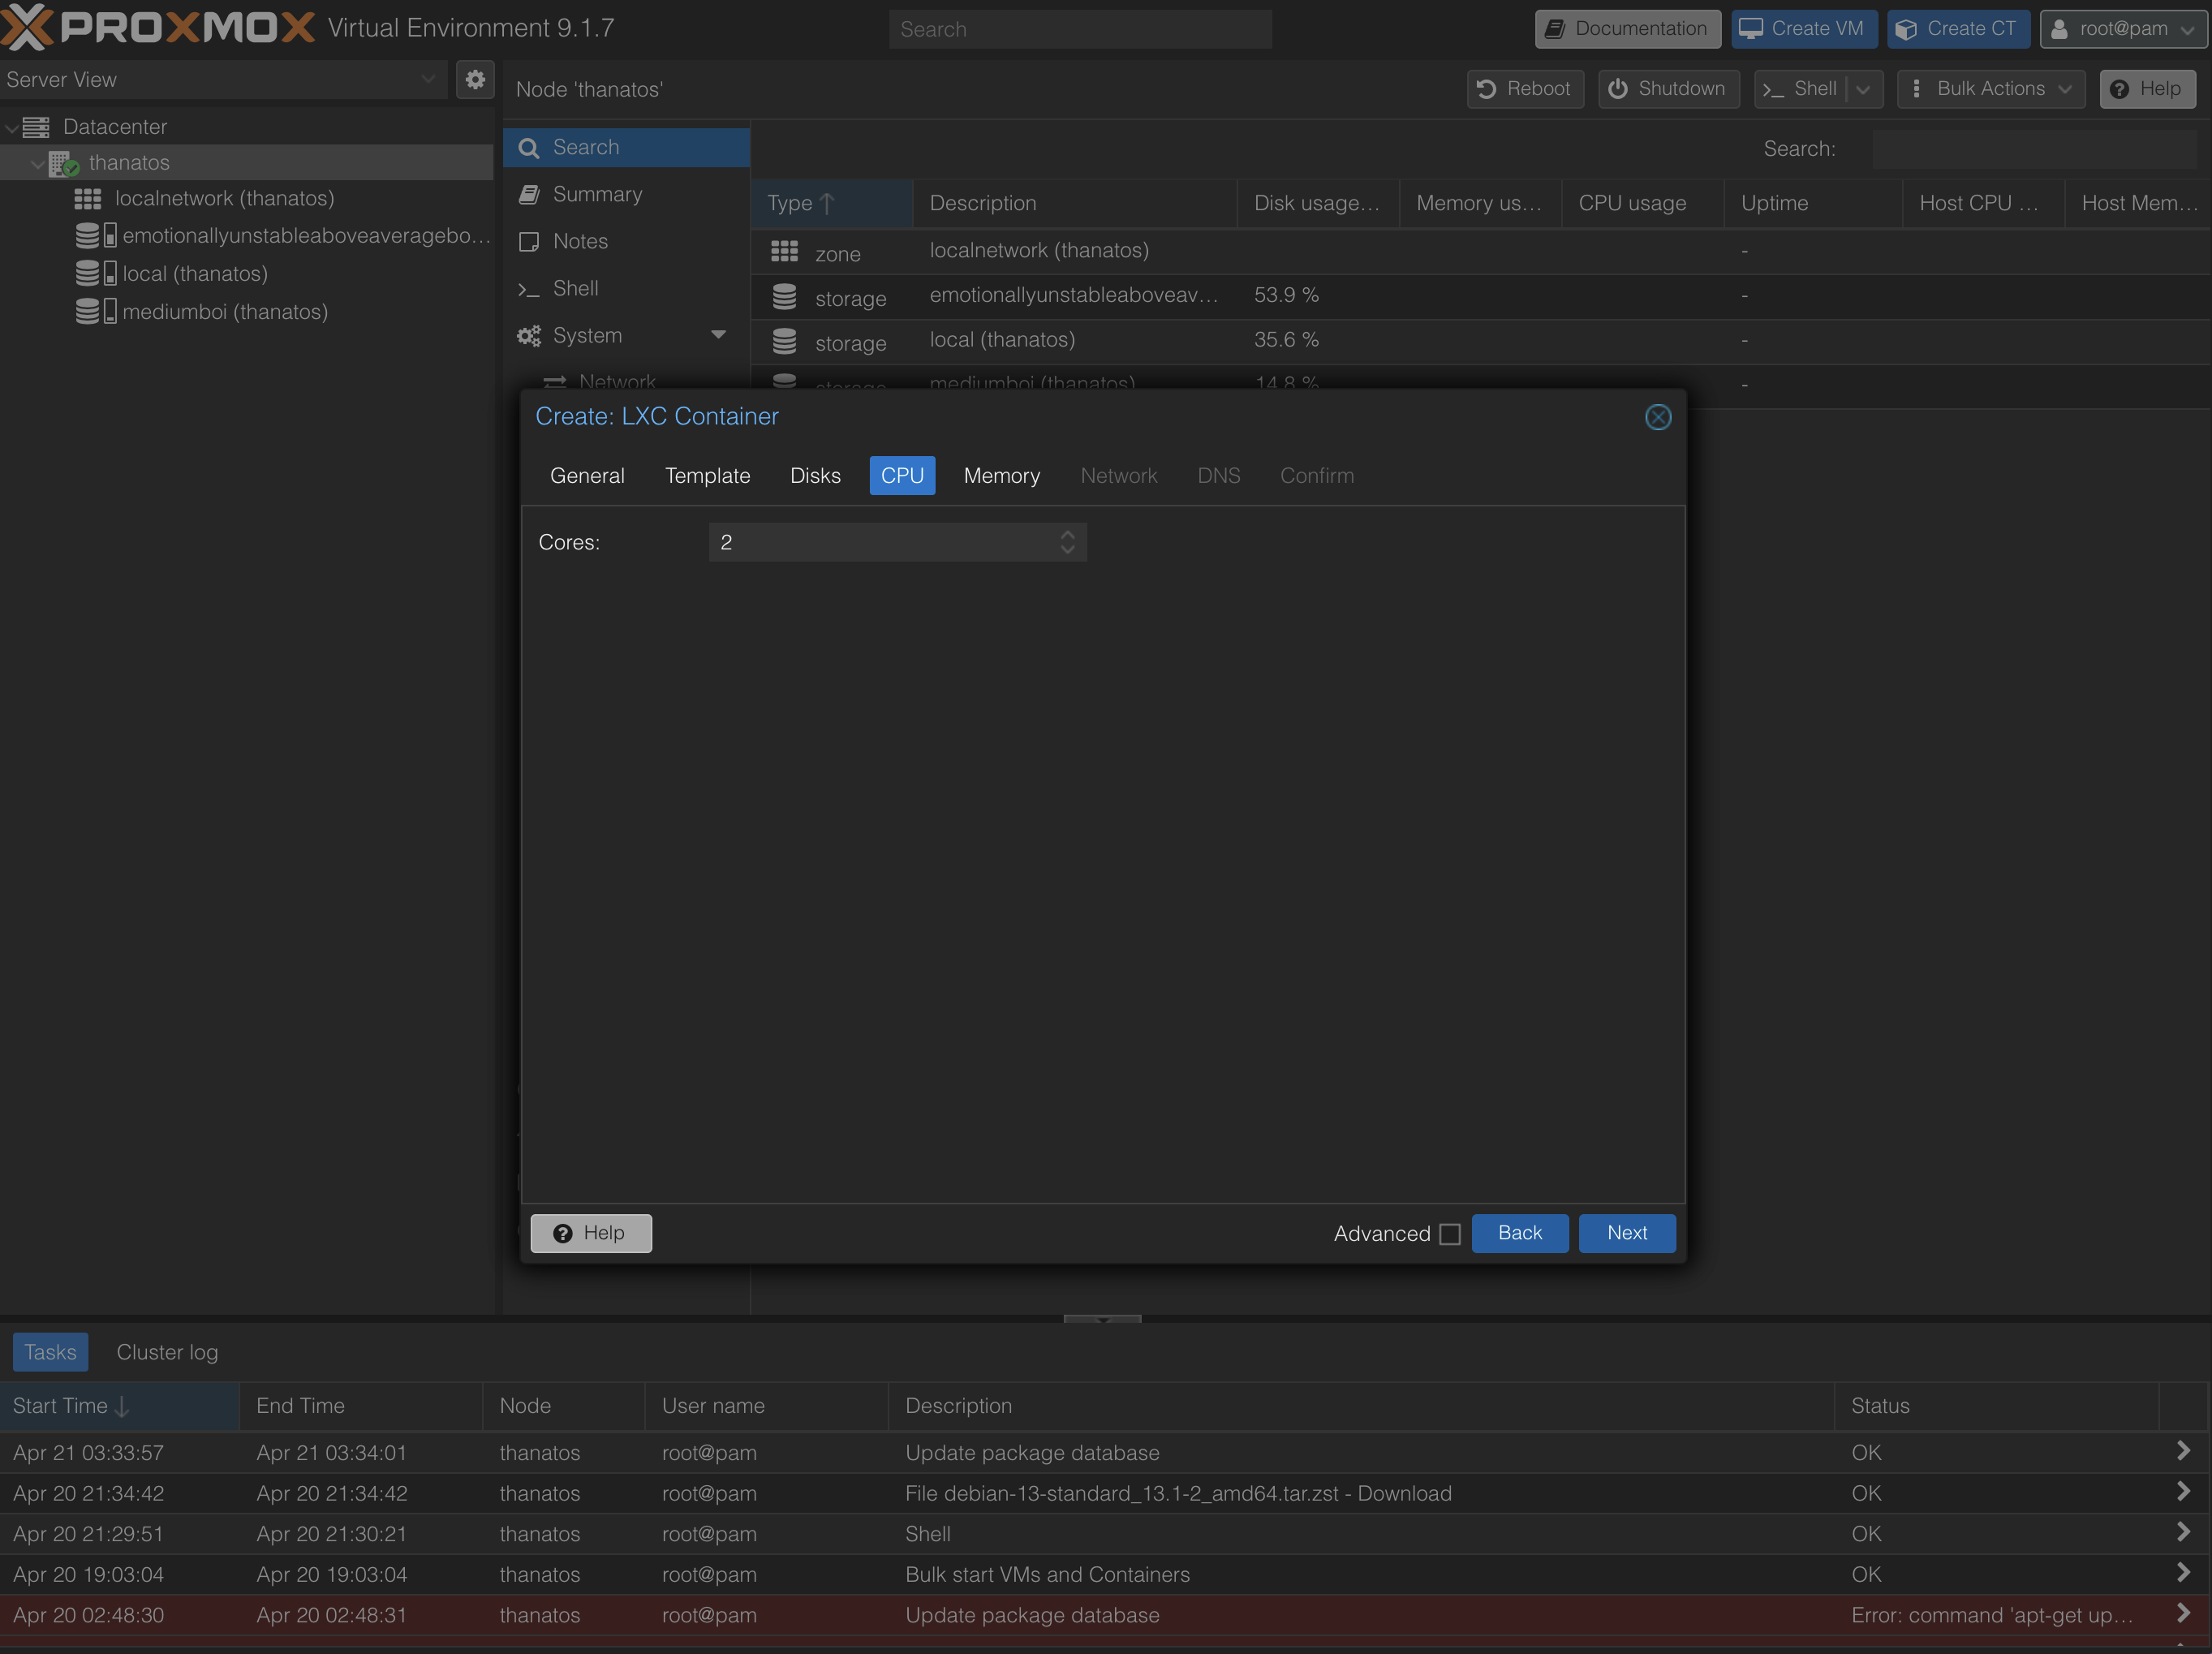
For cores, enter 2 or 4 (depending on if you have more than 4 cores):
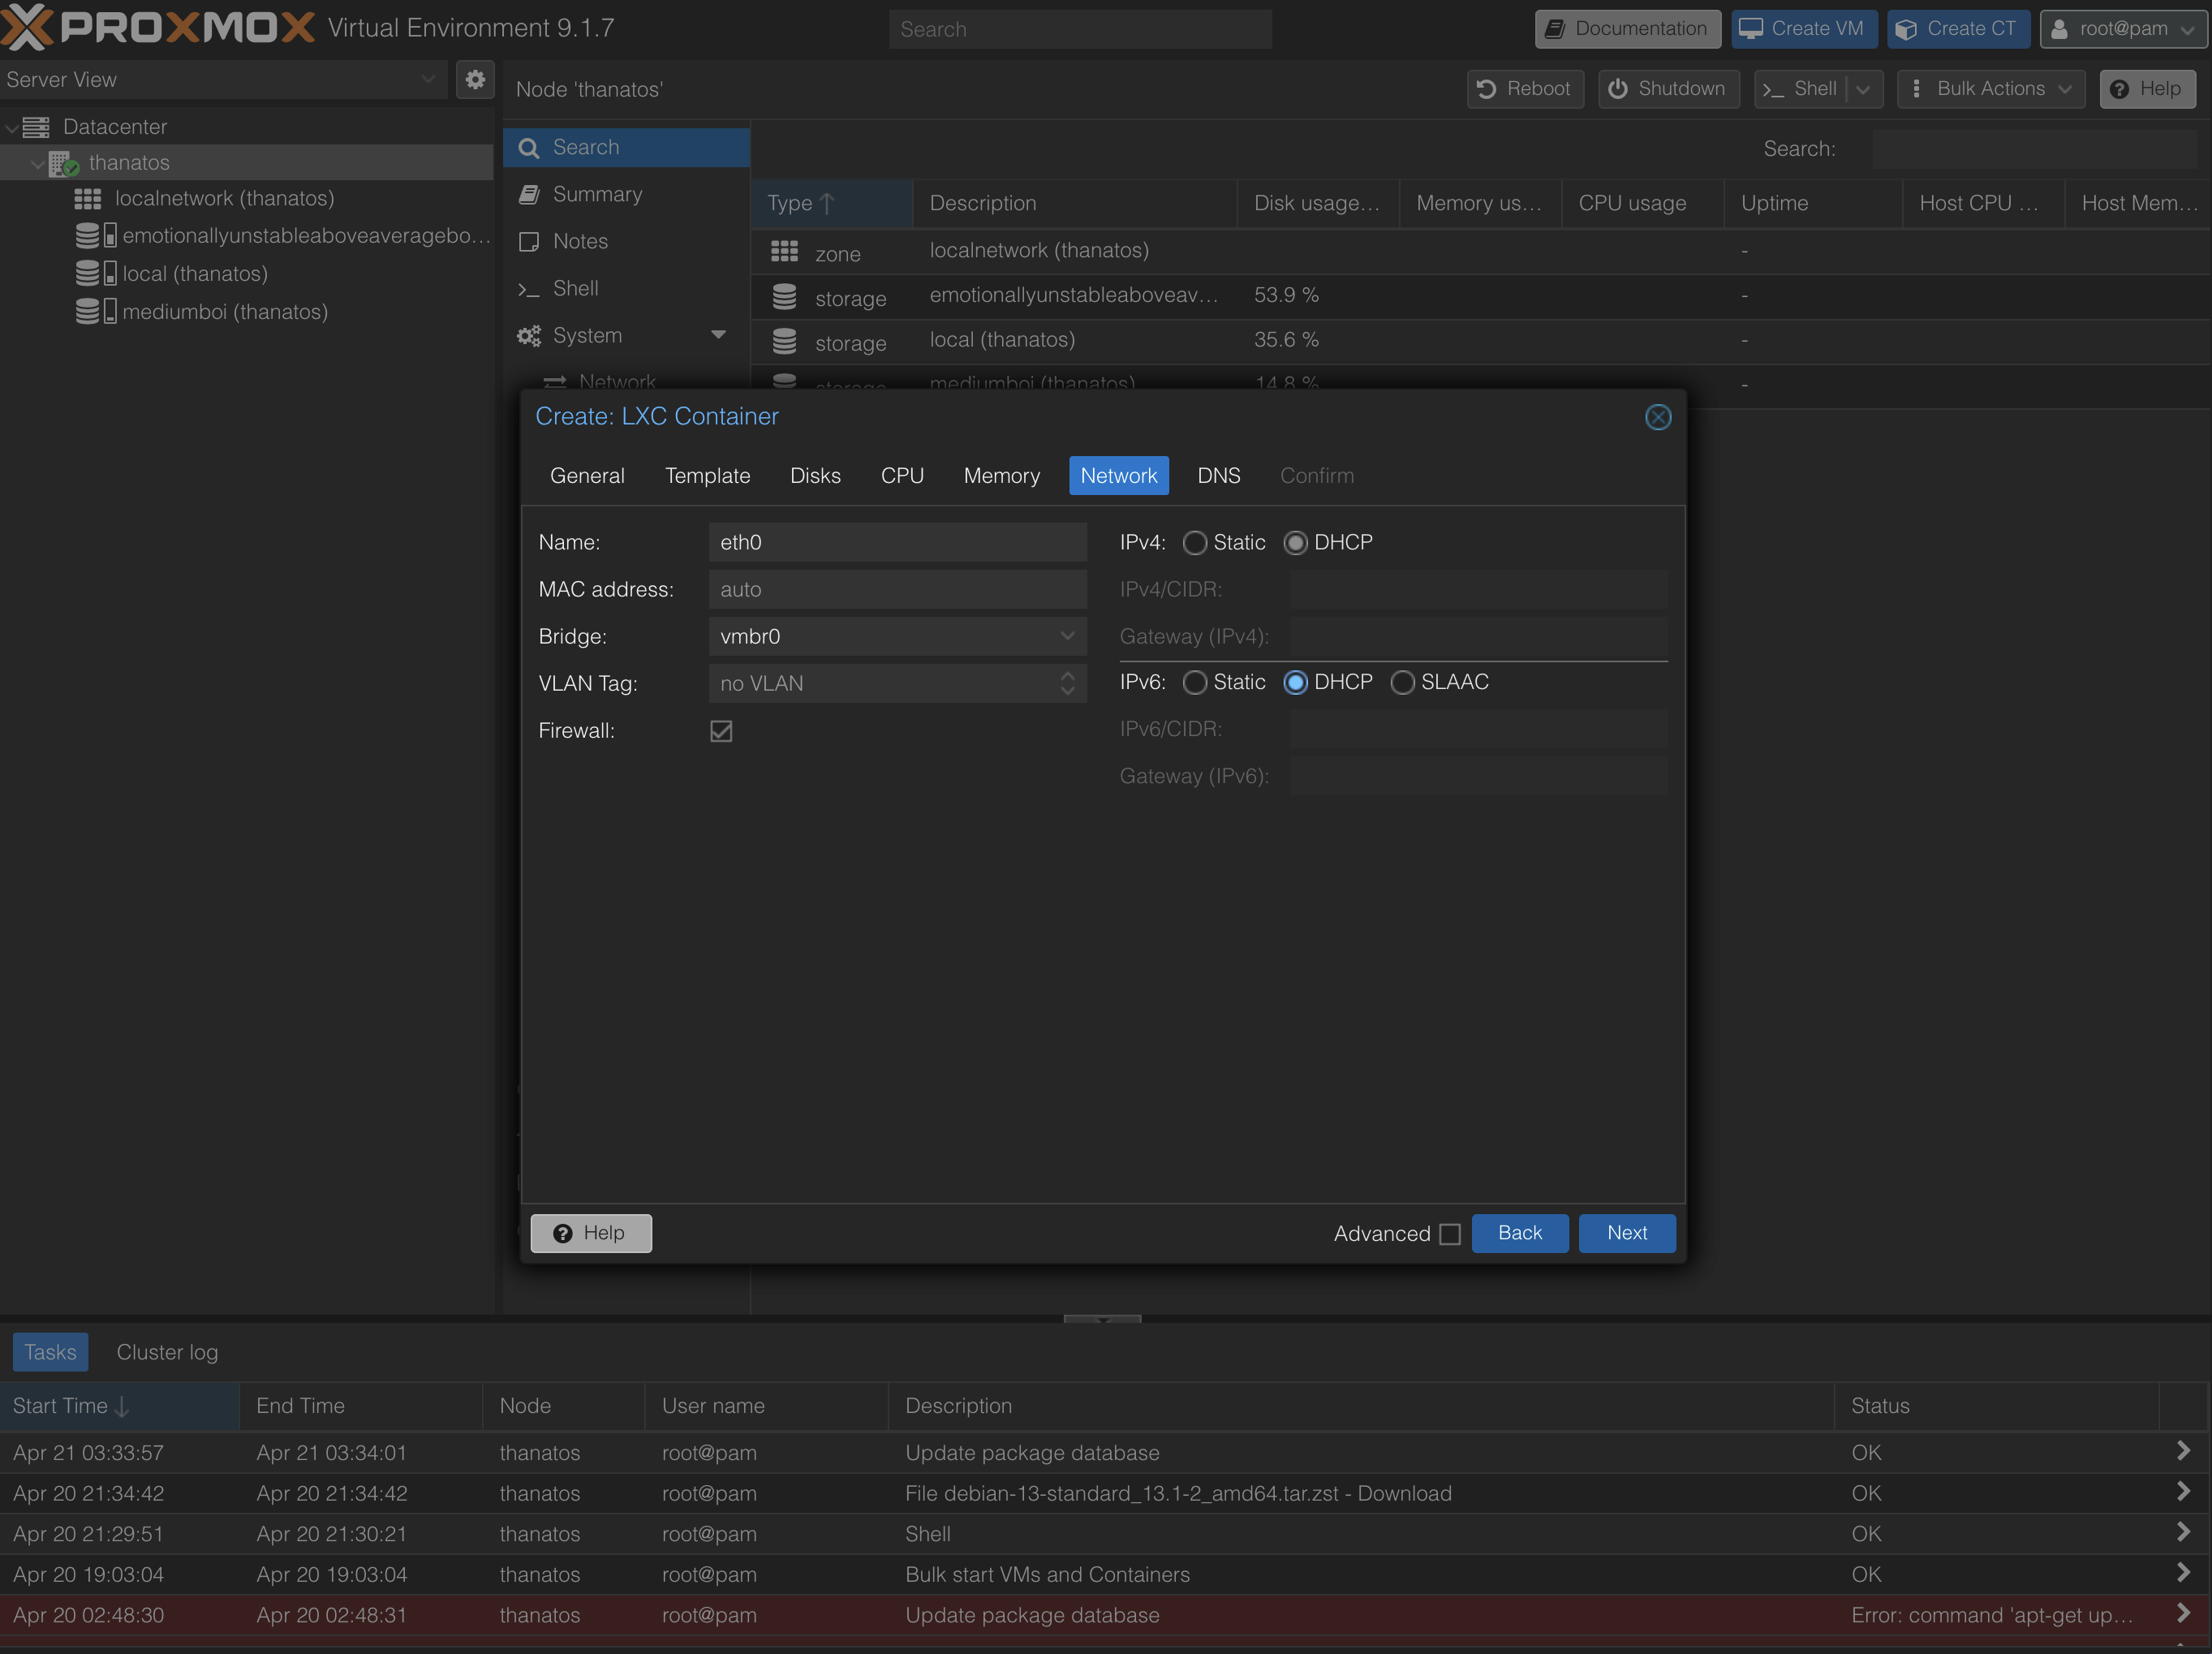
In the Network tab, check DHCP for IPv4 and IPv6.
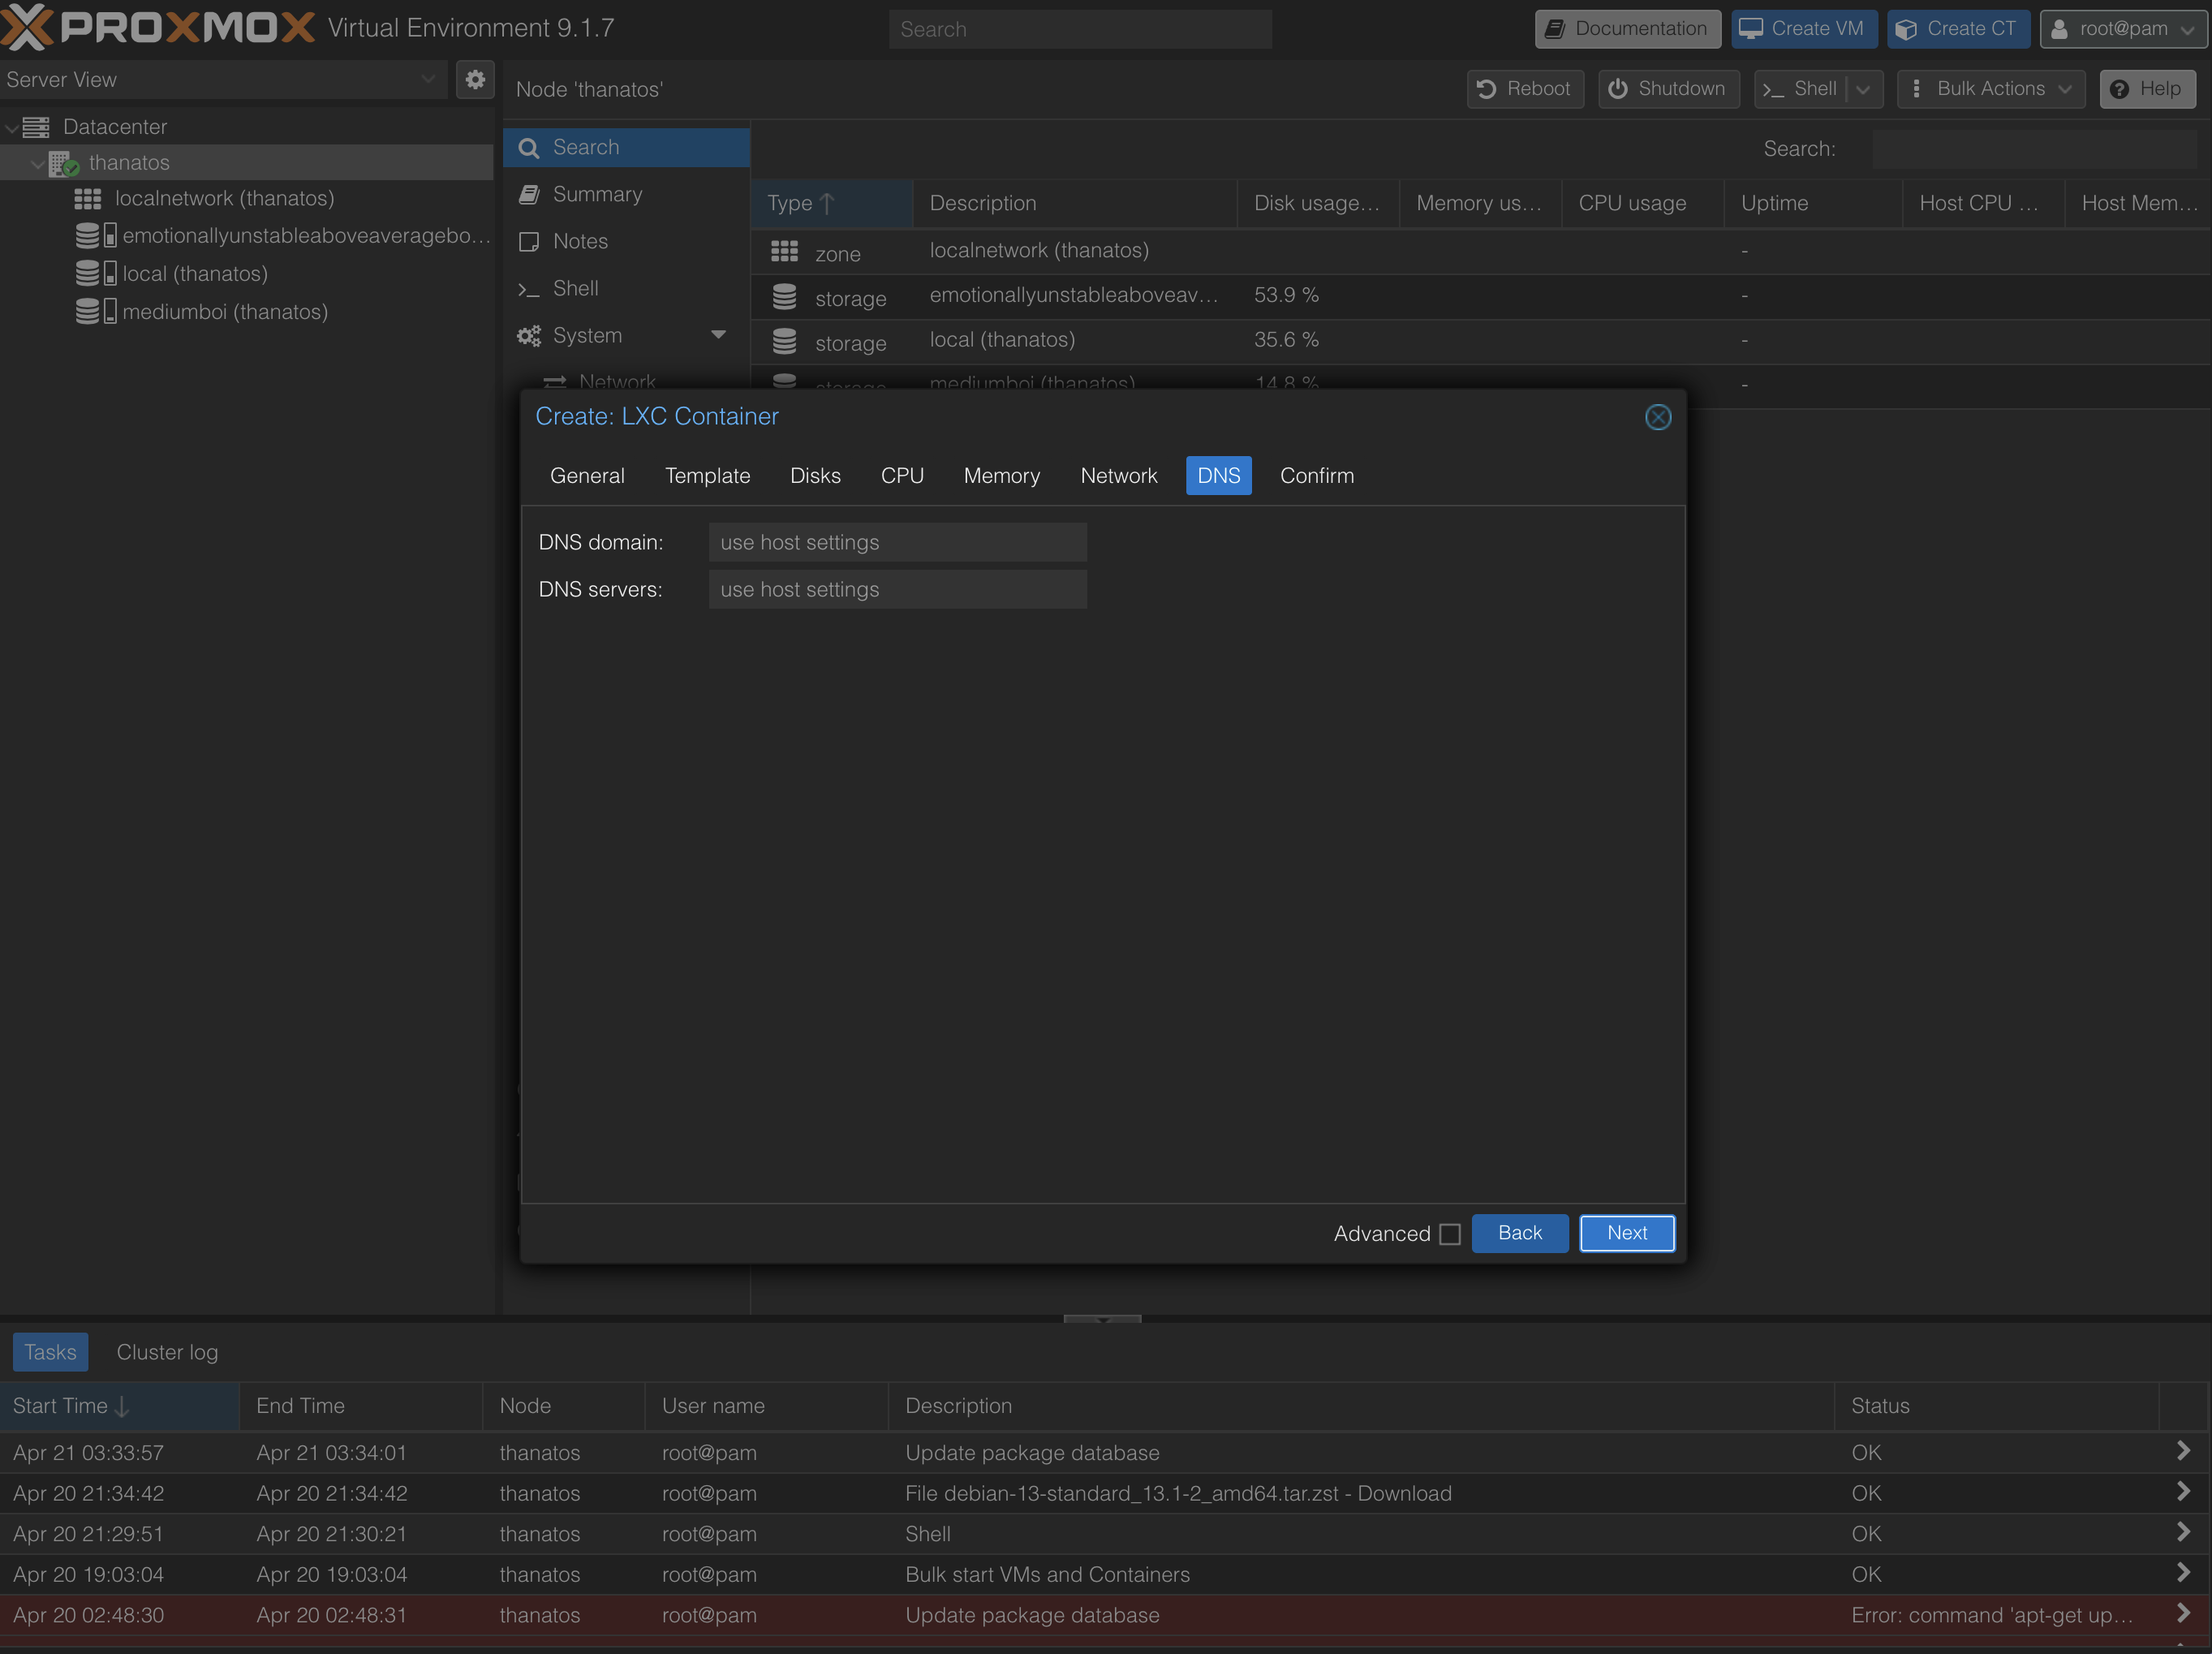
For DNS, click next.
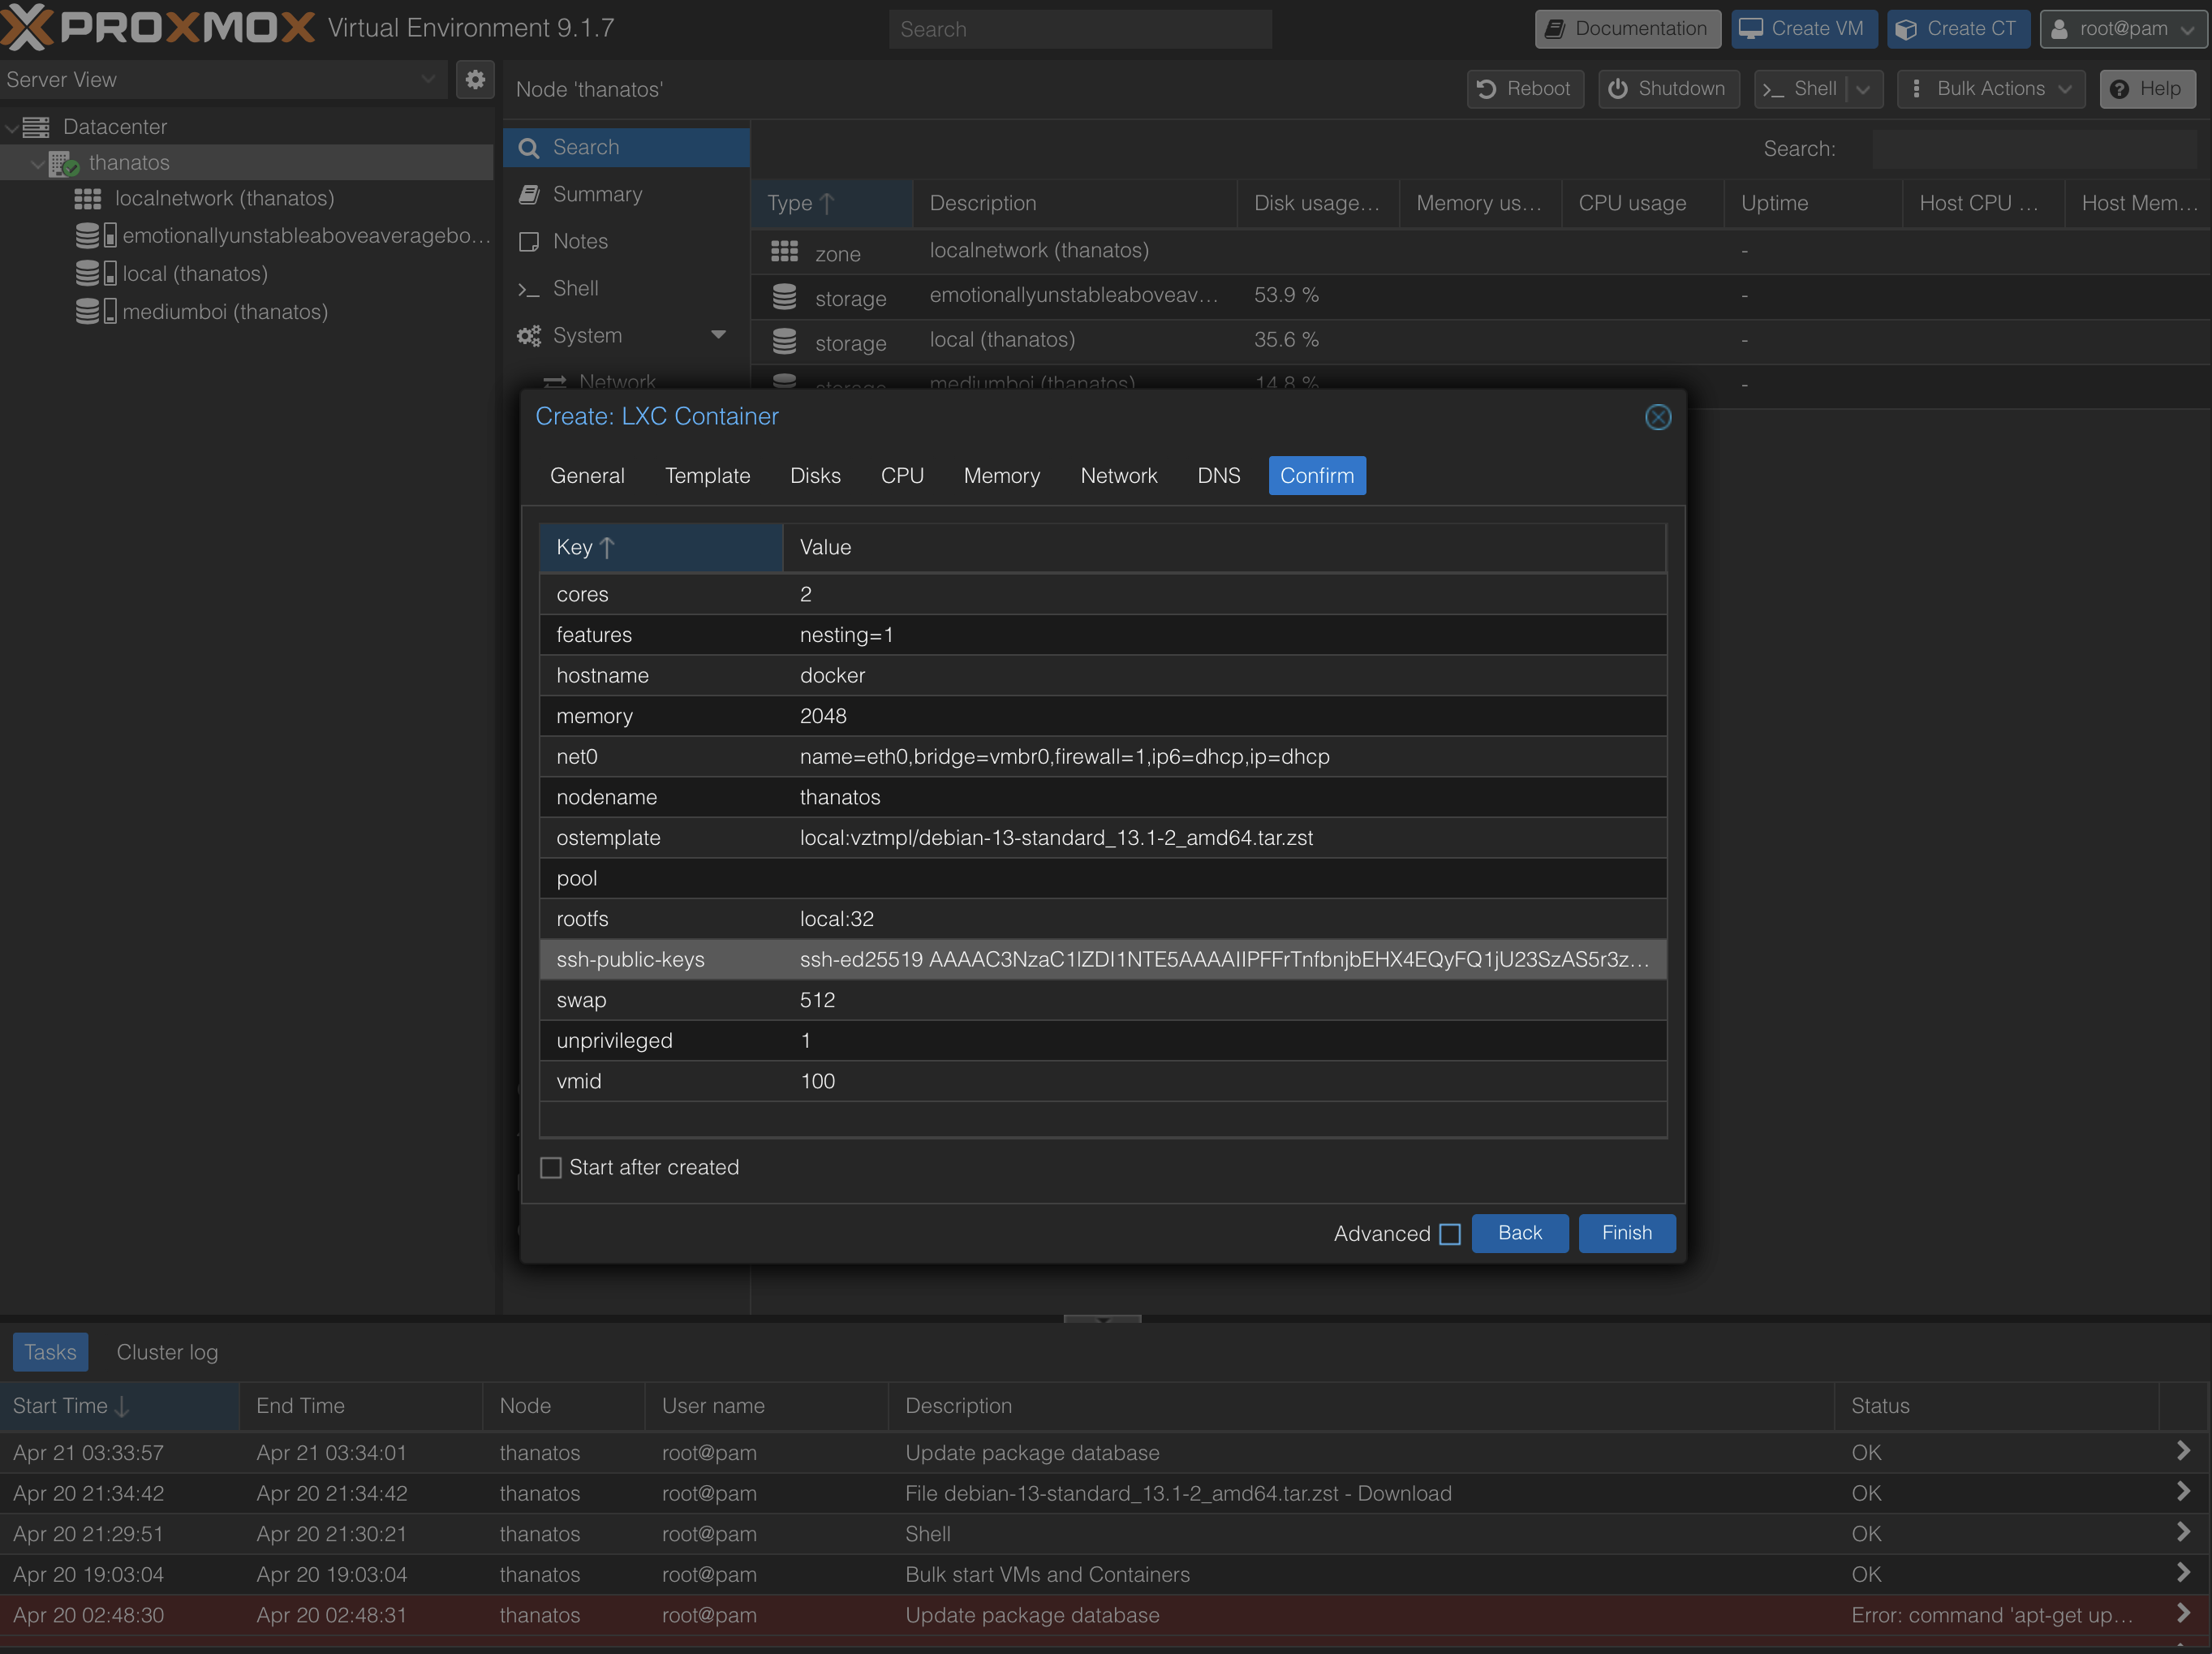
Then, ensure "Start after created" is unchecked and click Finish.
Unfuck the container
Now, since Docker is very peculiar with permissions, we need to edit the container privileges. For that, click on your host in the left tree and on the top bar on the right, click shell. This should enter a Terminal on the host. Open the container's configuration in a text editor:
nano /etc/pve/lxc/100.conf
(if you need help with nano, see How to nano)
Append the line:
lxc.apparmor.profile: unconfined
This decreases security checks in the LXC, which can clash with Docker trying to create its own containers.
Starting it
In the right tree, select the newly created LXC and click start.

Now, you can continue with 02 Connecting via SSH.
Taking it home (do this at the end of the workshop)
Before you can take your device home, you should change the network configuration so you can just plug it in. In the Proxmox UI. Go to your node on the left, then click Network, select vmbr0 and click Edit.
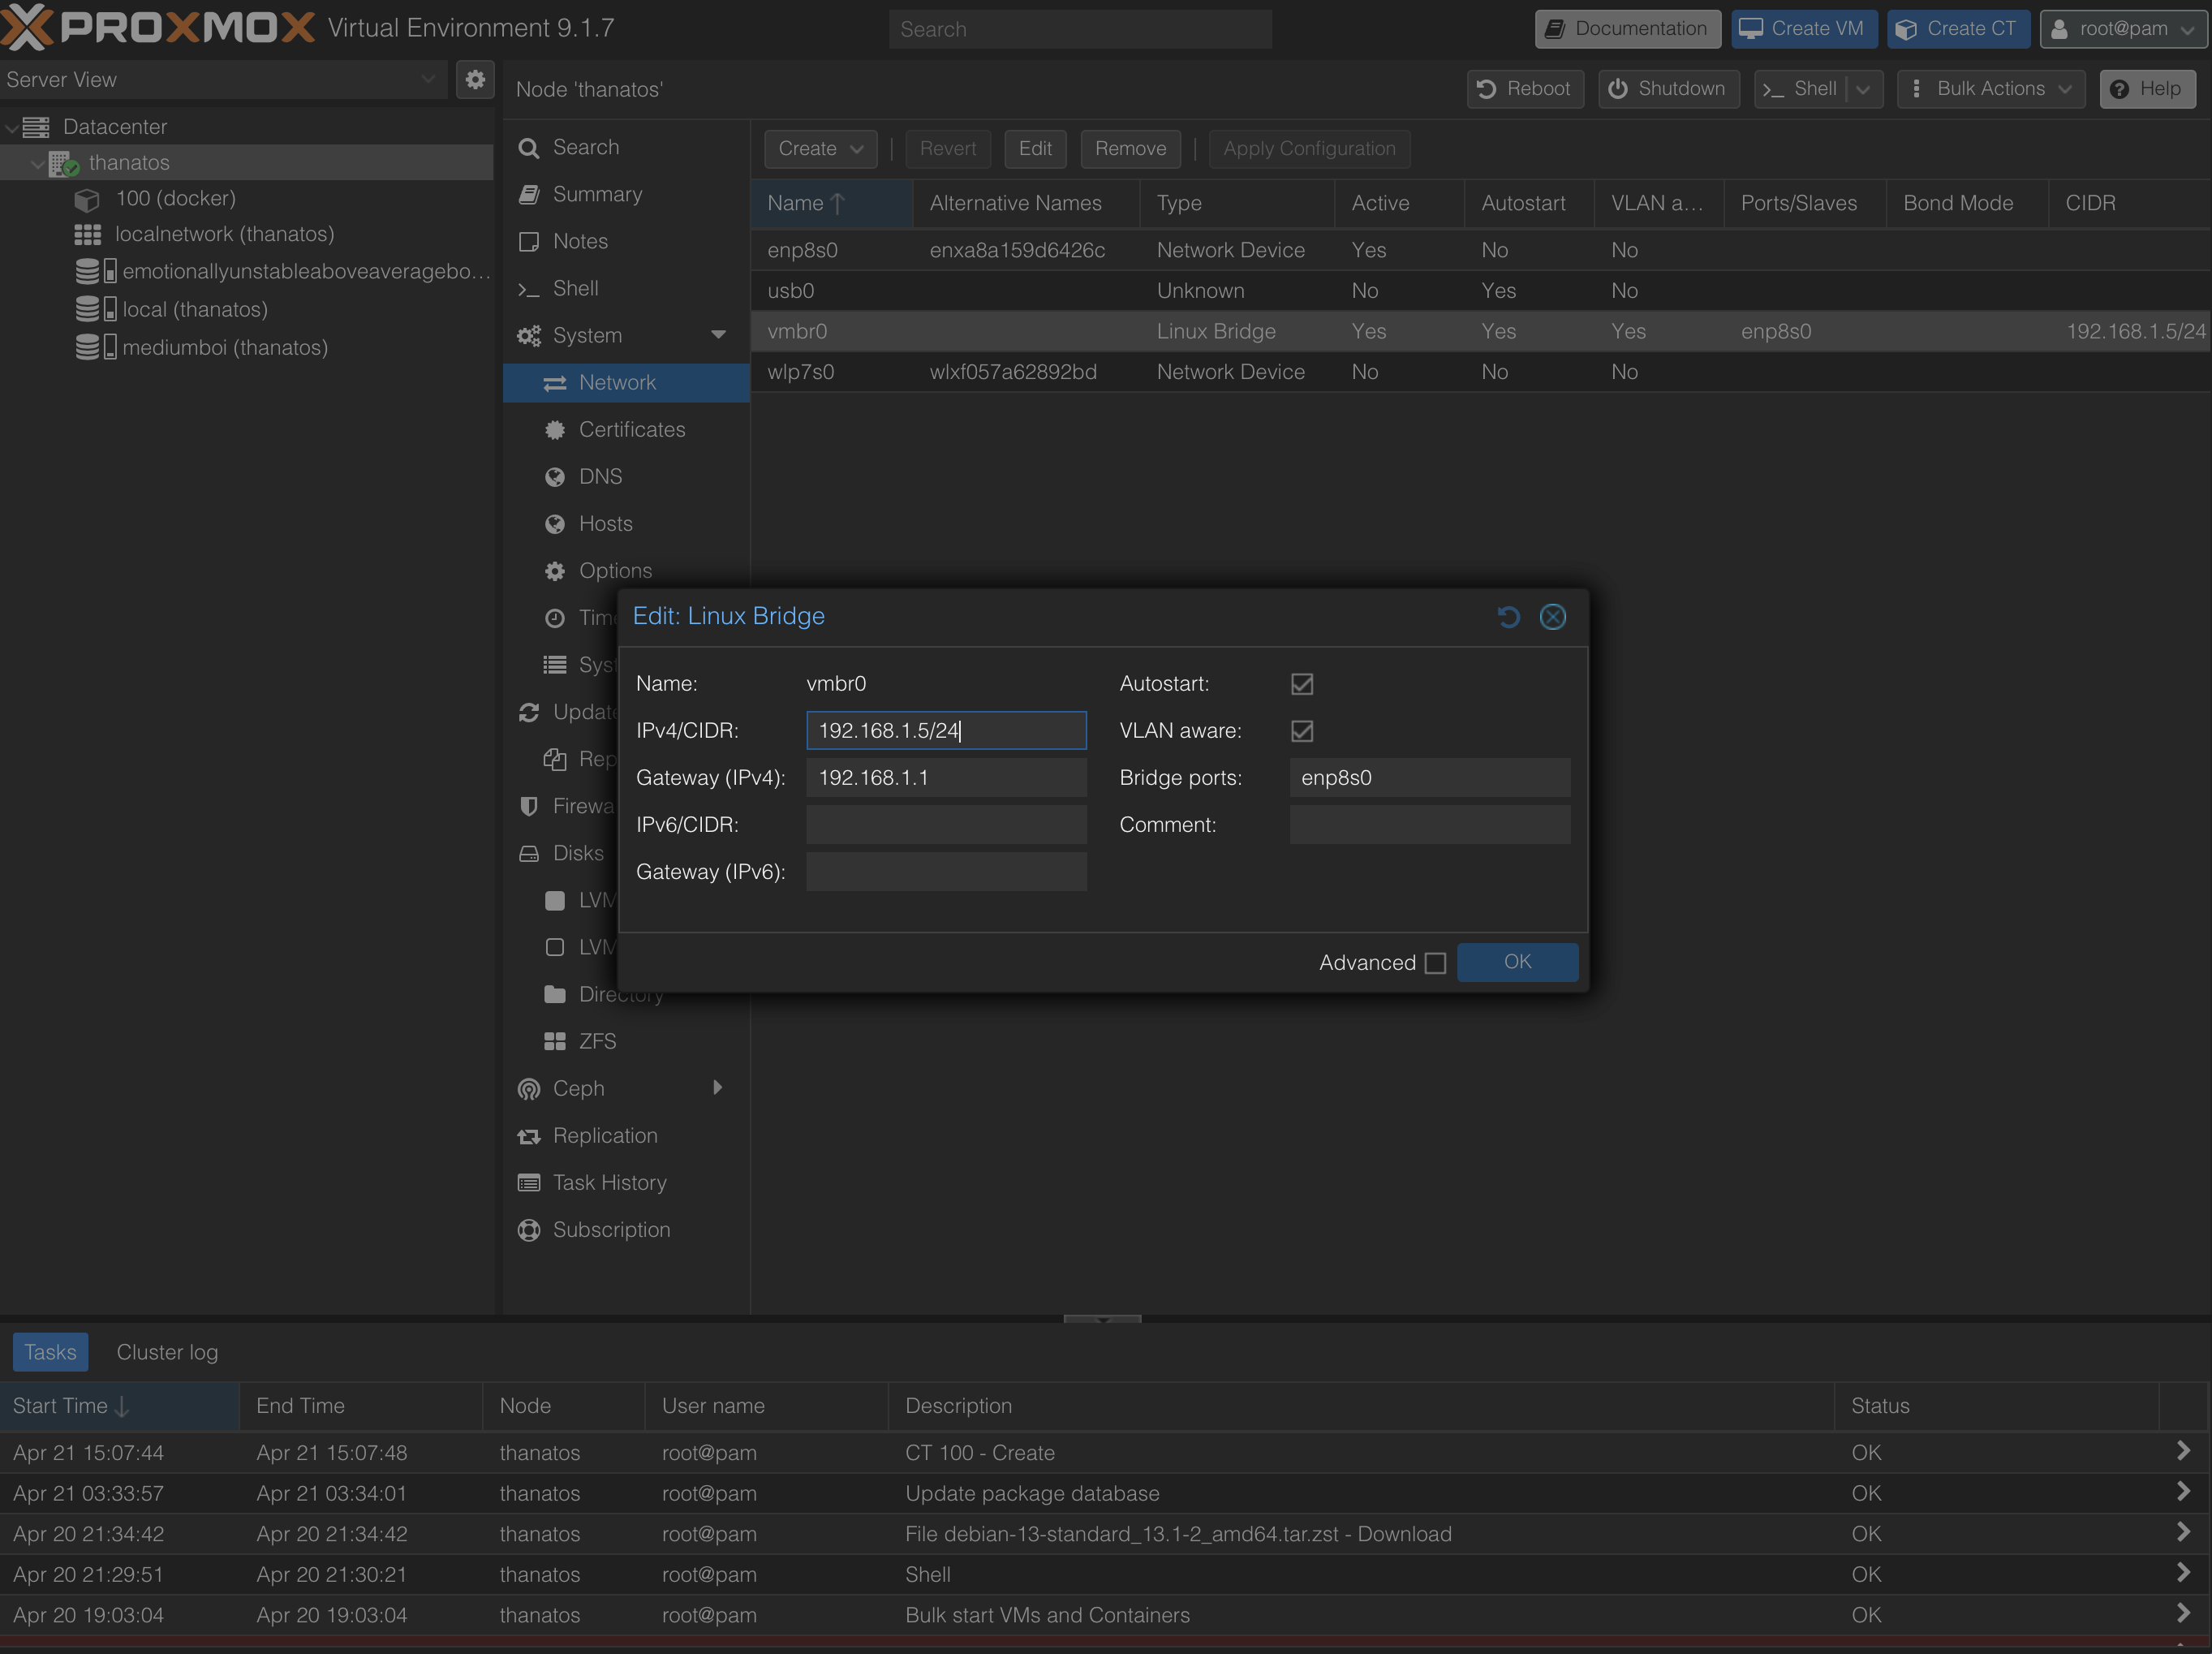
If your home router is for example 10.0.0.1 with a subnet mask of 255.255.0.0, the router's IP 10.0.0.1 for the gateway and for example 10.0.0.5/16 for the IPv4 (you can select any IP, but the CIDR is based on the subnet mask).
After editing, do not click Apply Configuration, and instead shut down the machine later. We still need to edit one file. Open a shell on the host as before, then edit /etc/hosts:
nano /etc/hosts
Edit the line containing your old IP address. In this example, change
192.168.1.5 <NODE>.hpi.uni-potsdam.de <NODE>
to
10.0.0.5 <NODE>.local <NODE>
Save and exit. You are now ready to shut down the device and plug it in at home. There, it should be reachable on the IP you just set.