Hardware
Dedicated Hardware
Do you have an old Laptop, mini PC or PC tower that is not used? Just use it as your new server! You have the "choice" between these to options:
Raspberry Pi
A Raspberry is a perfect server for beginners. It is quite efficient in idle but offers enough extension possibilities for complex deployments. Proceed with: Raspberry OS
Old Hardware
If your Hardware falls in one of these categories, proceed with: Old Hardware
| Type | Value |
|---|---|
| CPU architecture | arm |
| CPU cores | < 4 |
| RAM | < 2GB |
| Drive | < 64GB |
New Hardware
Congratulations your server is above the minimum requirements for Proxmox. You can proceed with: New Hardware
Only A Laptop
No dedicated hardware? No problem. Just use your Laptop! Installing docker on existing Linux / macOS / windows installation: Existing OS
OS
Installing Docker
Docker allows you to install containers that contain an operating system and a service / program. Containers are more secure than installing a service directly on your OS. They also fix the "works on my machine", which you may be familiar with :)
Linux (Debian)
Unfortunately, Docker is not available on Debian out of the box. Install it by running (as root)
apt update # update packages
apt install -yqq curl # install curl to download the script

curl -sSL https://get.docker.com/ | bash # install docker
Linux (Other)
If you are using another distro, ensure that curl is already installed. Then, run the same curl-bash-script as on Debian.
macOS
Docker is available via Docker Desktop on macOS, but the performance is quite bad. Instead, you can use OrbStack, which uses a different engine, but is completely compatible otherwise.
Windows
Windows is a horrible choice to use as a server, this guide is only for testing! You are required to have WSL set up already.
The easiest way to install Docker on Windows is to install Docker Desktop. Follow the install wizard and restart your PC if required.
First service
Now that we are all on the same page we can install our first Service.
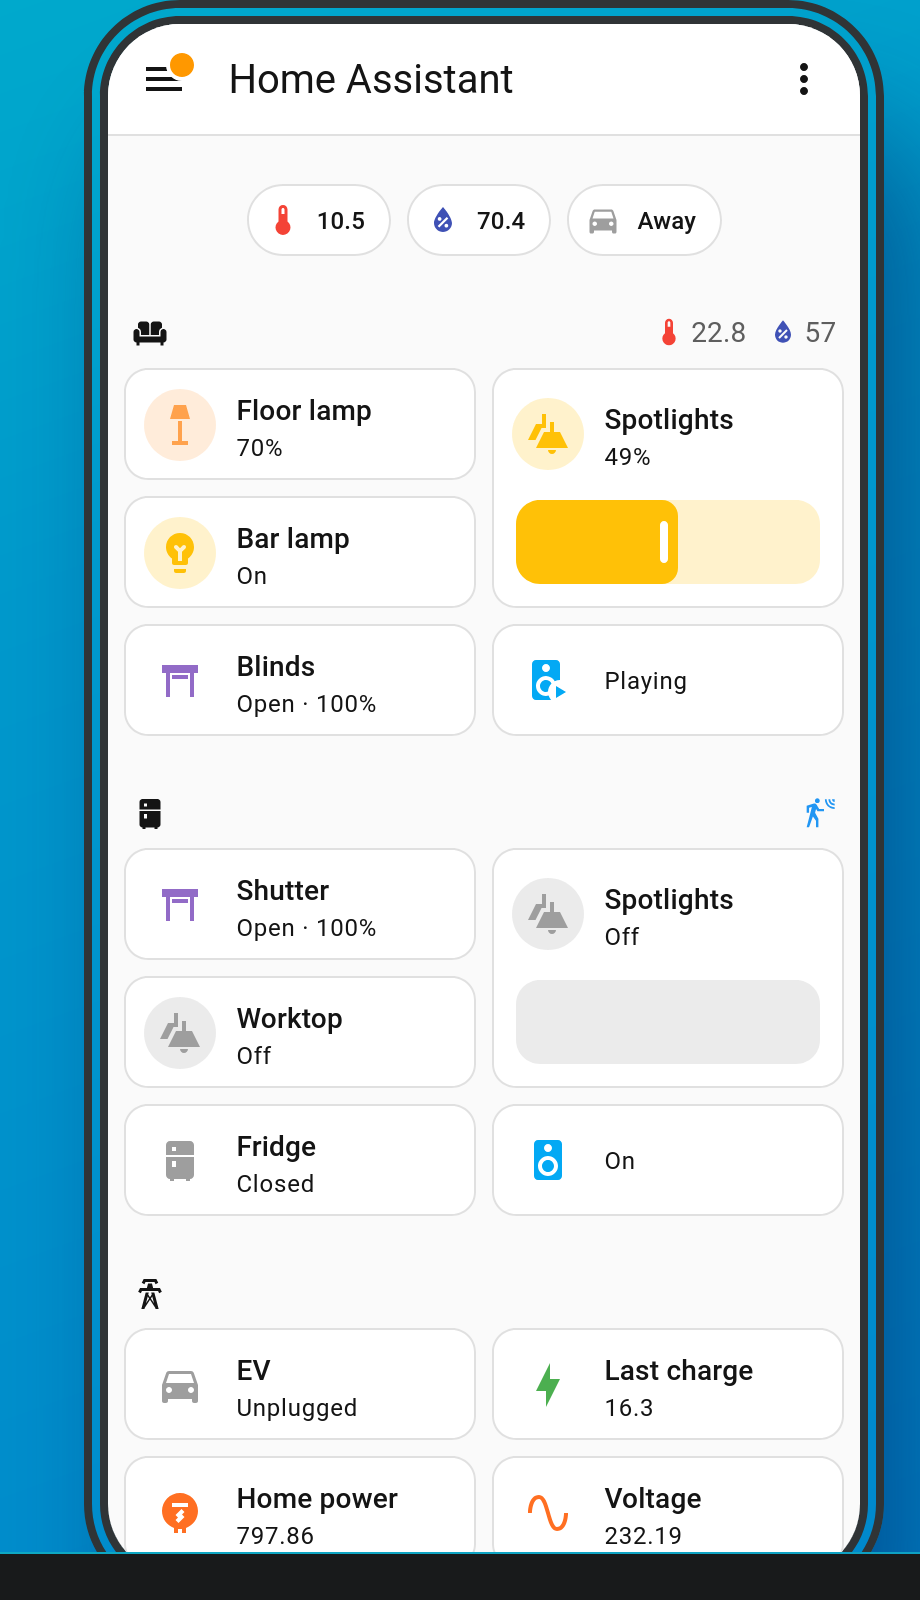
HomeAssistant is basically the all-in-one smarthome solution. You can use it to control and automate anything "smart" in your household and a lot of stuff that isnt as well, via your phone or a WebUI
Setting it up
Start with creating a compose.yml file in a folder you want to store your service configs. It is recommend create a new folder for each compose.yml (Service)
Example: HOME/Services/homeassistant/compose.yml
Paste the following config in the YAML (yml) file:
services:
  homeassistant:
    container_name: home_assistant
    image: "ghcr.io/home-assistant/home-assistant:stable" # The Image used
    volumes:
      - ~/Services/homeassistant/data/config:/config # New config folder where homeassistant can store data (it will see the path as the one on the right and the "real" one is to the right, right in ur home directory)
      - /etc/localtime:/etc/localtime:ro # Allow access to SystemTime but ReadOnly
      - /run/dbus:/run/dbus:ro
    restart: unless-stopped # Restart if the container crashes
    privileged: true
    network_mode: host # Allow access to the host network for device discovery
Starting HomeAssistant
To start downloading and running HomeAssistant just run (in the same folder as the compose.yml file)
docker compose up -d
What does it do?
- Check if the Image (the Service) is already downloaded (if not it downloads it for you)
- Starts the Service in background ("-d" stands for detached mode)
- Now you should be ready to setup HomeAssistant on port 8123 in your web browser
- http://localhost:8123 (if installed locally)
- http://YOUR_HOSTNAME:8123
- http://YOUR_IP:8123 (use
hostname -ion Linux to show your IP)